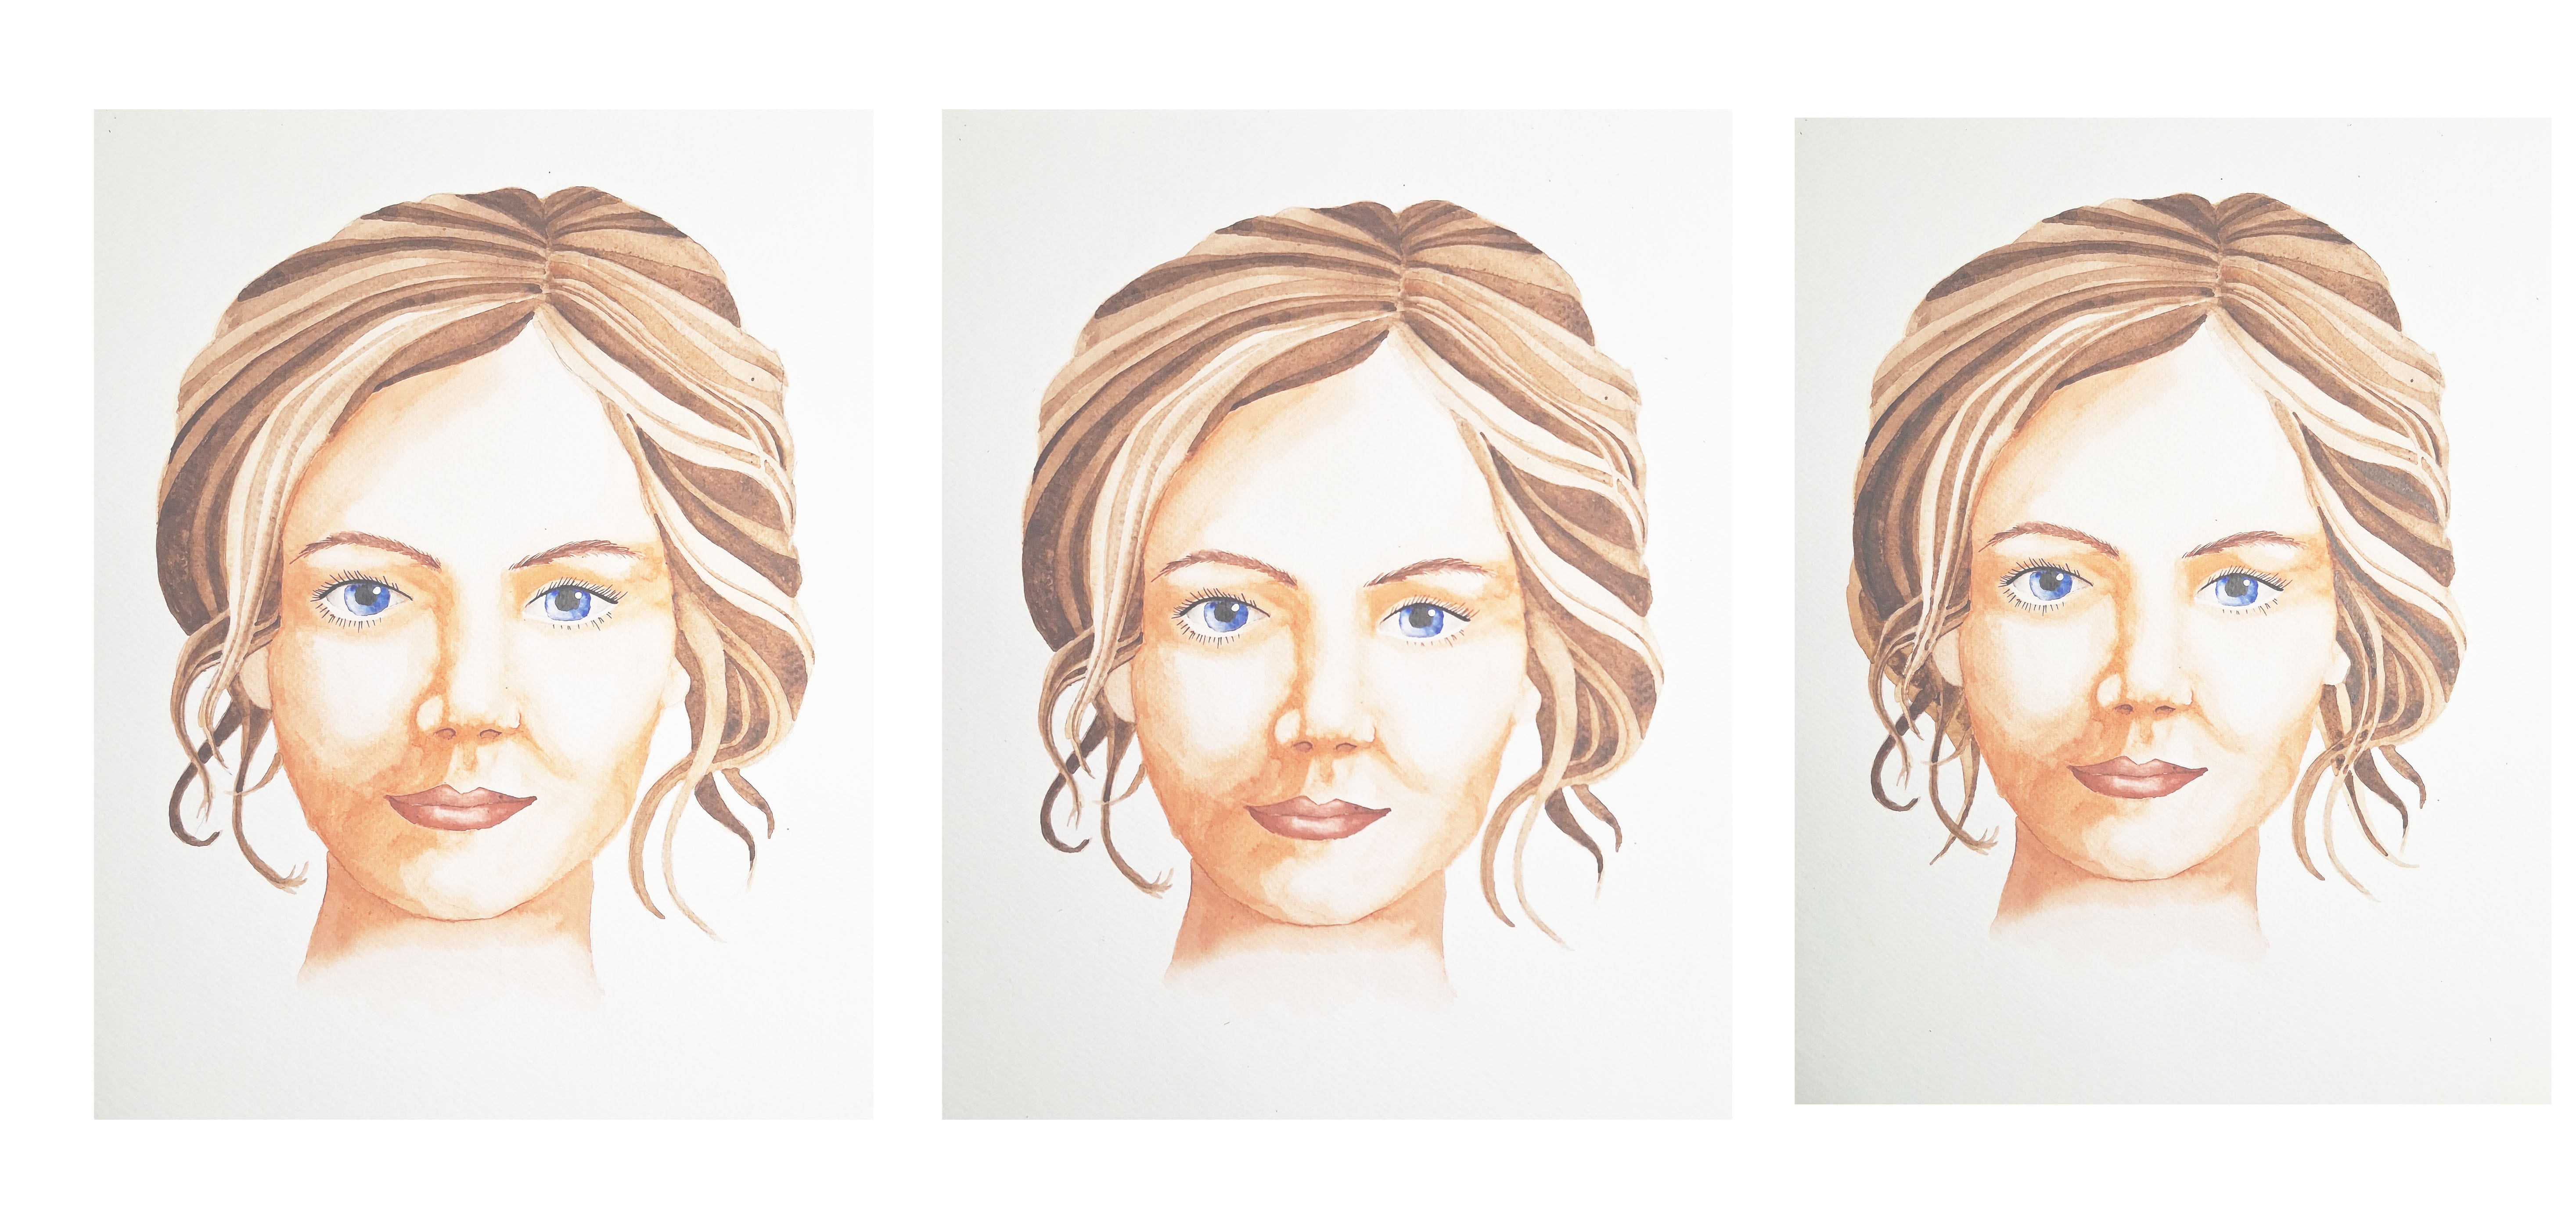

This tutorial is a great introduction to painting portraits in watercolour; it is somewhat exaggerated and simplified for clarity. Get to grips with the process and make it your own.
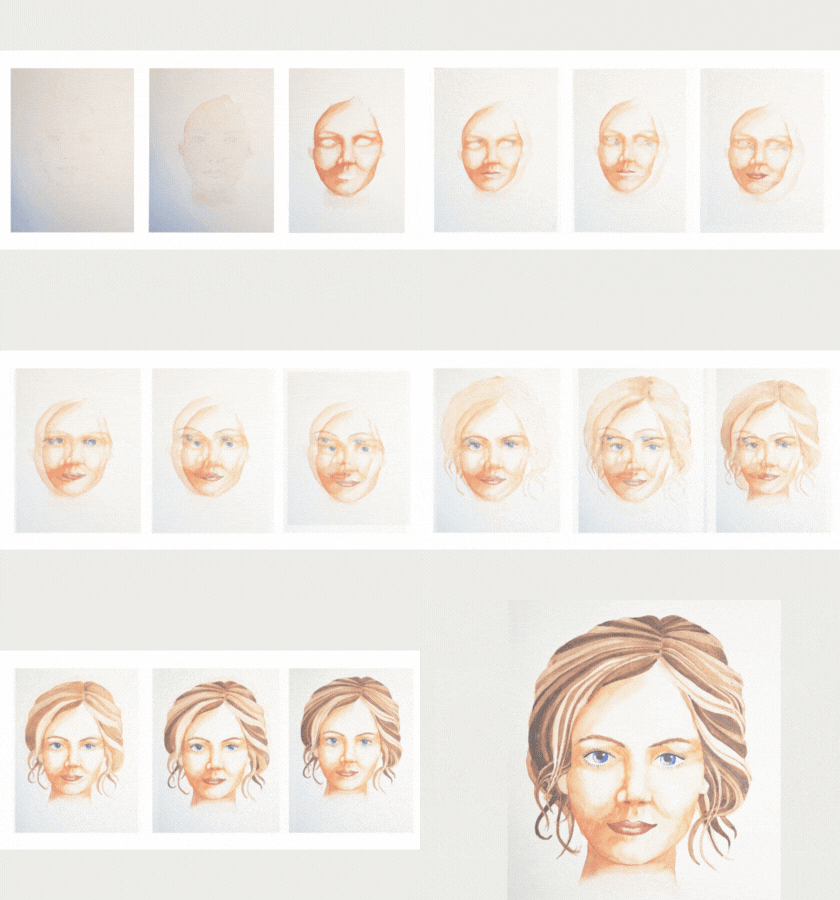
Portrait painting is always challenging. In watercolour, we can utilise the unique properties of the medium to suggest gentle contours - raising the face off the paper surface using tone to model the form.
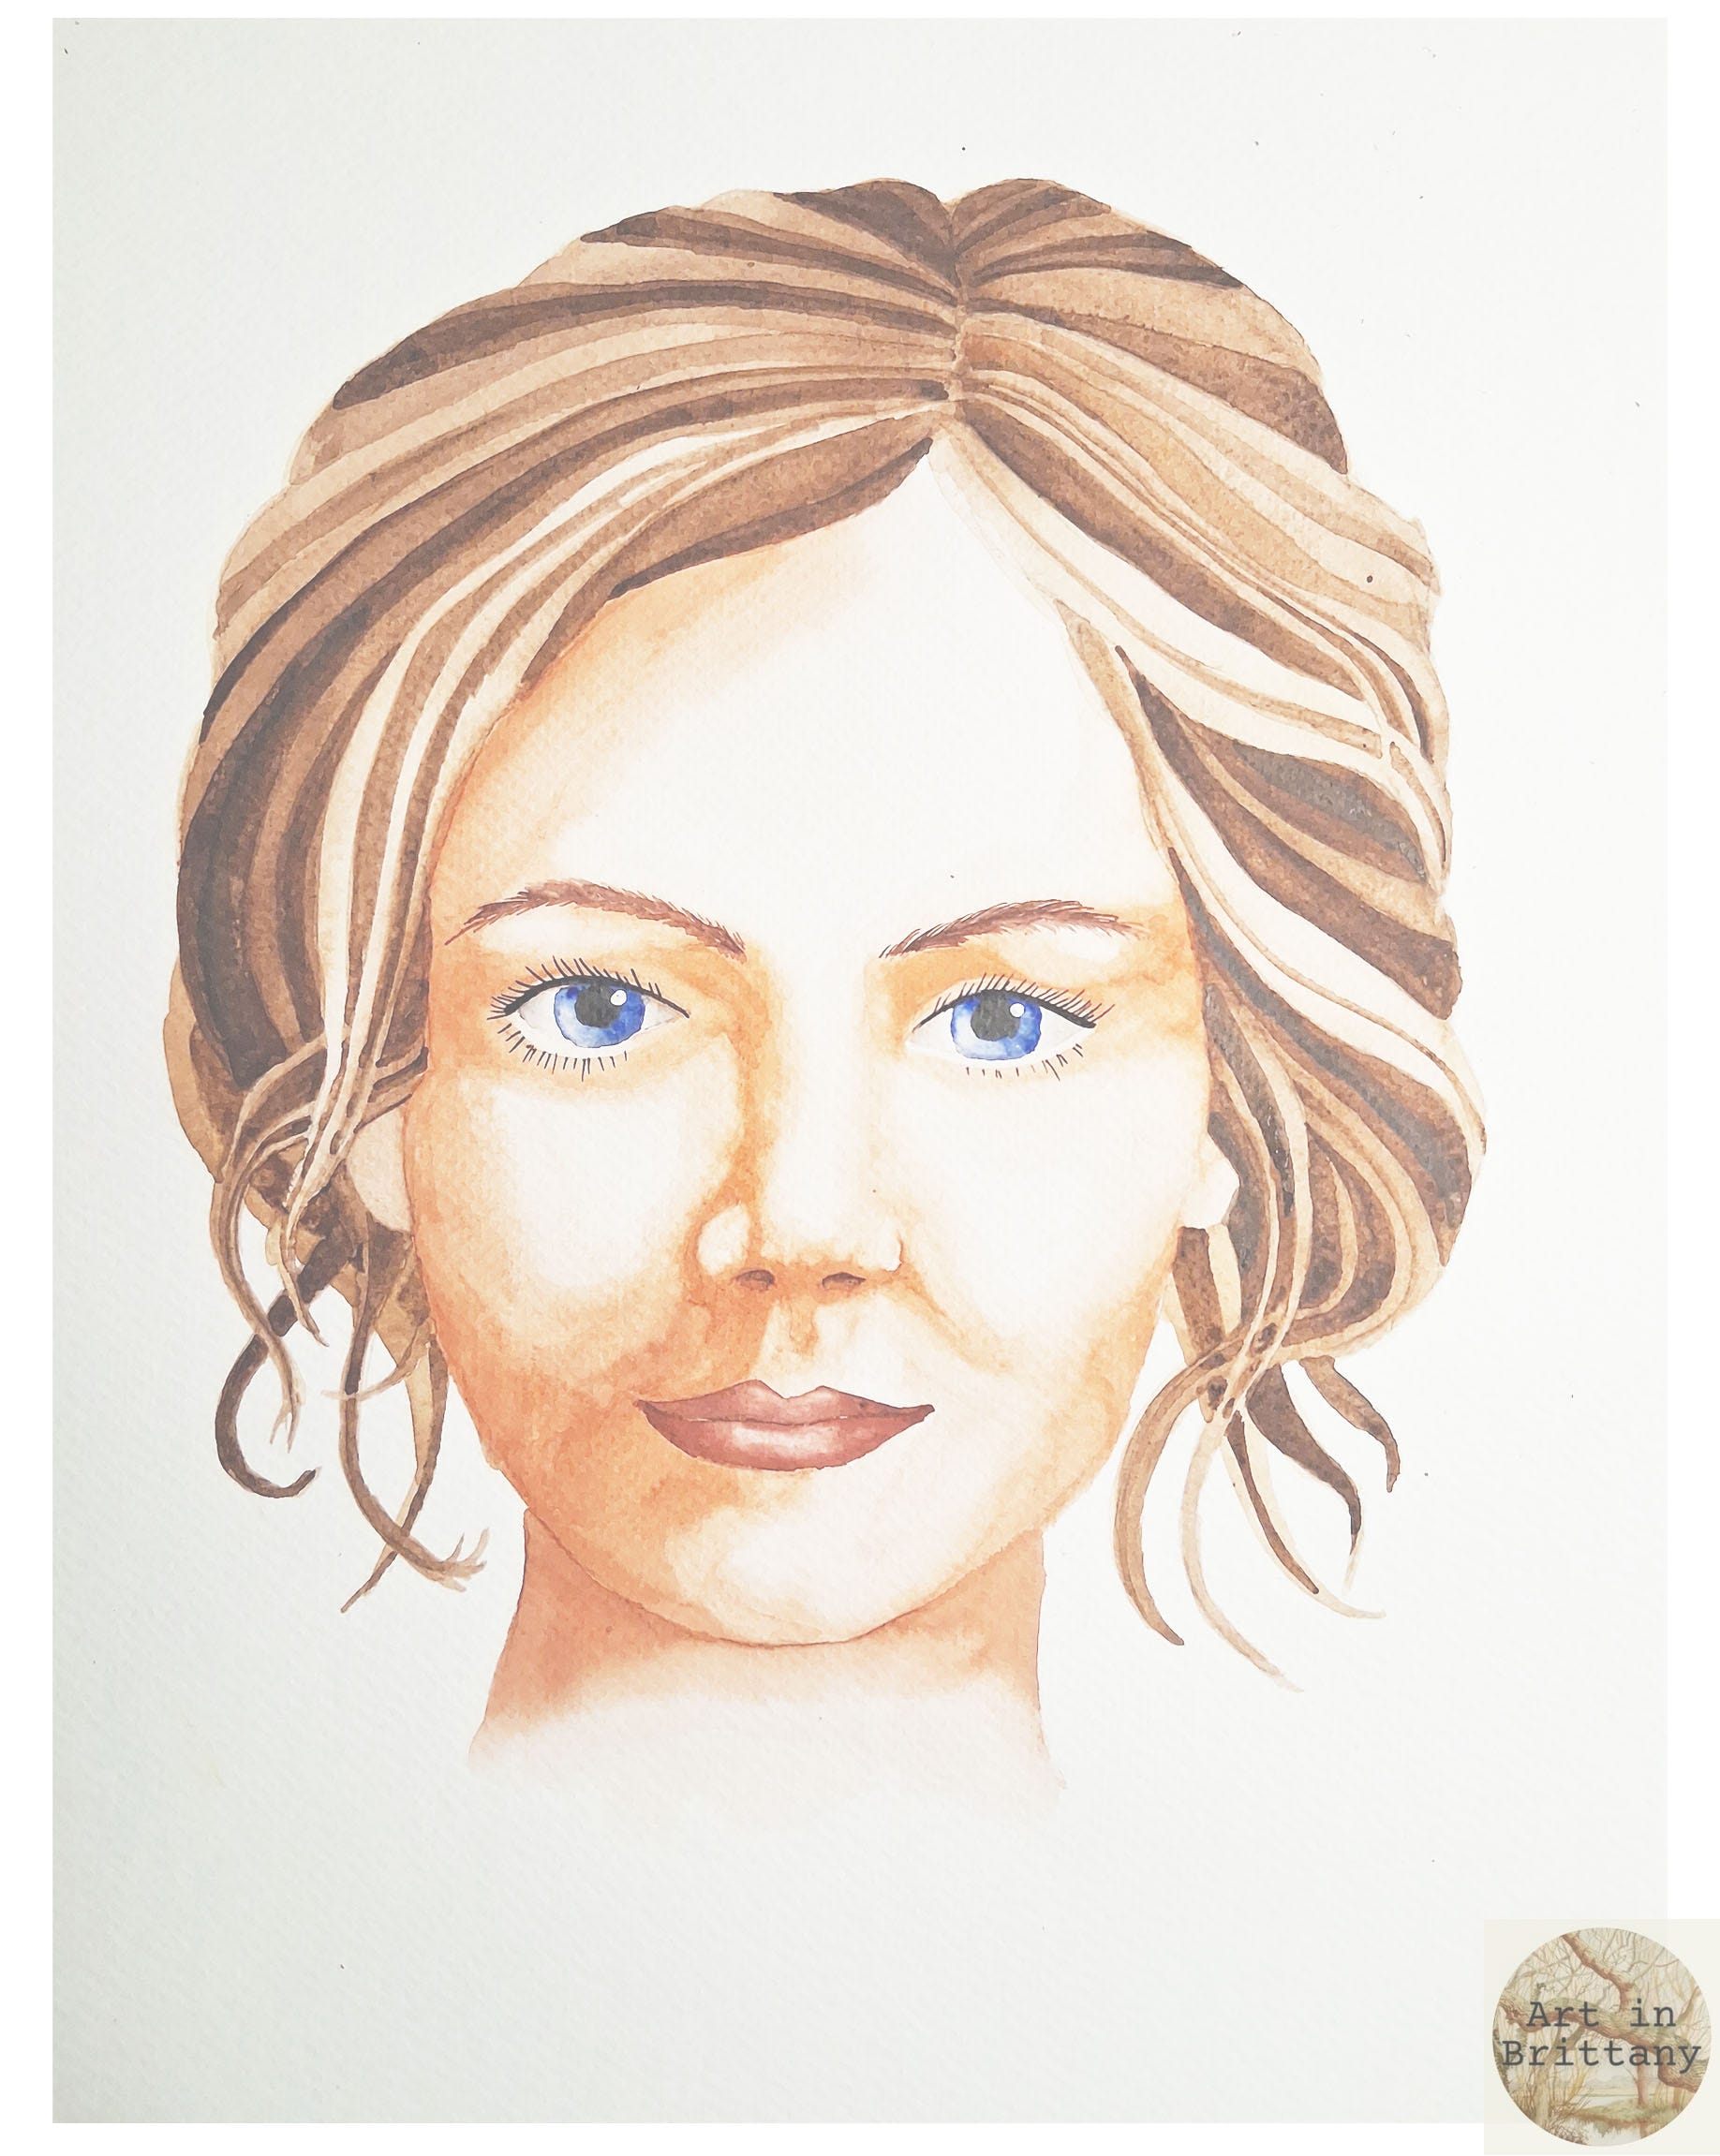
Materials I used -
Fabriano Acid free NOT surface 280gsm (130lb) watercolour paper 35 x 25 cms
Winsor & Newton pigments - Cadmium Yellow, Alizarin Crimson, Prussian Blue, Payne’s Grey, Raw Umber, Burnt Umber and white gouache.
Rosemary’s Brushes - Golden Synthetic No 8 round, Short Flat Shader, fine liner/rigger.
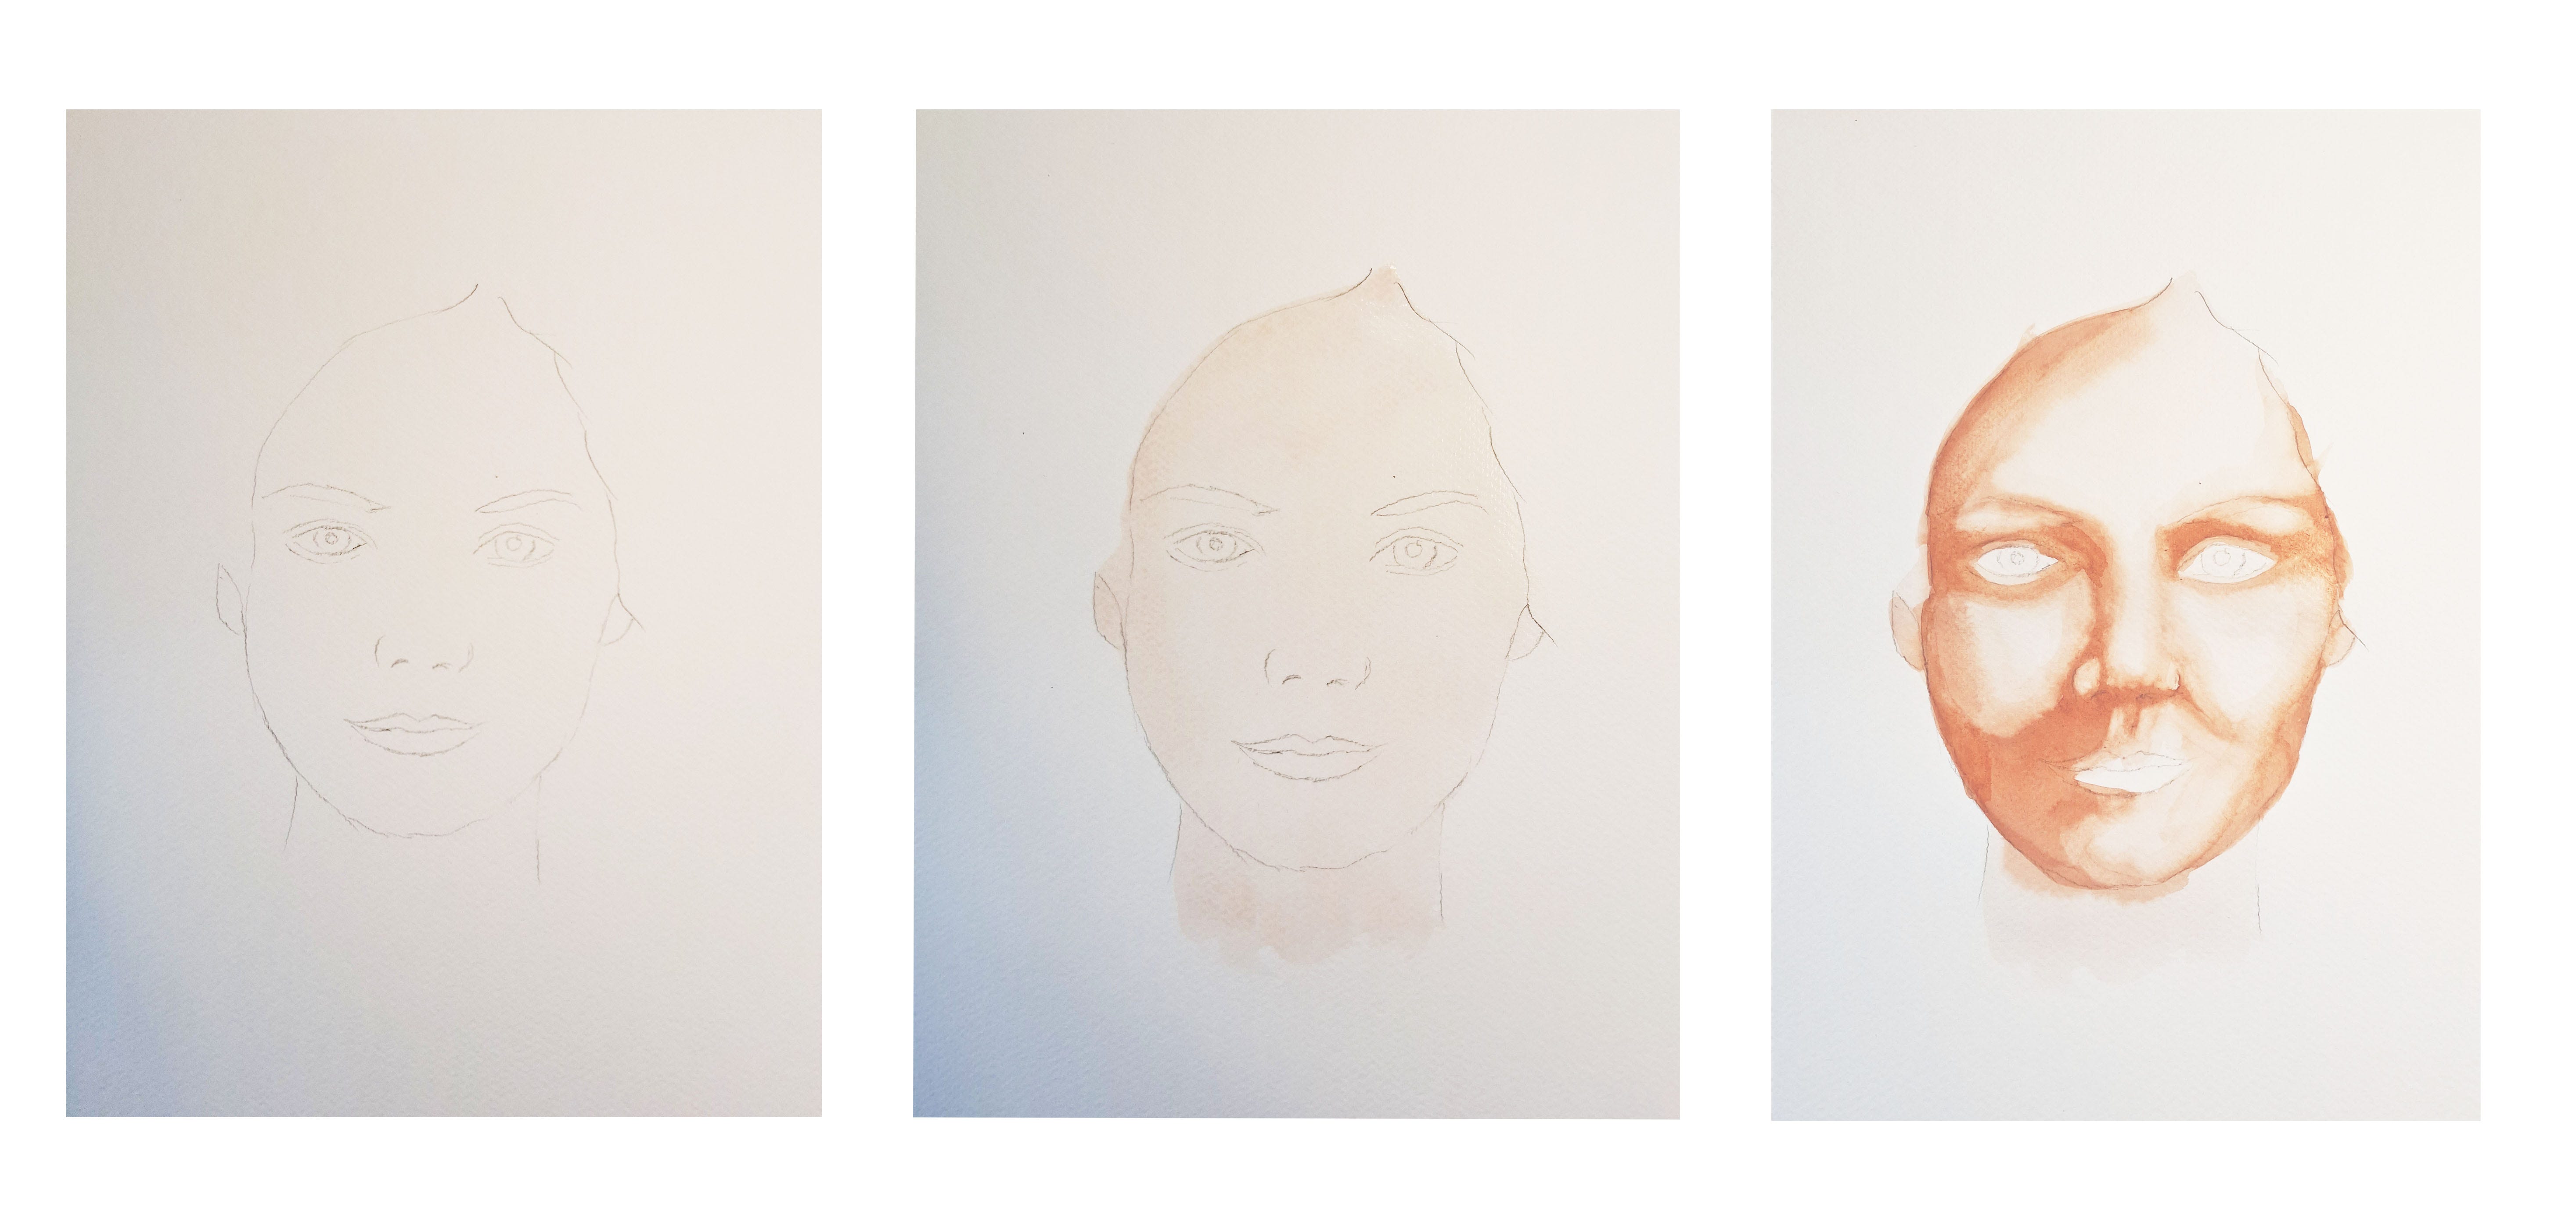
Step 1. Begin by making a sketch - keep it simple, just accurate placement of features and main shapes. If working from a photograph be sure to select a good quality, reasonably sized image - it is the contrast of shadow and highlights that describes the form.
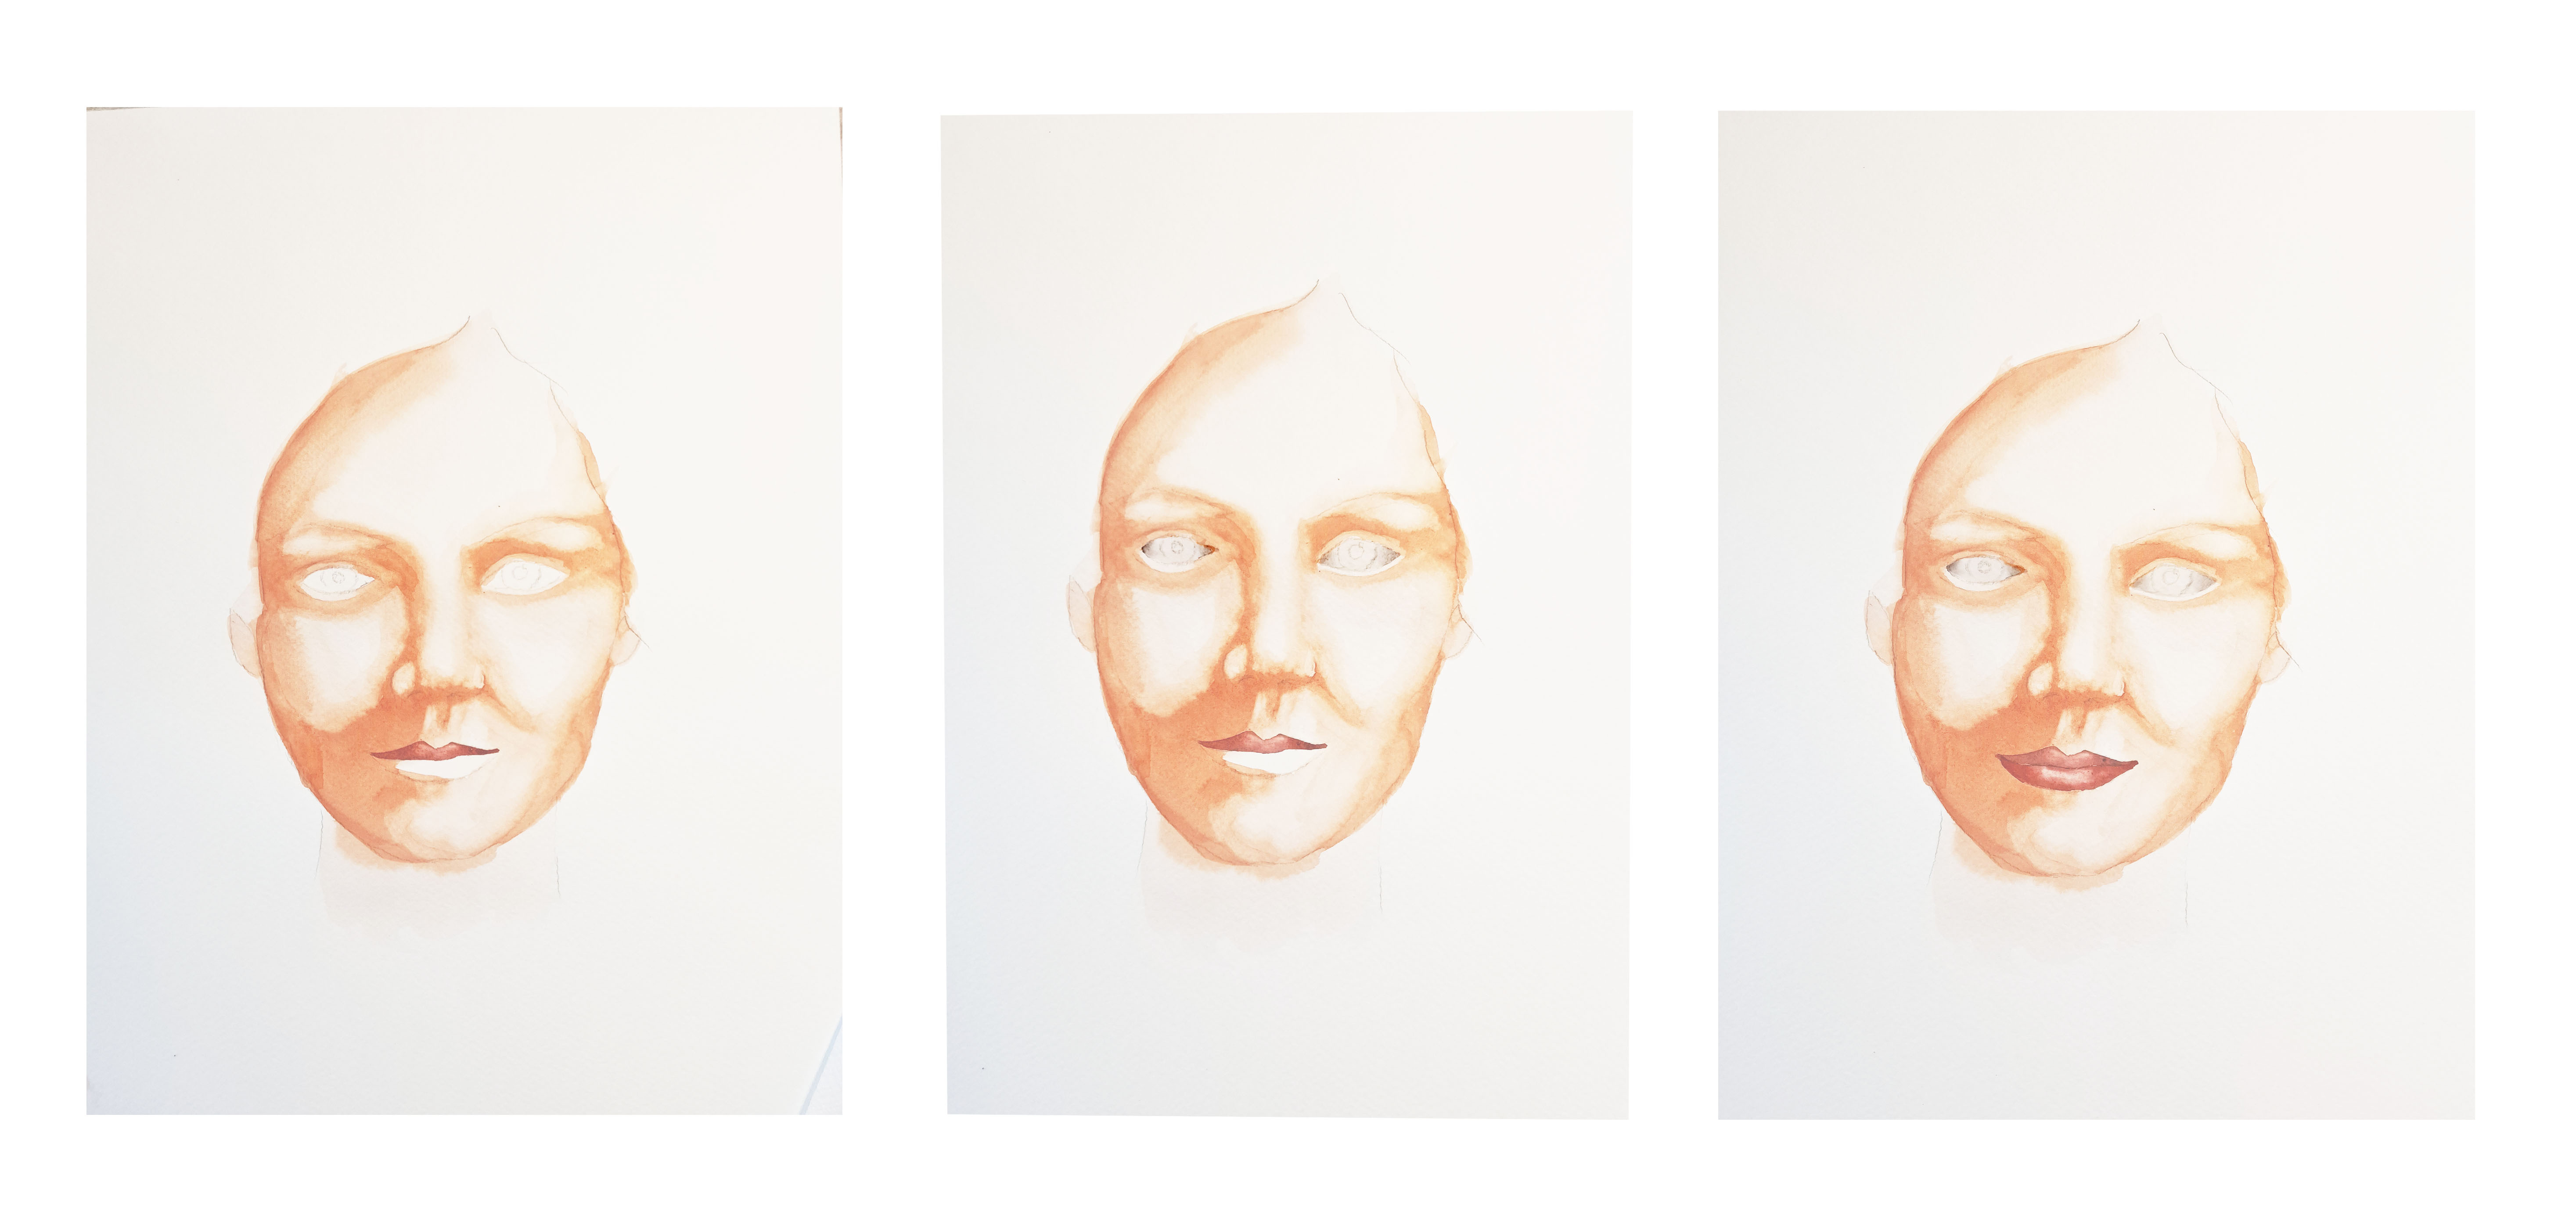
Step 2. Mix a flesh tone. Here I have used a mix of Cadmium Yellow and Alizarin Crimson neutralized with a tiny dab of Prussian Blue. When mixing flesh tones, remember that you will be using your mixed colour in a very dilute form - test on scrap paper to assess how it will work in your painting. Make a deeper, more concentrated mix for shadows. Paint in all the flesh areas - try to avoid the eyes but you can go over the lips and a little into the hairline - don’t forget the ears!
Step 3. Working quickly, while the skin base coat remains wet on the paper, use your shadow mix and drop colour onto the shadow areas. Remember that there is already a lot of water on the paper and add pigment rather than more water. This wet-in-wet process produces soft blends, so we use this technique for all the ‘soft’ modelling, sharper edged details must be worked on a dry surface. Refine the modelling by ‘lifting out’* highlight areas if the shadow tone has spread too much, typically - under eyebrows, eyelids, philtrum, bridge of nose and sides of nostrils. Let the face dry before working on the features and the neck to preserve crisp edges.
*Lifting out is the process of removing pigment with a clean, dabbed-dry brush. Remember to clean your brush after each ‘lift’ or you will just replace the paint you lifted.
Step 4. The lips are painted separately, use your colour of choice to fill in one lip, (I used a redder flesh tone). While it is still wet, drop a slightly deeper shade at the sides, then lift a little colour from the central section. allow to dry before repeating the process on the other lip. While waiting, create a little form in the eye whites. Here, I wet the entire eye (go over the iris and pupil) then drop a little shadow in each corner - I’ve used Payne’s Grey.
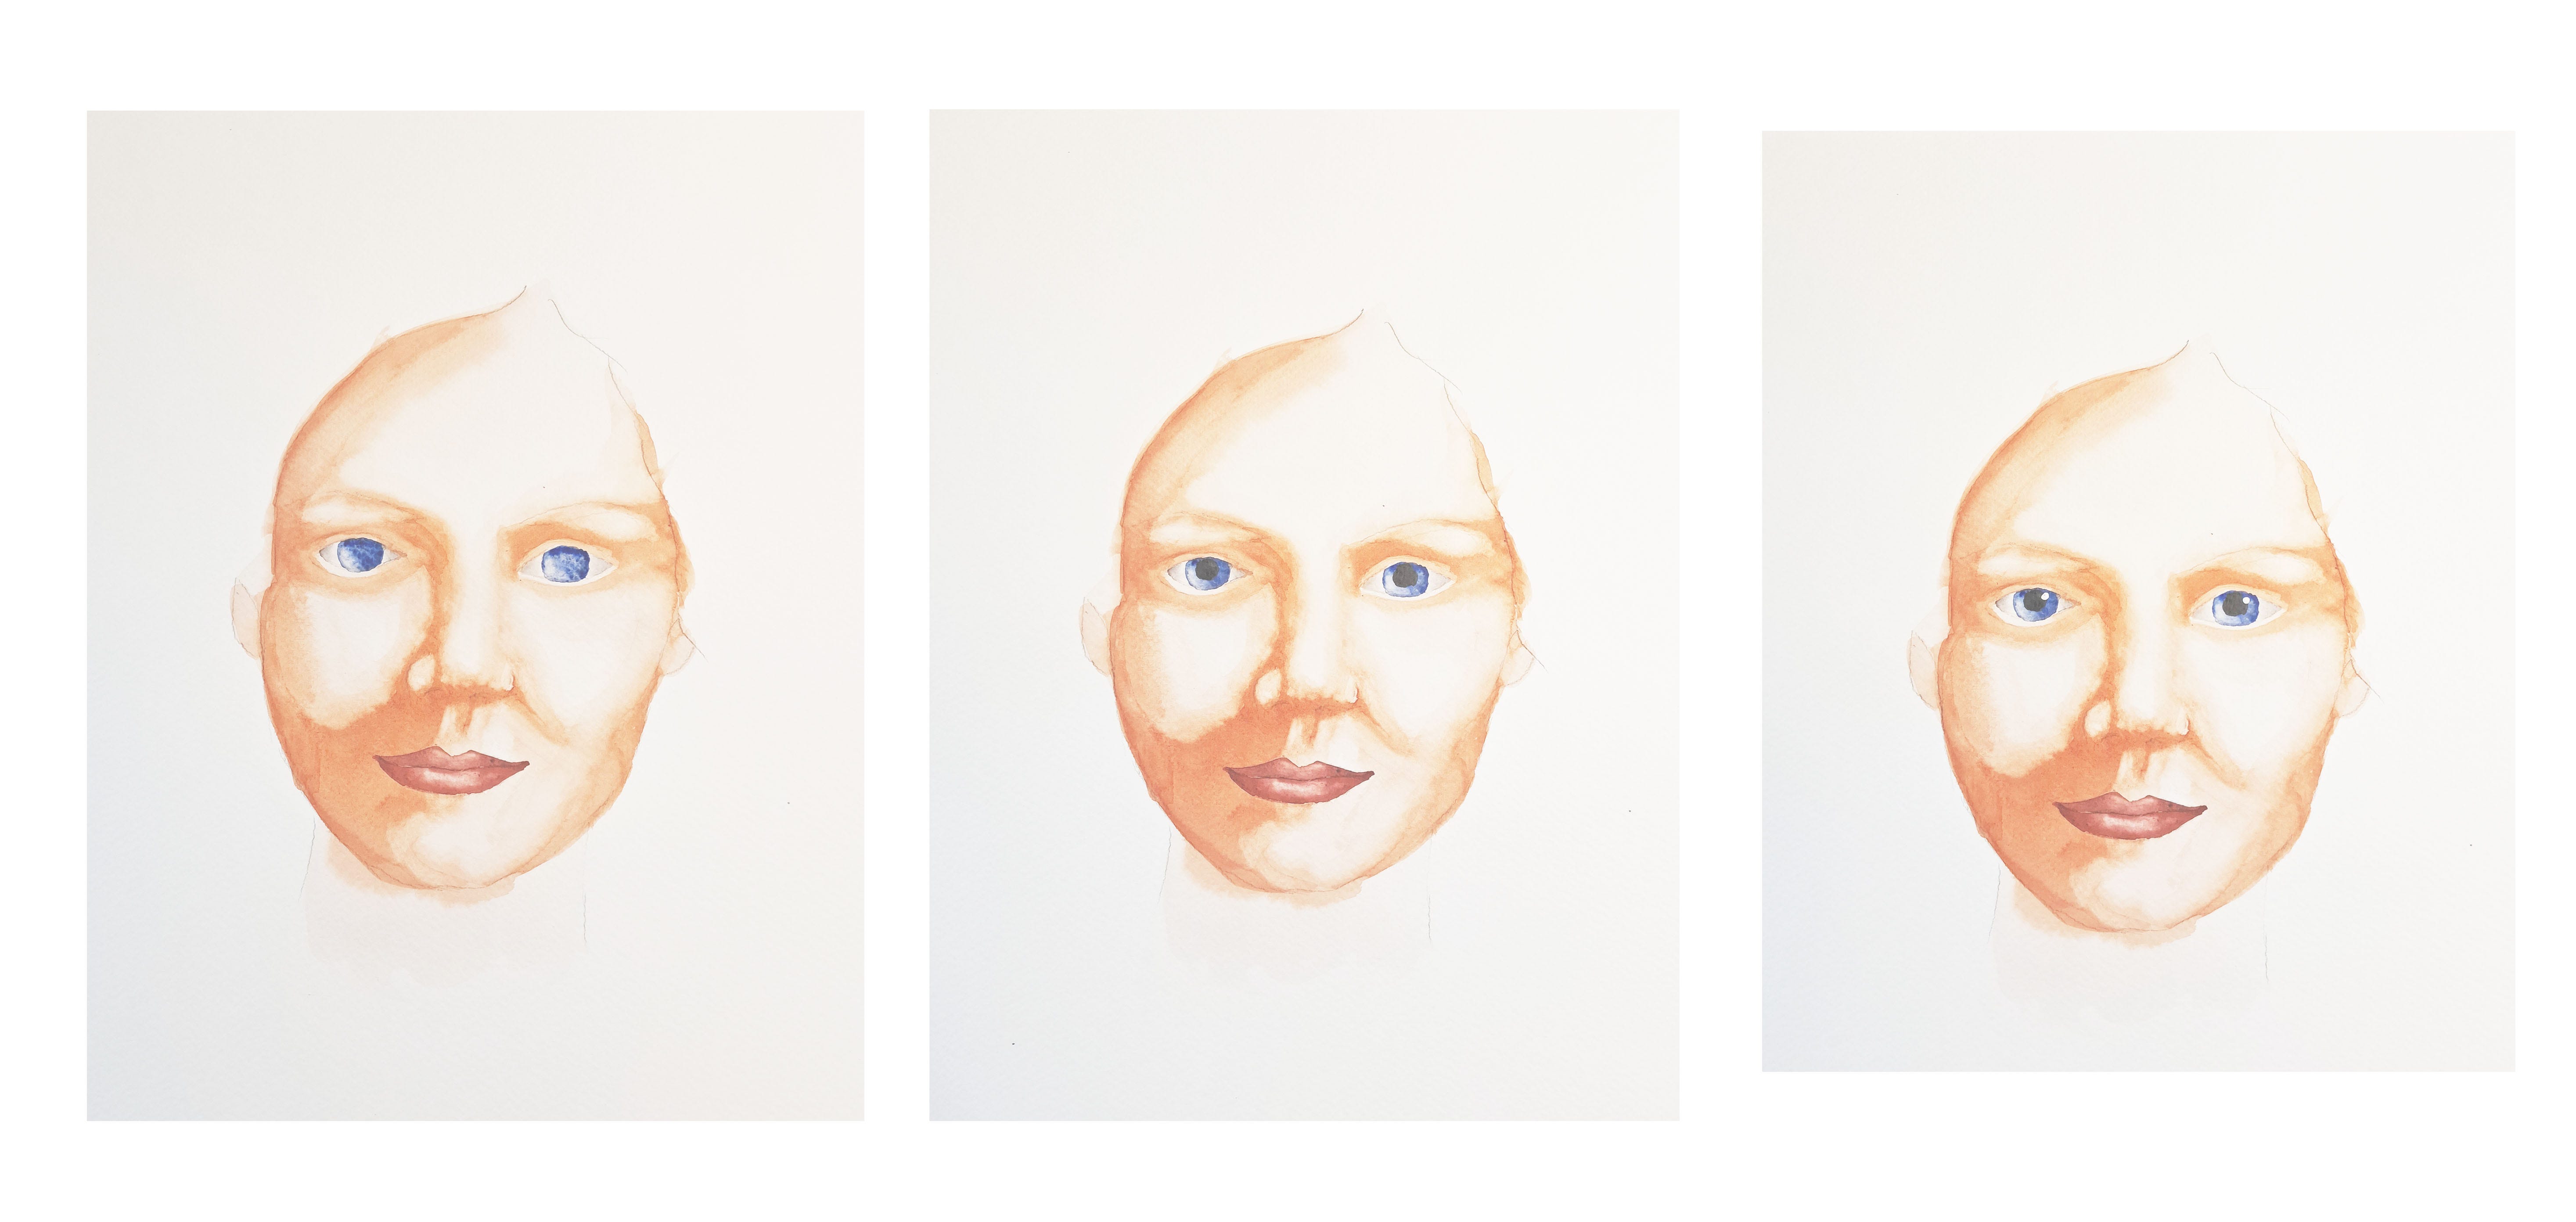
Step 5. The eyes are worked on a dry surface. Apply a wash of your chosen eye colour, I’ve used Prussian Blue, to the whole iris - go over the pupil, it’s darker and will cover. Lift out a little colour at the lower left of each eye - let dry. Paint the dark pupils, I used Payne’s Grey, take care to position them accurately and symmetrically. When dry, apply a highlight in opaque white gouache - this can be simply done by dipping the wrong end of a brush into the paint and ‘dotting’ on each eye.
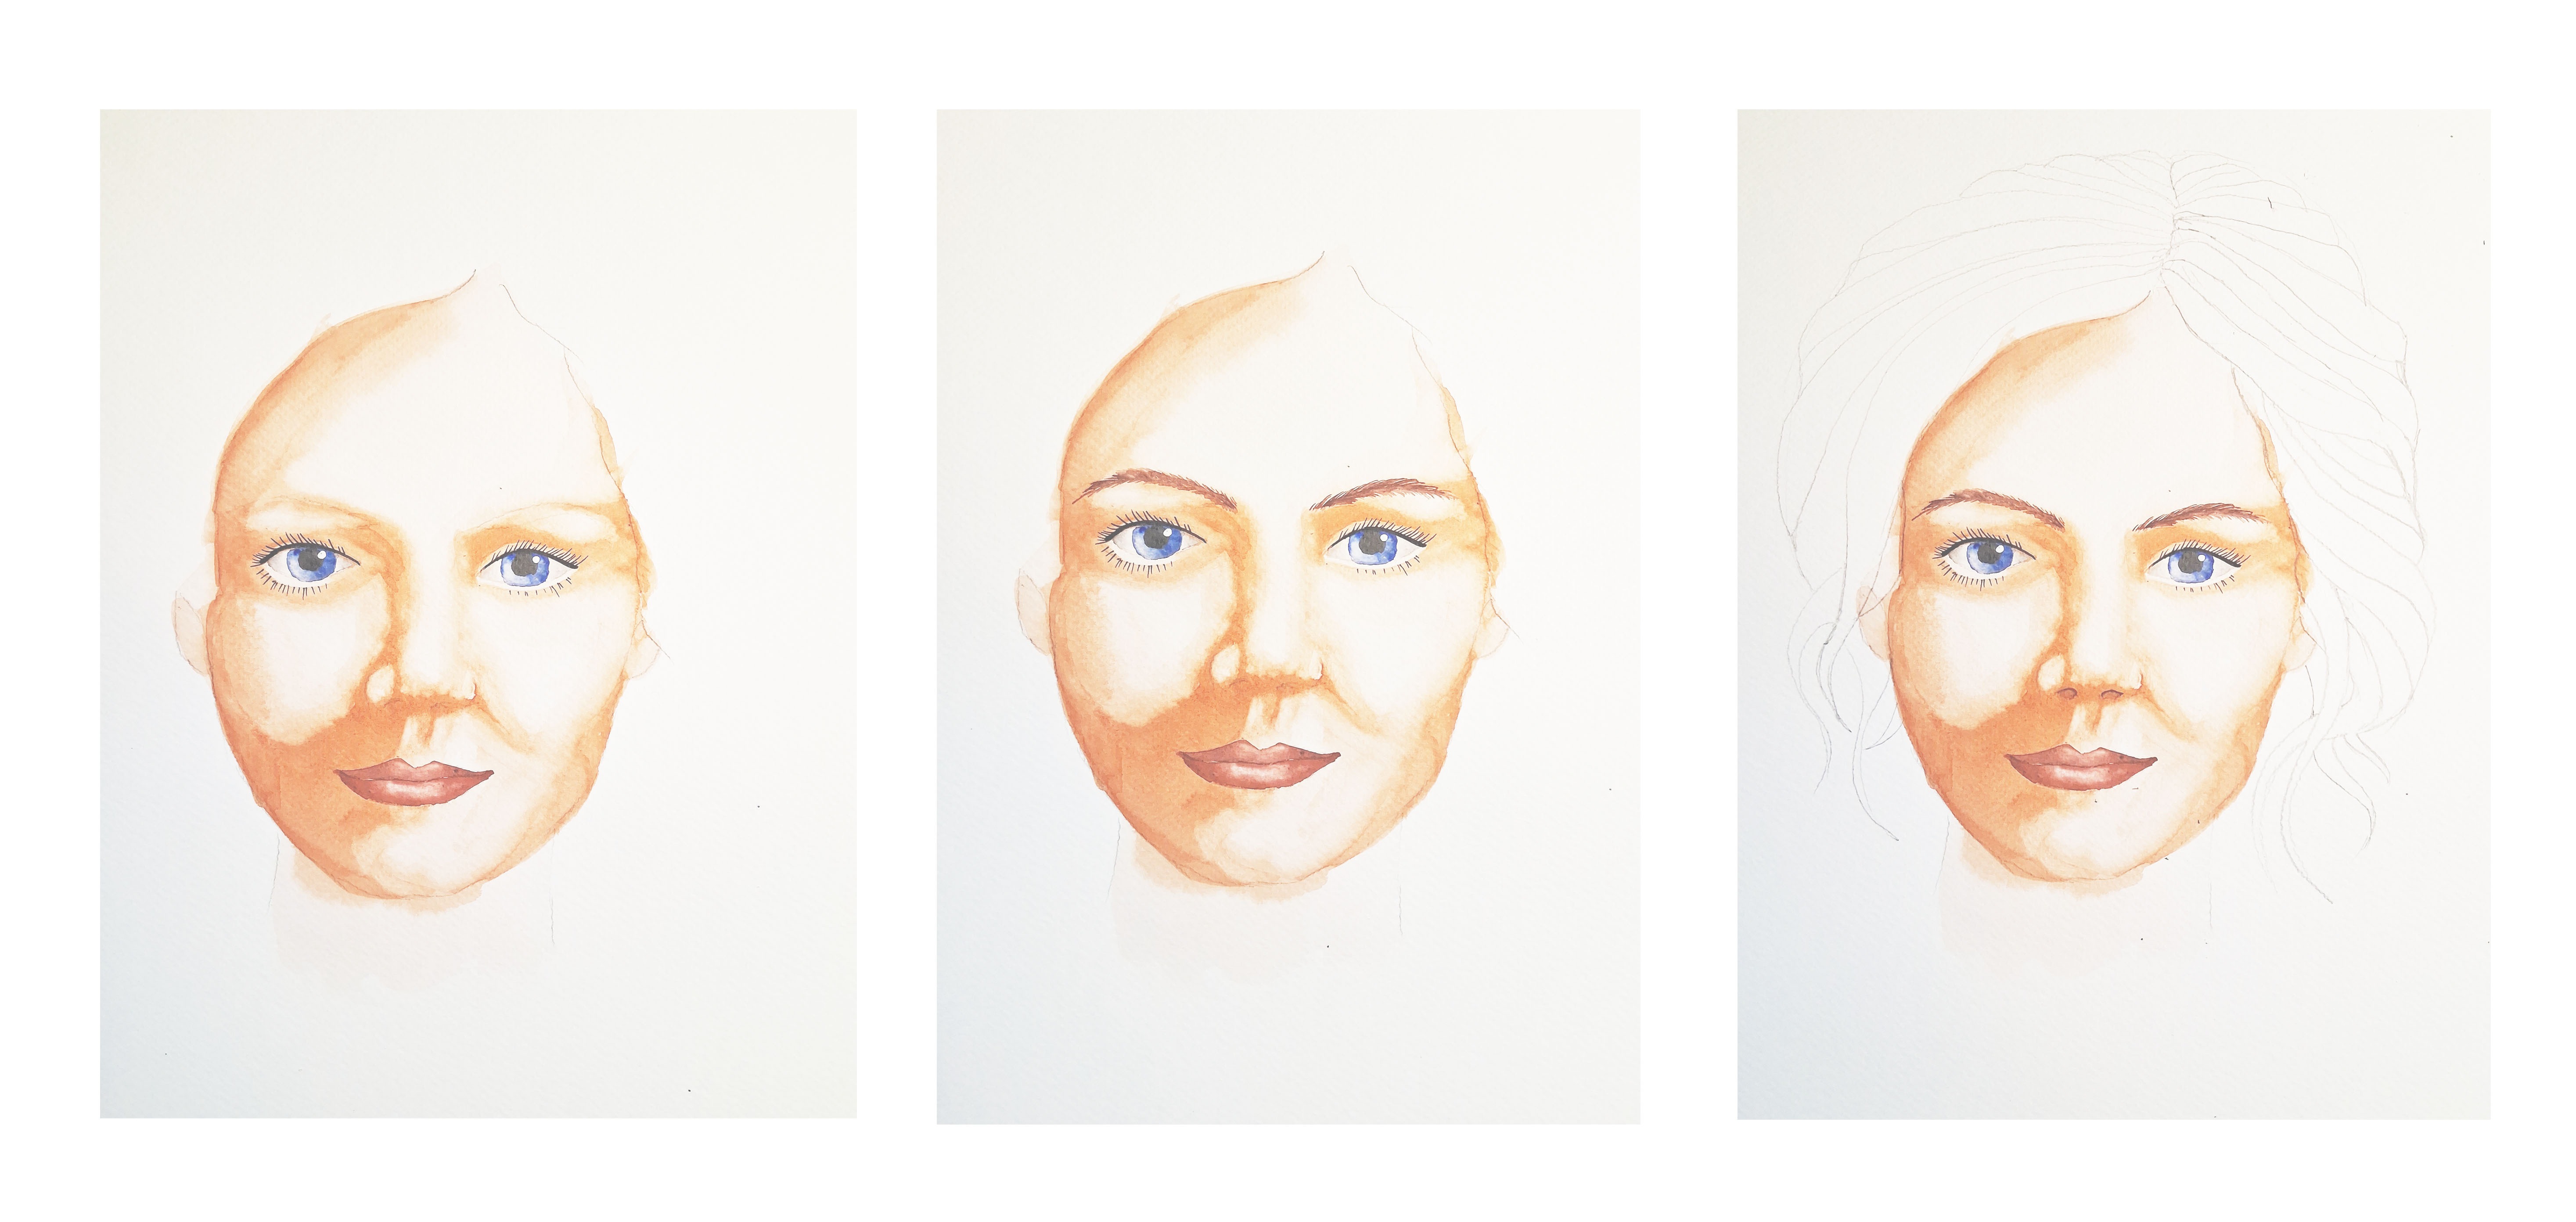
Step 6. Add detail to the eyes and eyebrows - use a fine pen if you wish. Be mindful of the direction of lash and brow hairs, and consider the tone of the eyebrows.
Step 7. Now we can start on the hair. Sketch out the main shapes and paint in the whole hair area, think ‘Lego hair’, while wet drop in some shadow tones using your choice of colour - I used Raw Umber (pics. 1 &2). Allow to dry and paint a layer of the same wash over the whole area omitting a few highlighted strands (pic. 3). Because watercolour is transparent, layering it will deepen the shade.
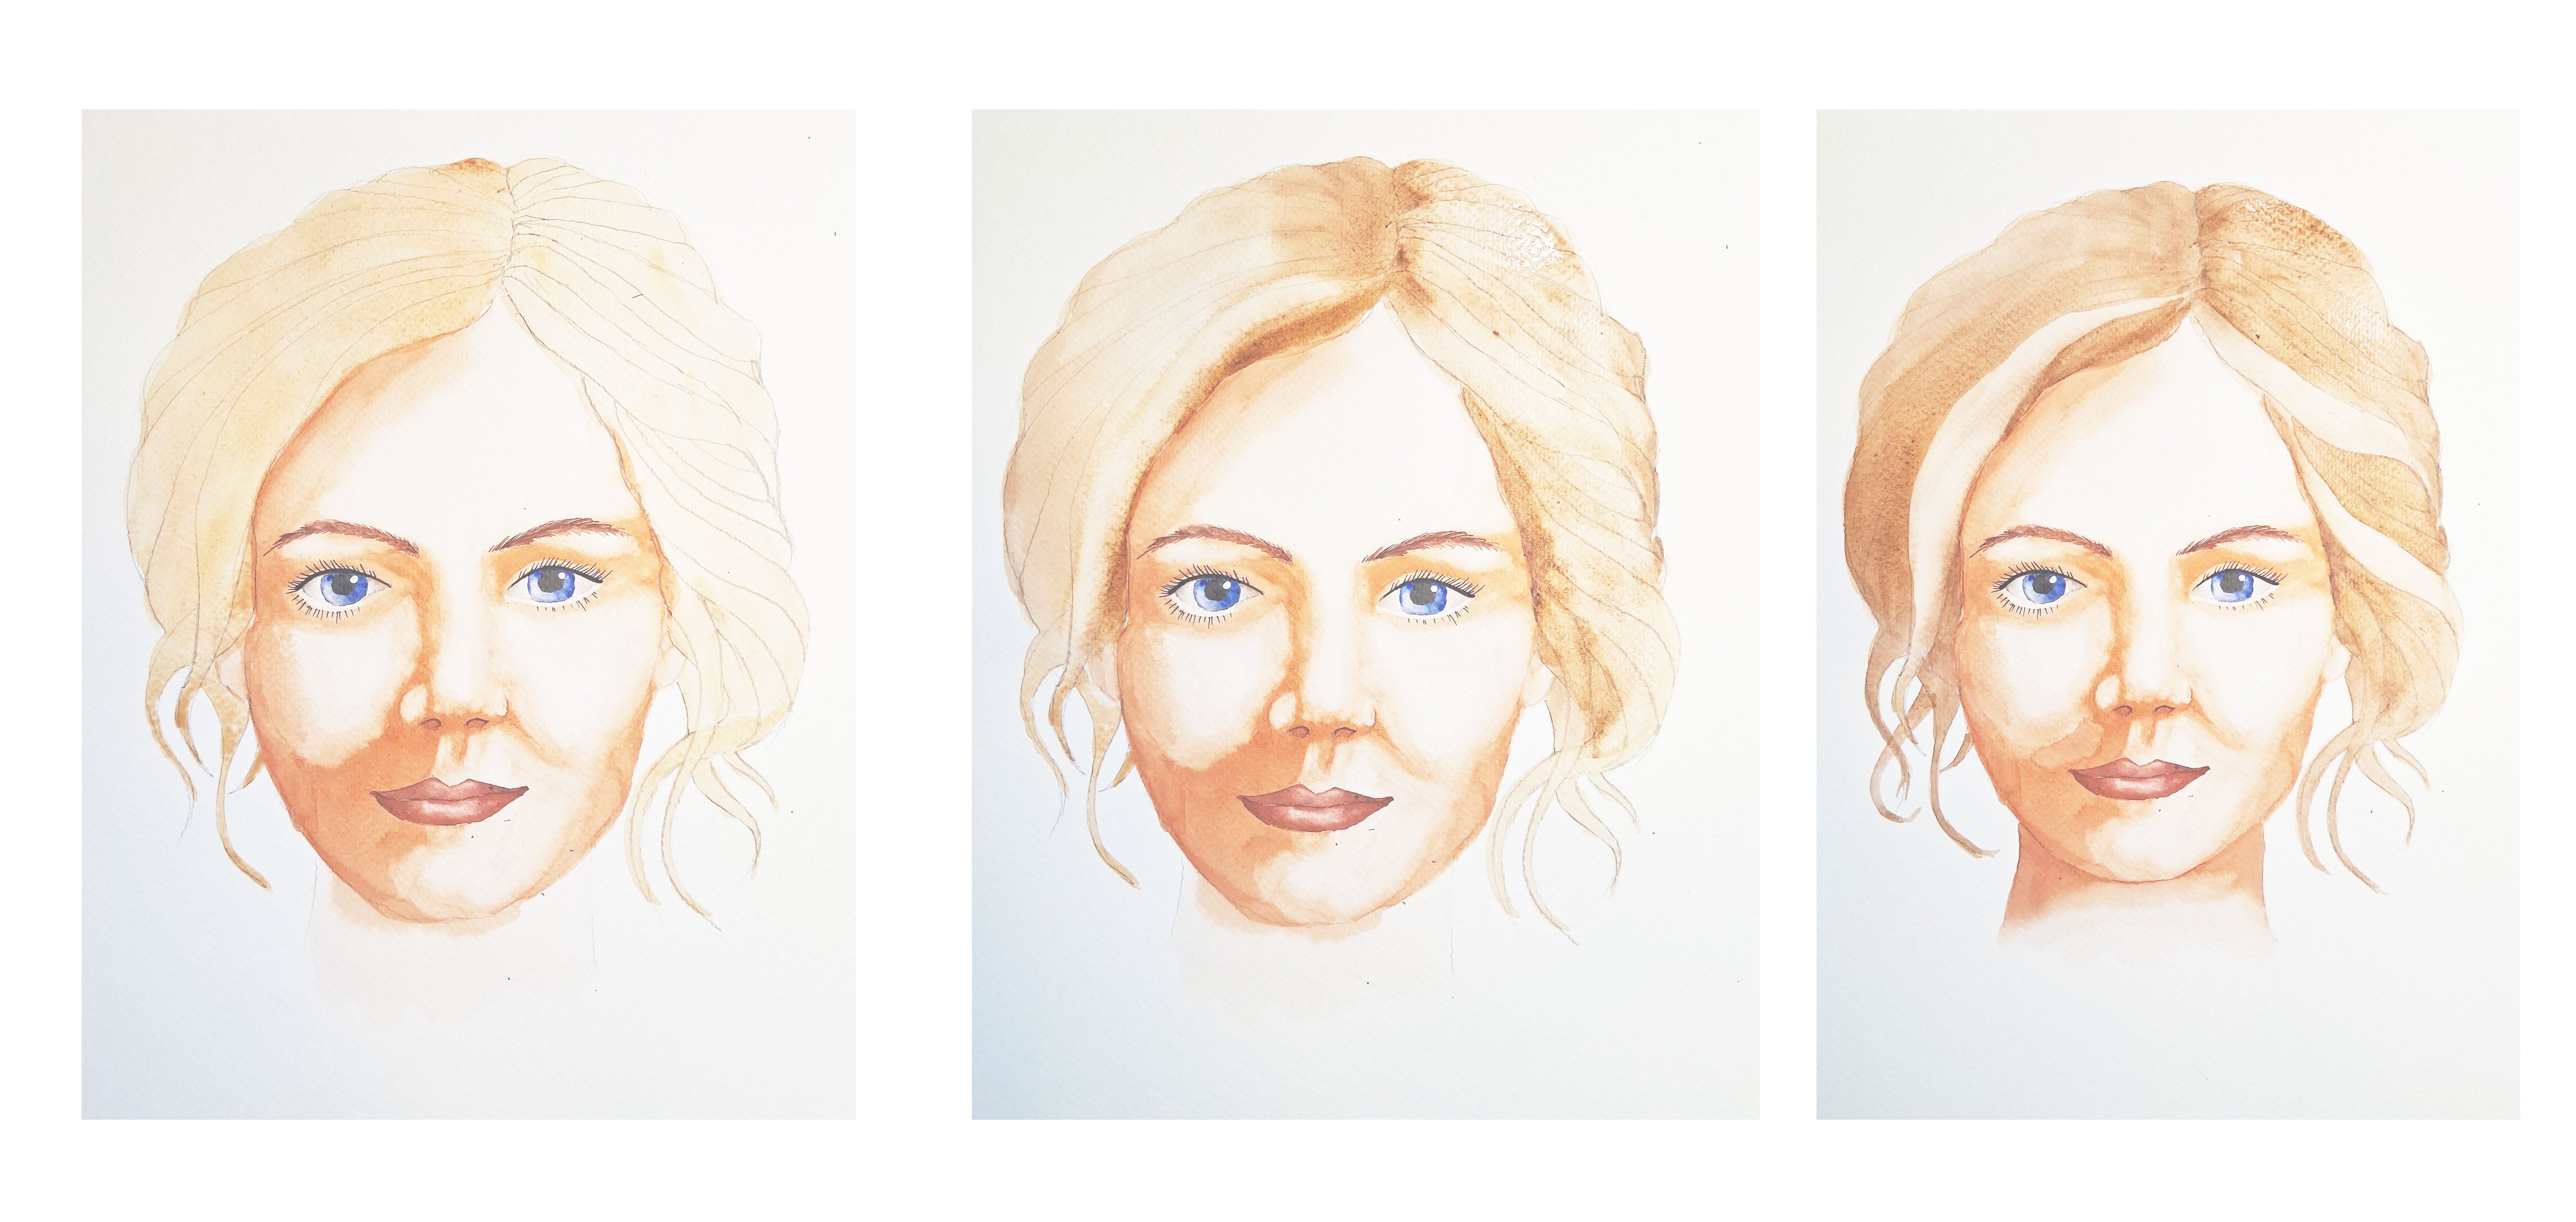
Step 8. Continue adding layers to the hair area, with each layer leave a few more strands unpainted. You will see that the most painted areas become darker with each layer. If you wish, introduce other darker, harmonious shades to your layers - I’ve used Burnt Umber. At this stage you can also add shadow to the neck under the chin.
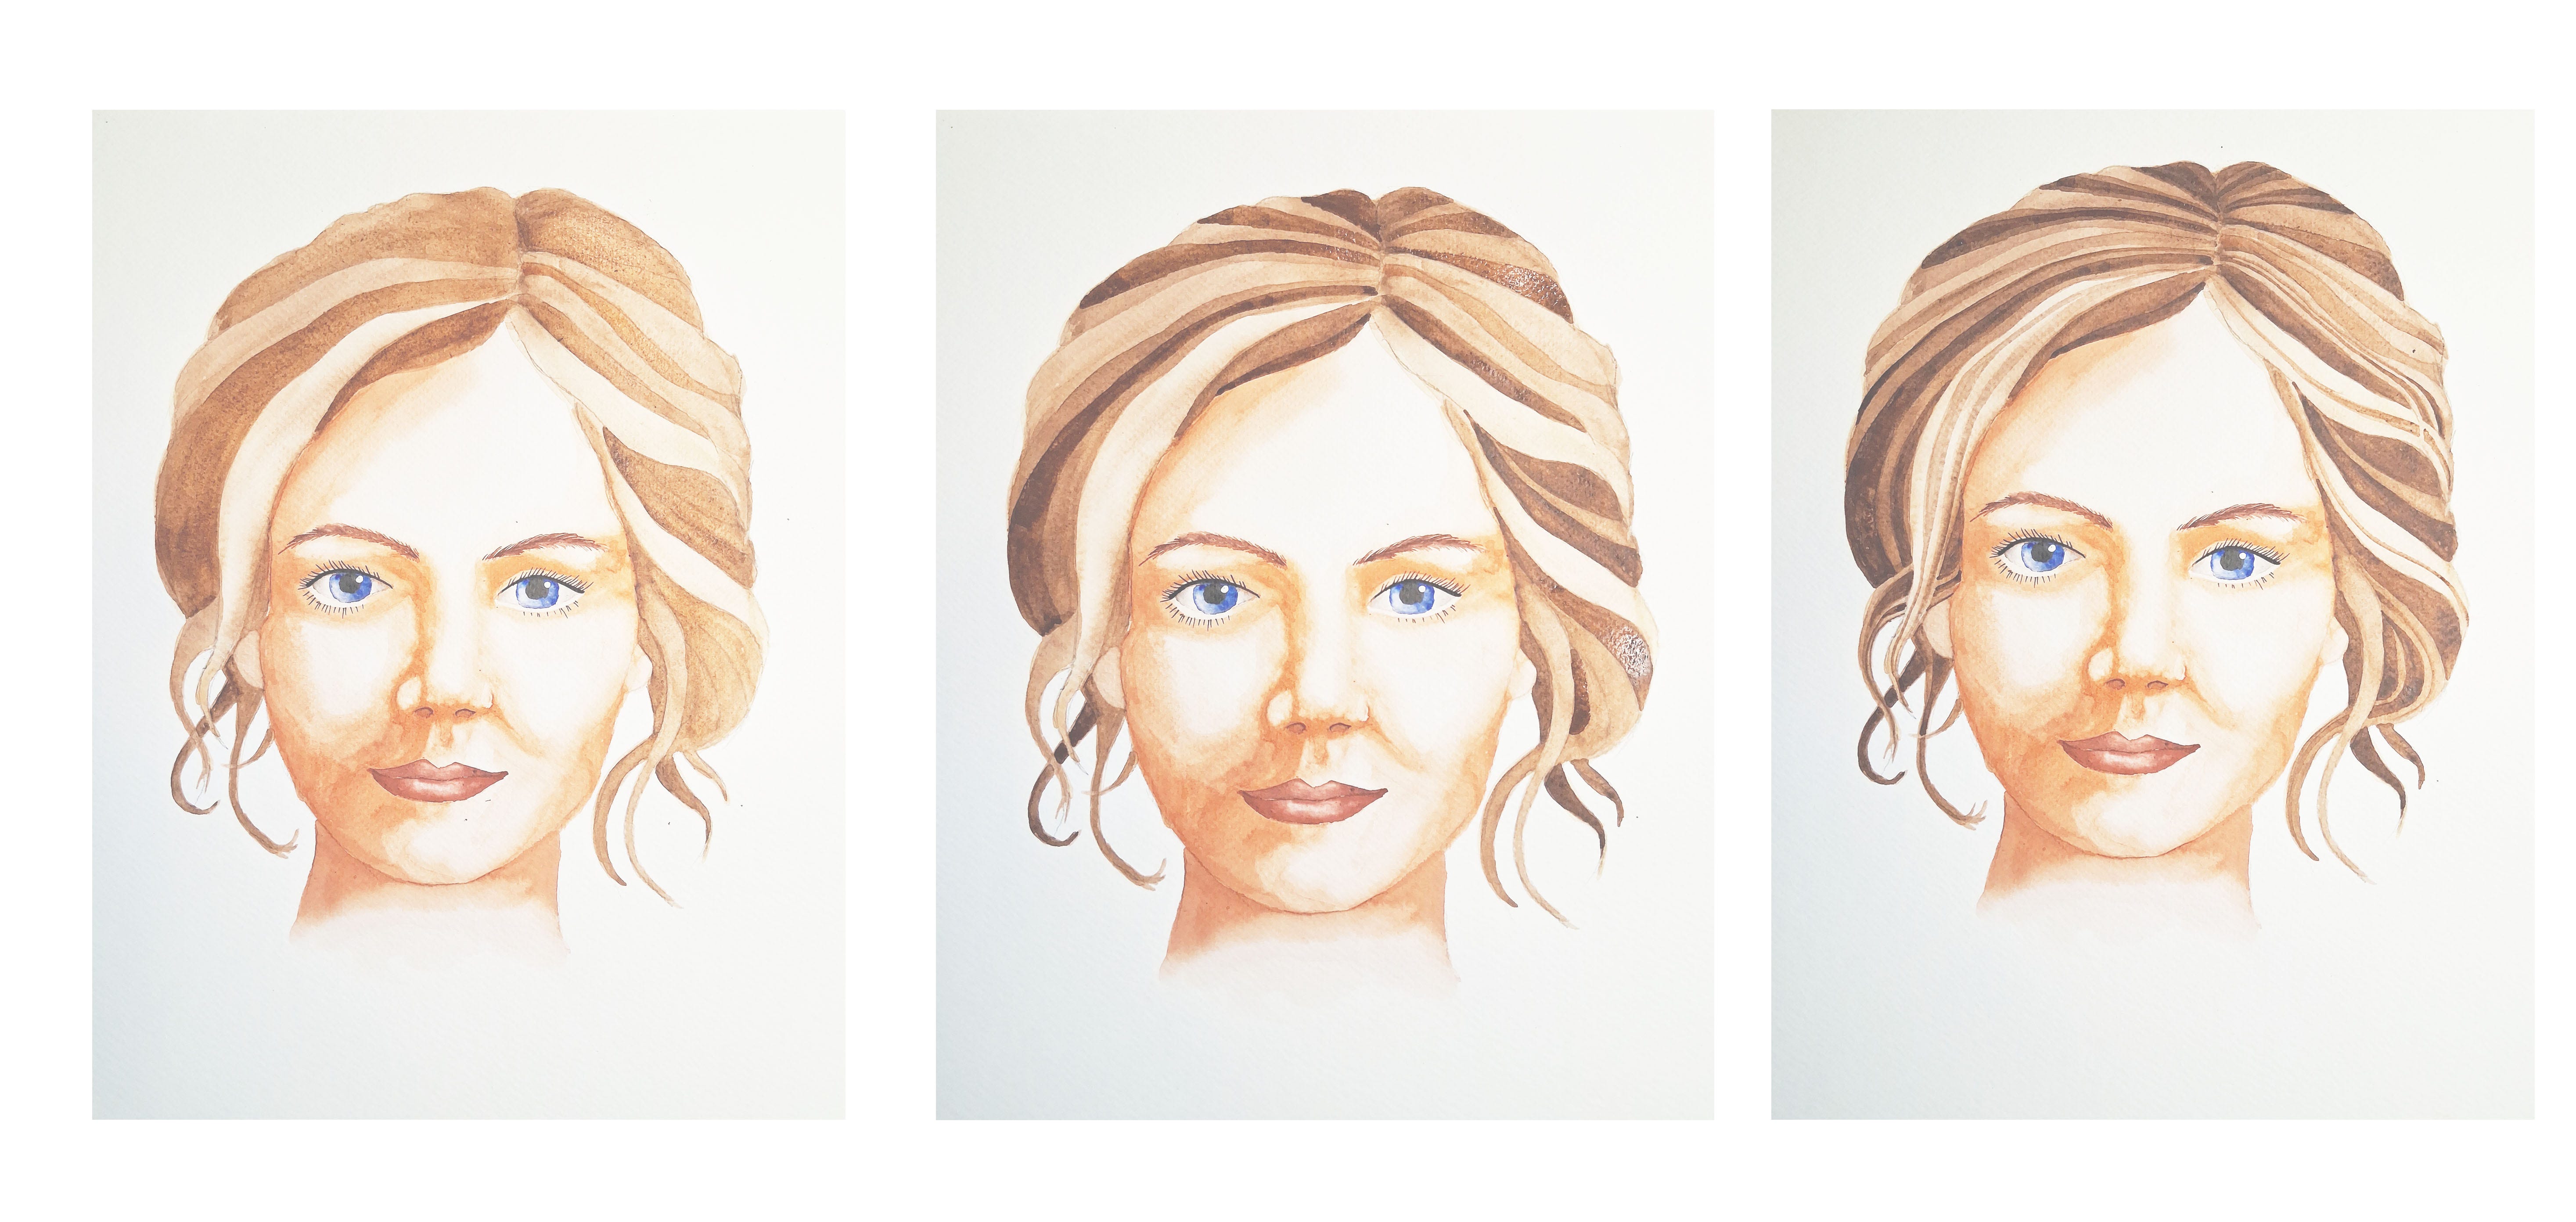
Step 9. Continue layering, this is called ‘negative painting’, where you paint the spaces between things (in this case between tresses of hair). You can work back into each tress to break it up as much or as little as you like. It’s a great technique - have a go and develop your own version of it.