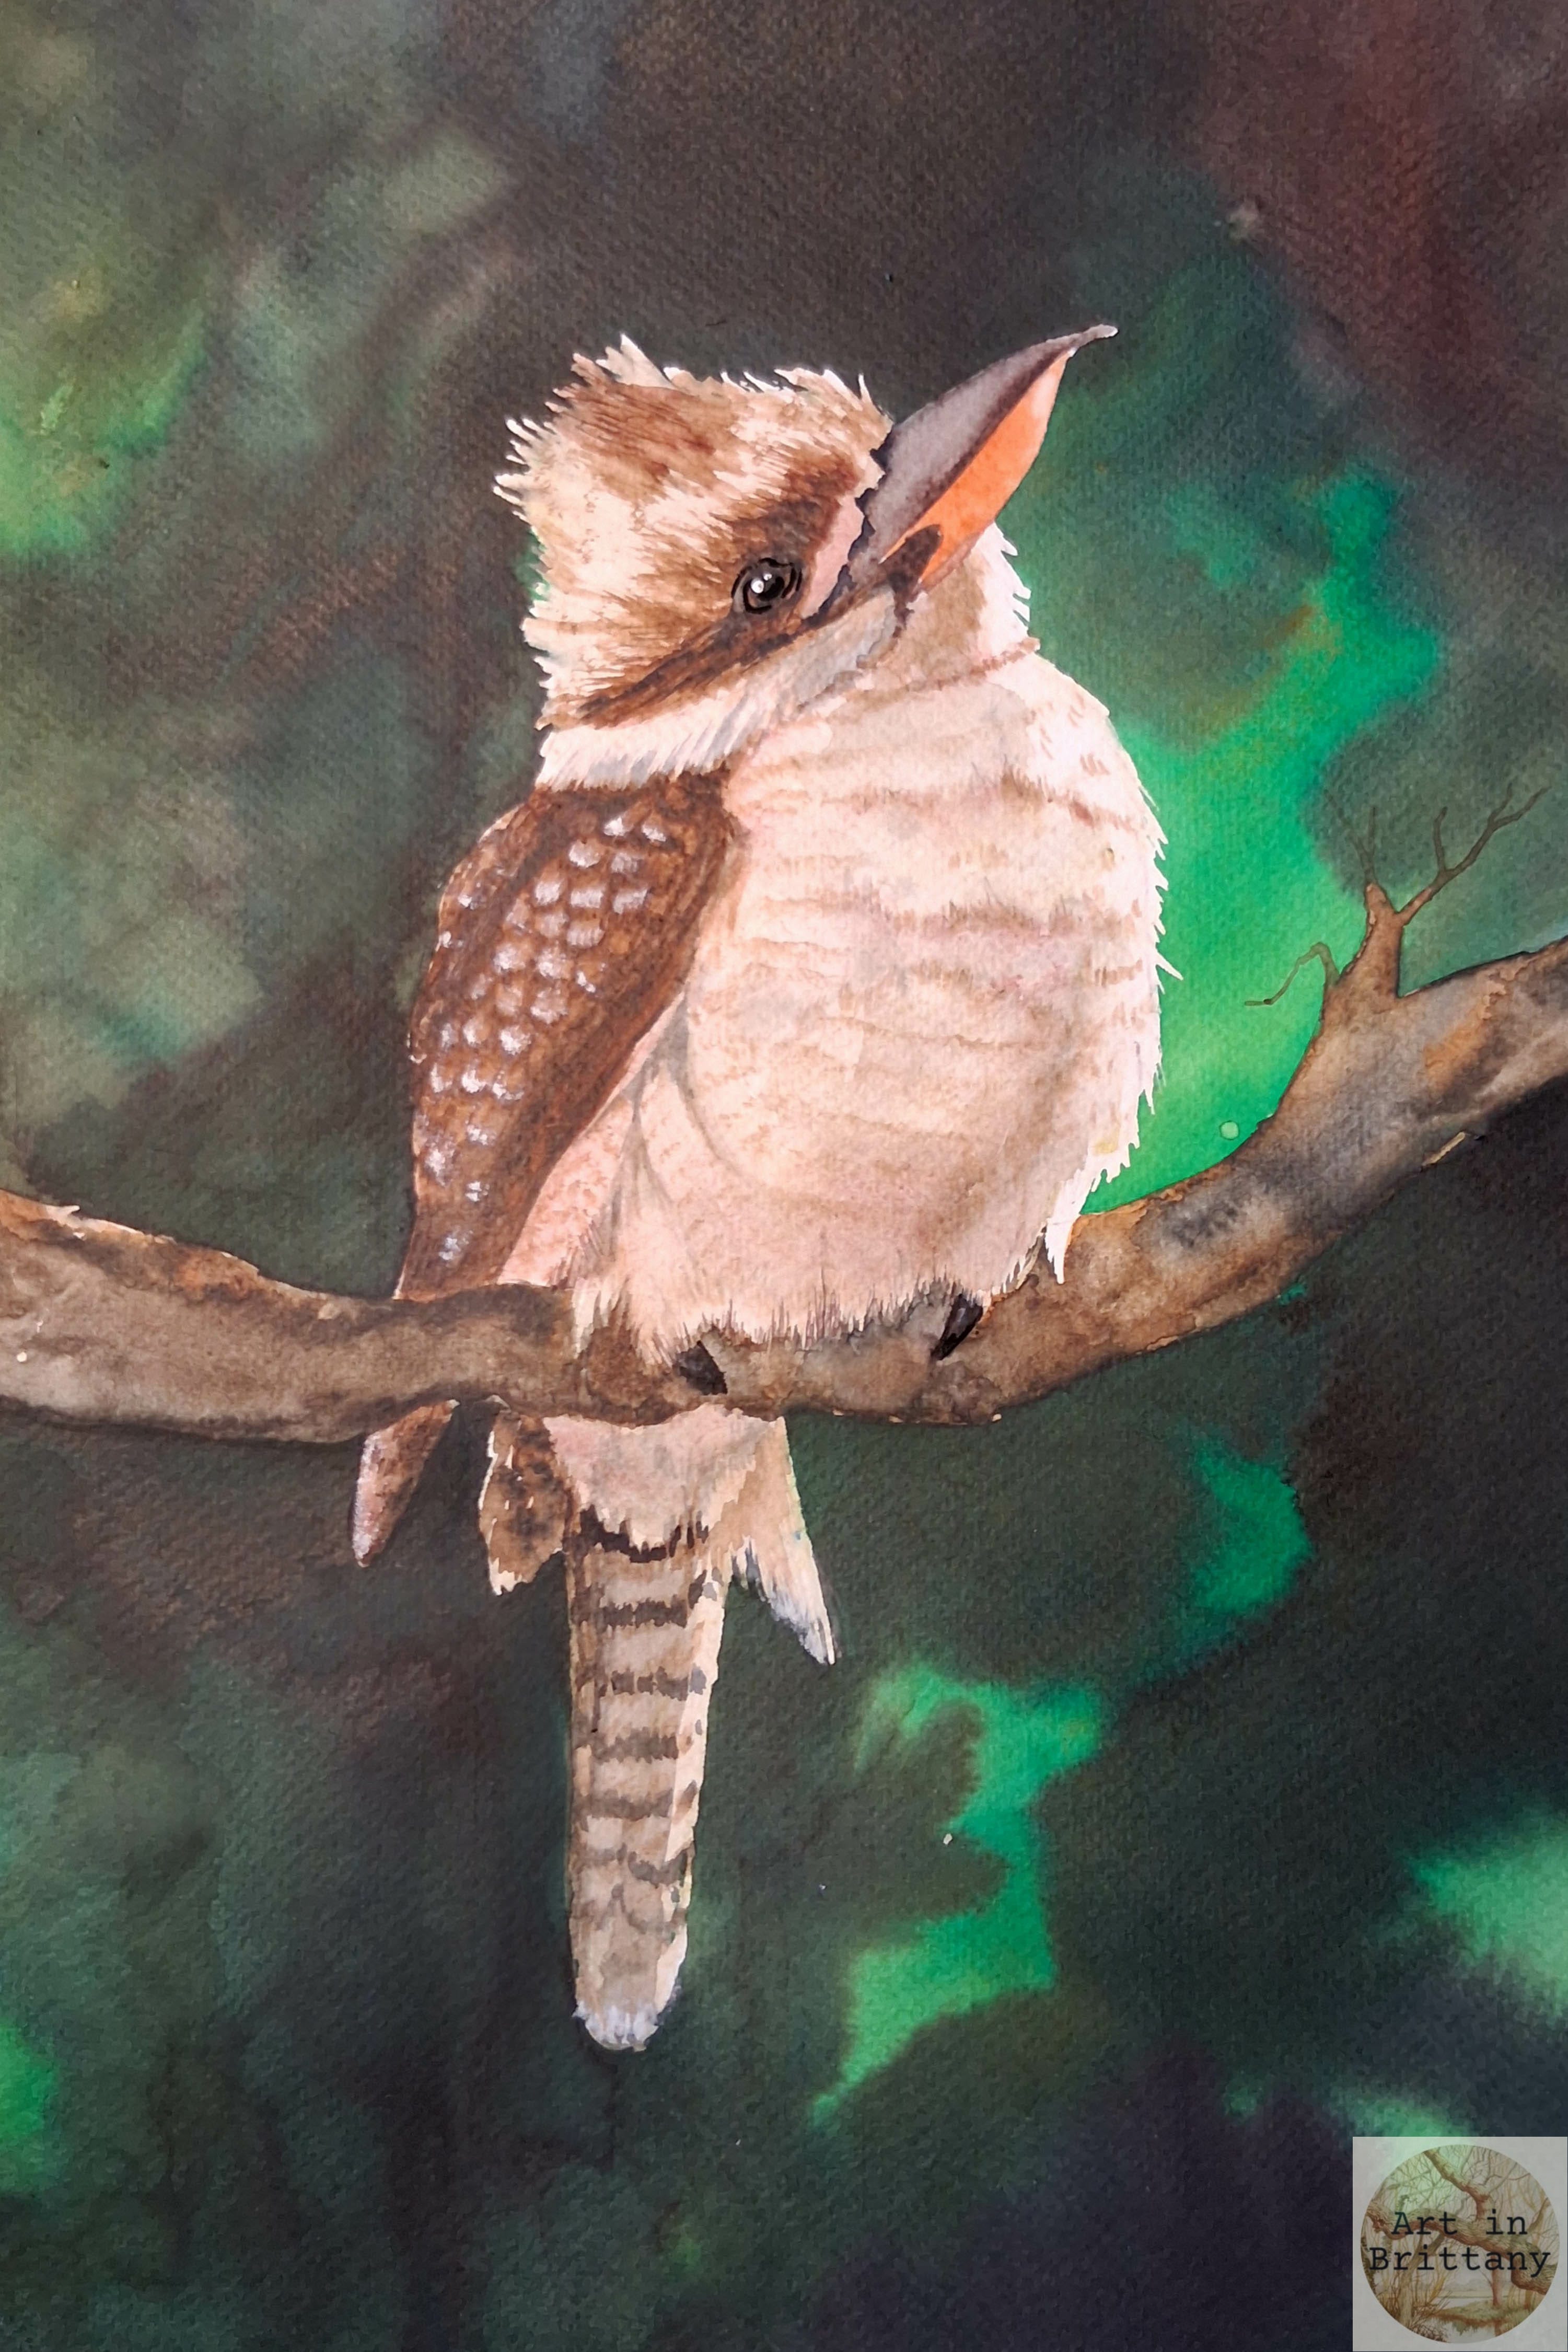

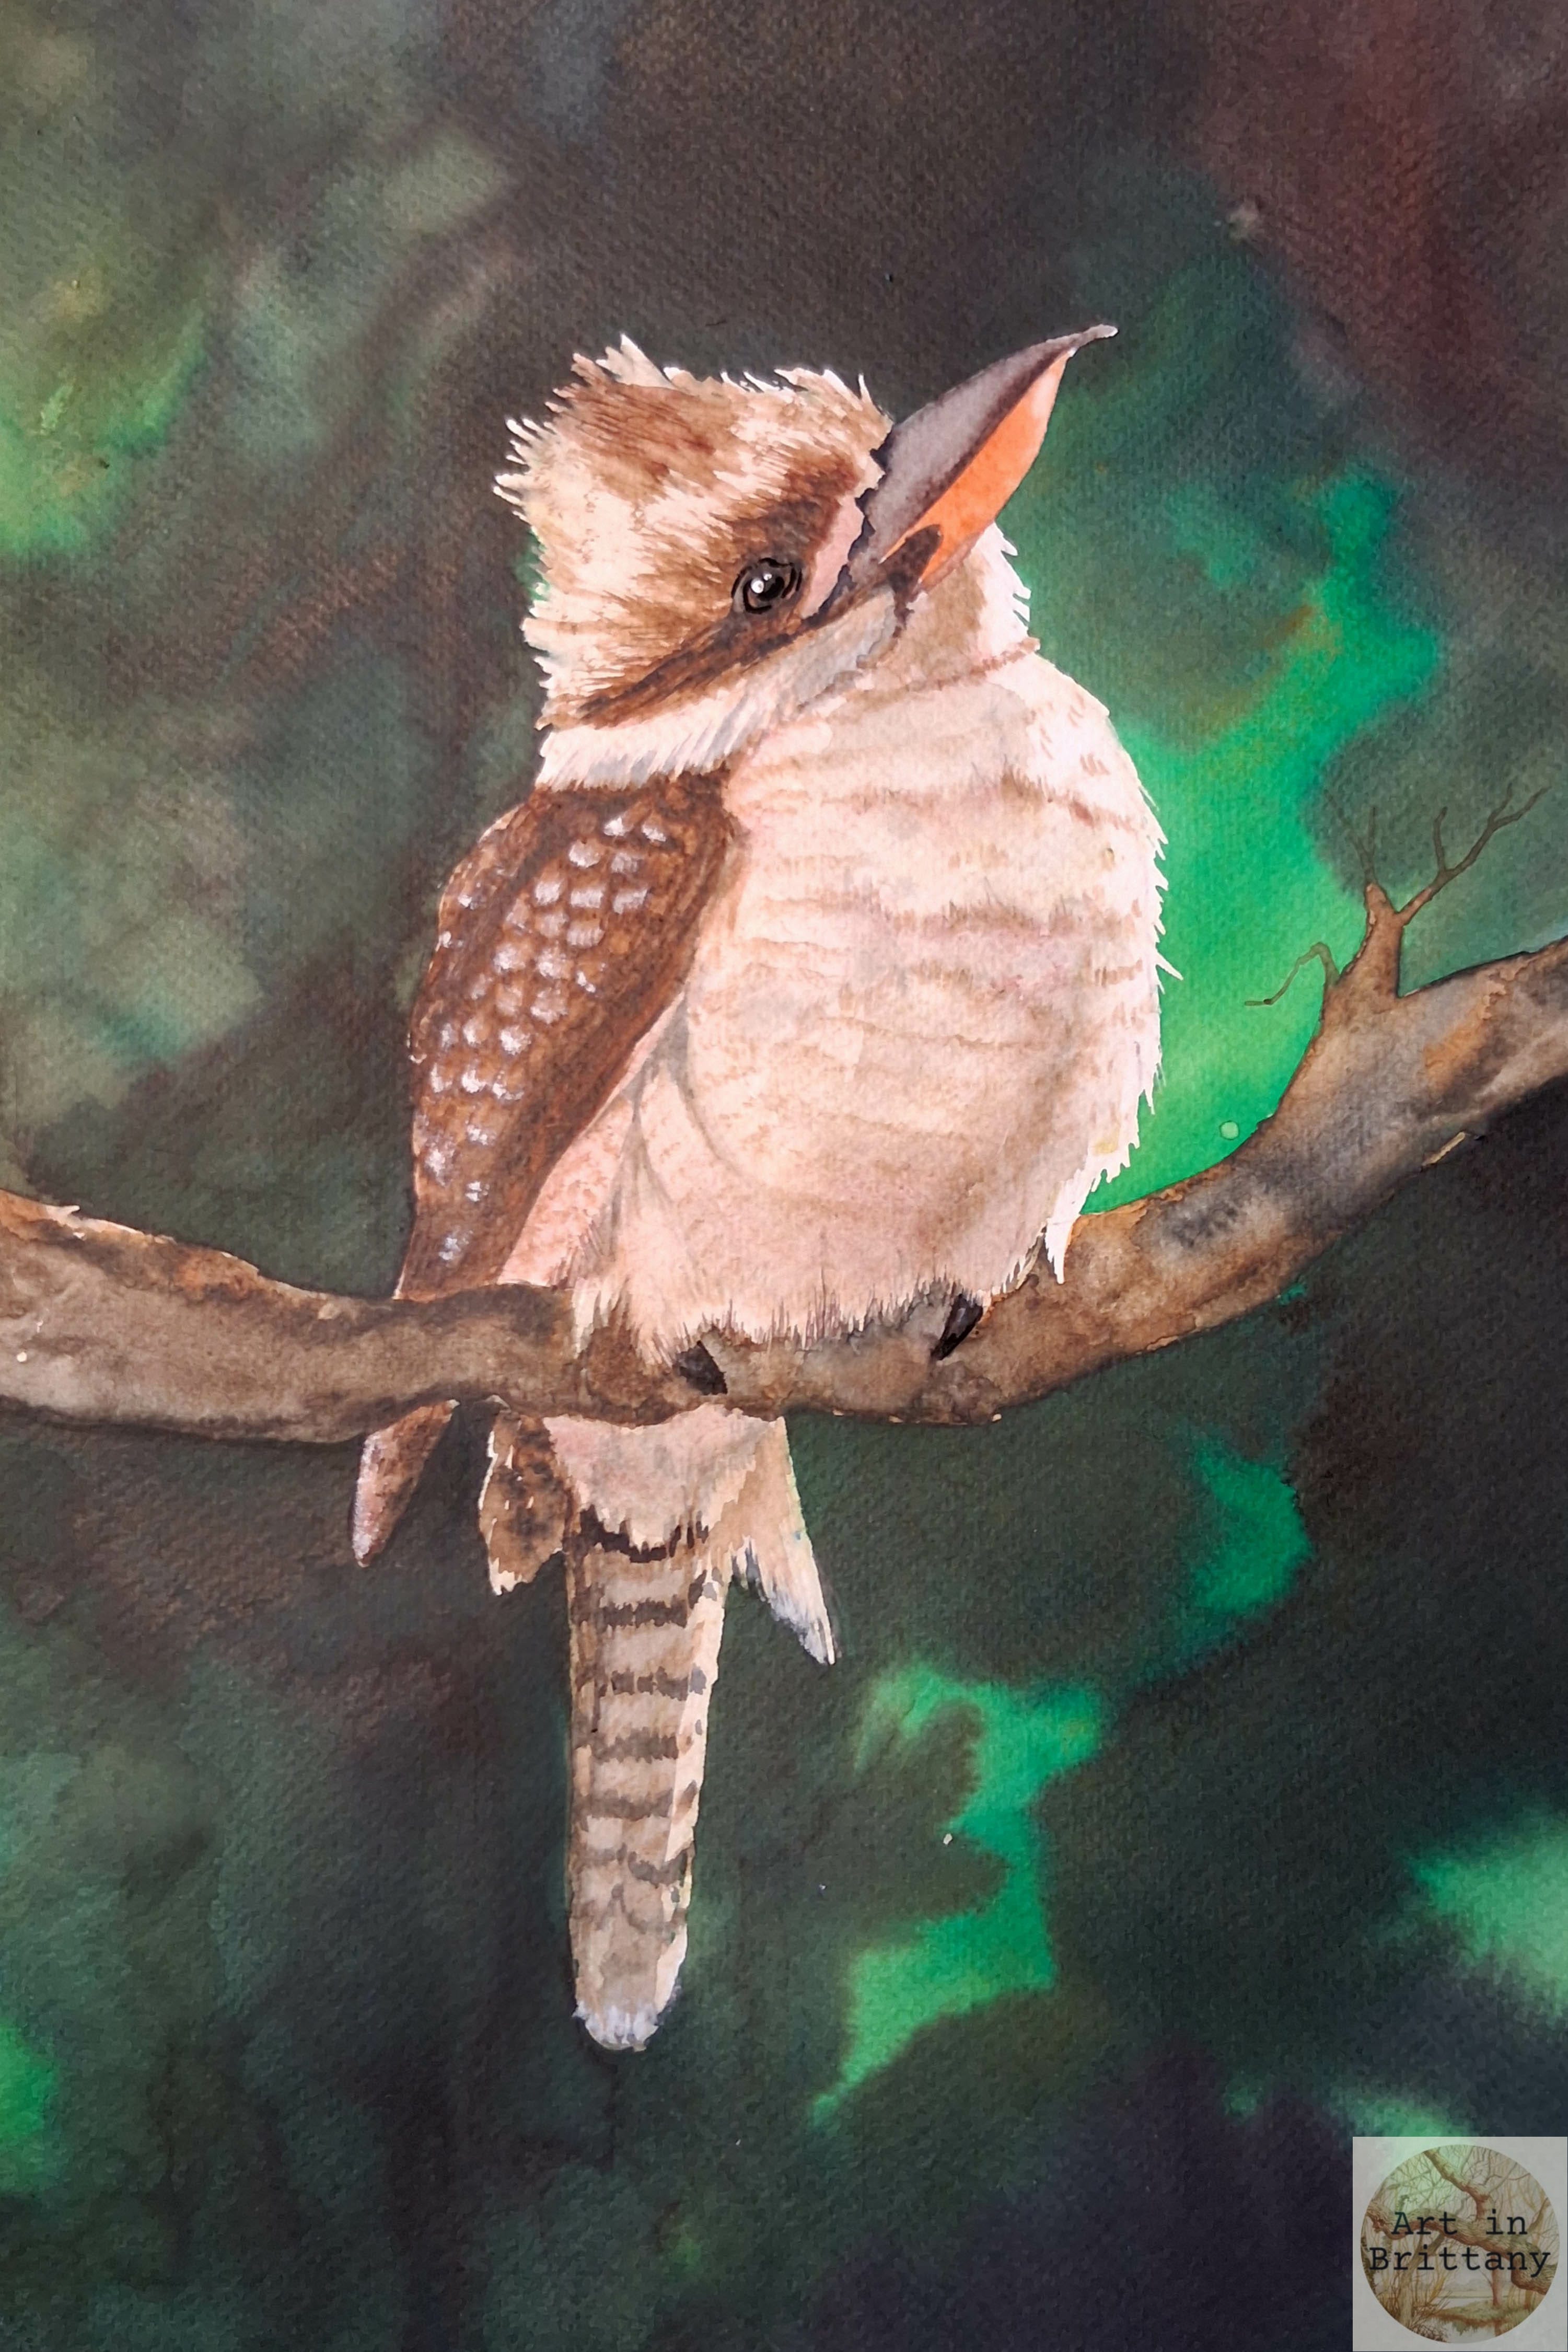
Not everyone who follows my tutorials is in Europe so I thought I would add some more exotic species to this series. This cheeky Kookaburra has an inquisitive look that I found amusing. I’ve used high contrast to add drama to this work.
The Project.
Many of the techniques in this tutorial echo earlier bird tutorials in the series such as wet-in-wet, dry brush, resist, etc and introduces the use of powdered watercolour (Brusho) with eye droppers.
Materials I used -
Fabriano Acid free NOT surface 280gsm (130lb) watercolour paper 25 x 35 cms
Brusho by Colourcraft – Dark Brown, Black,Emerald and Leaf Green
Winsor & Newton pigments – Raw Umber, Yellow Ochre, Sepia, Payne’s Grey, Potter’s Pink and Zinc White Gouache.
Rosemary’s Brushes - Golden Synthetic No 8 round, Short Flat Shader, fine liner/rigger.
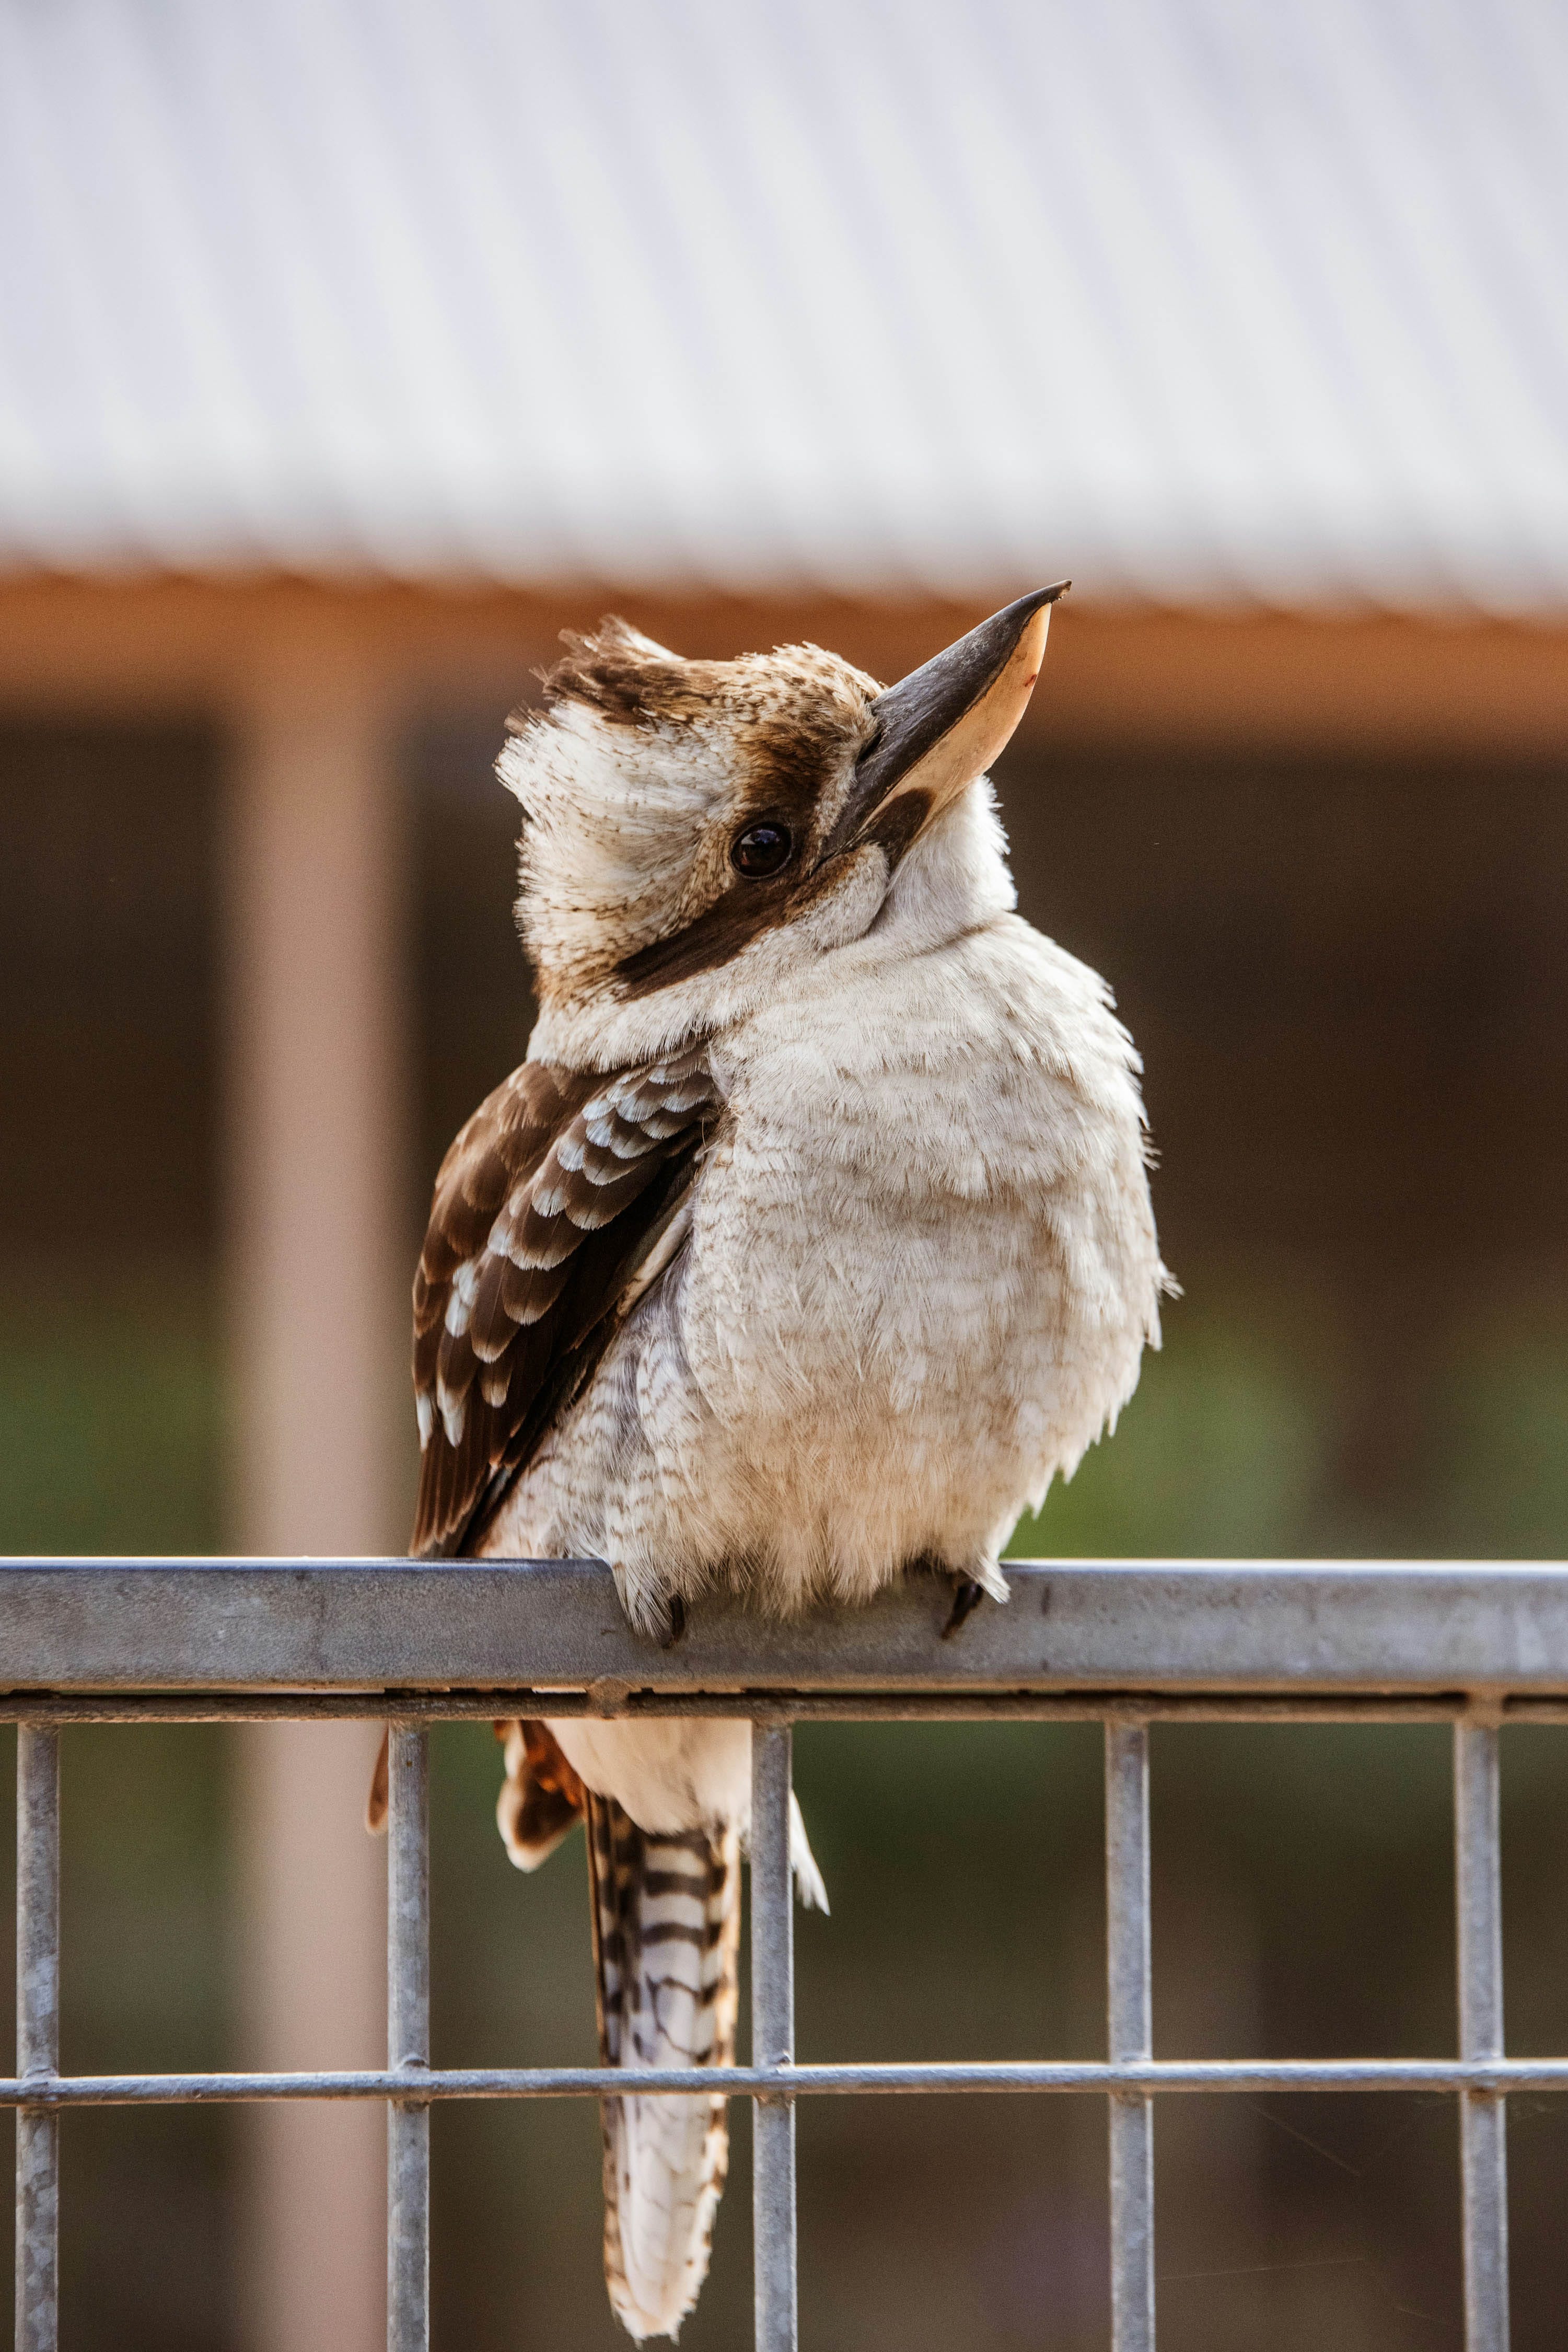
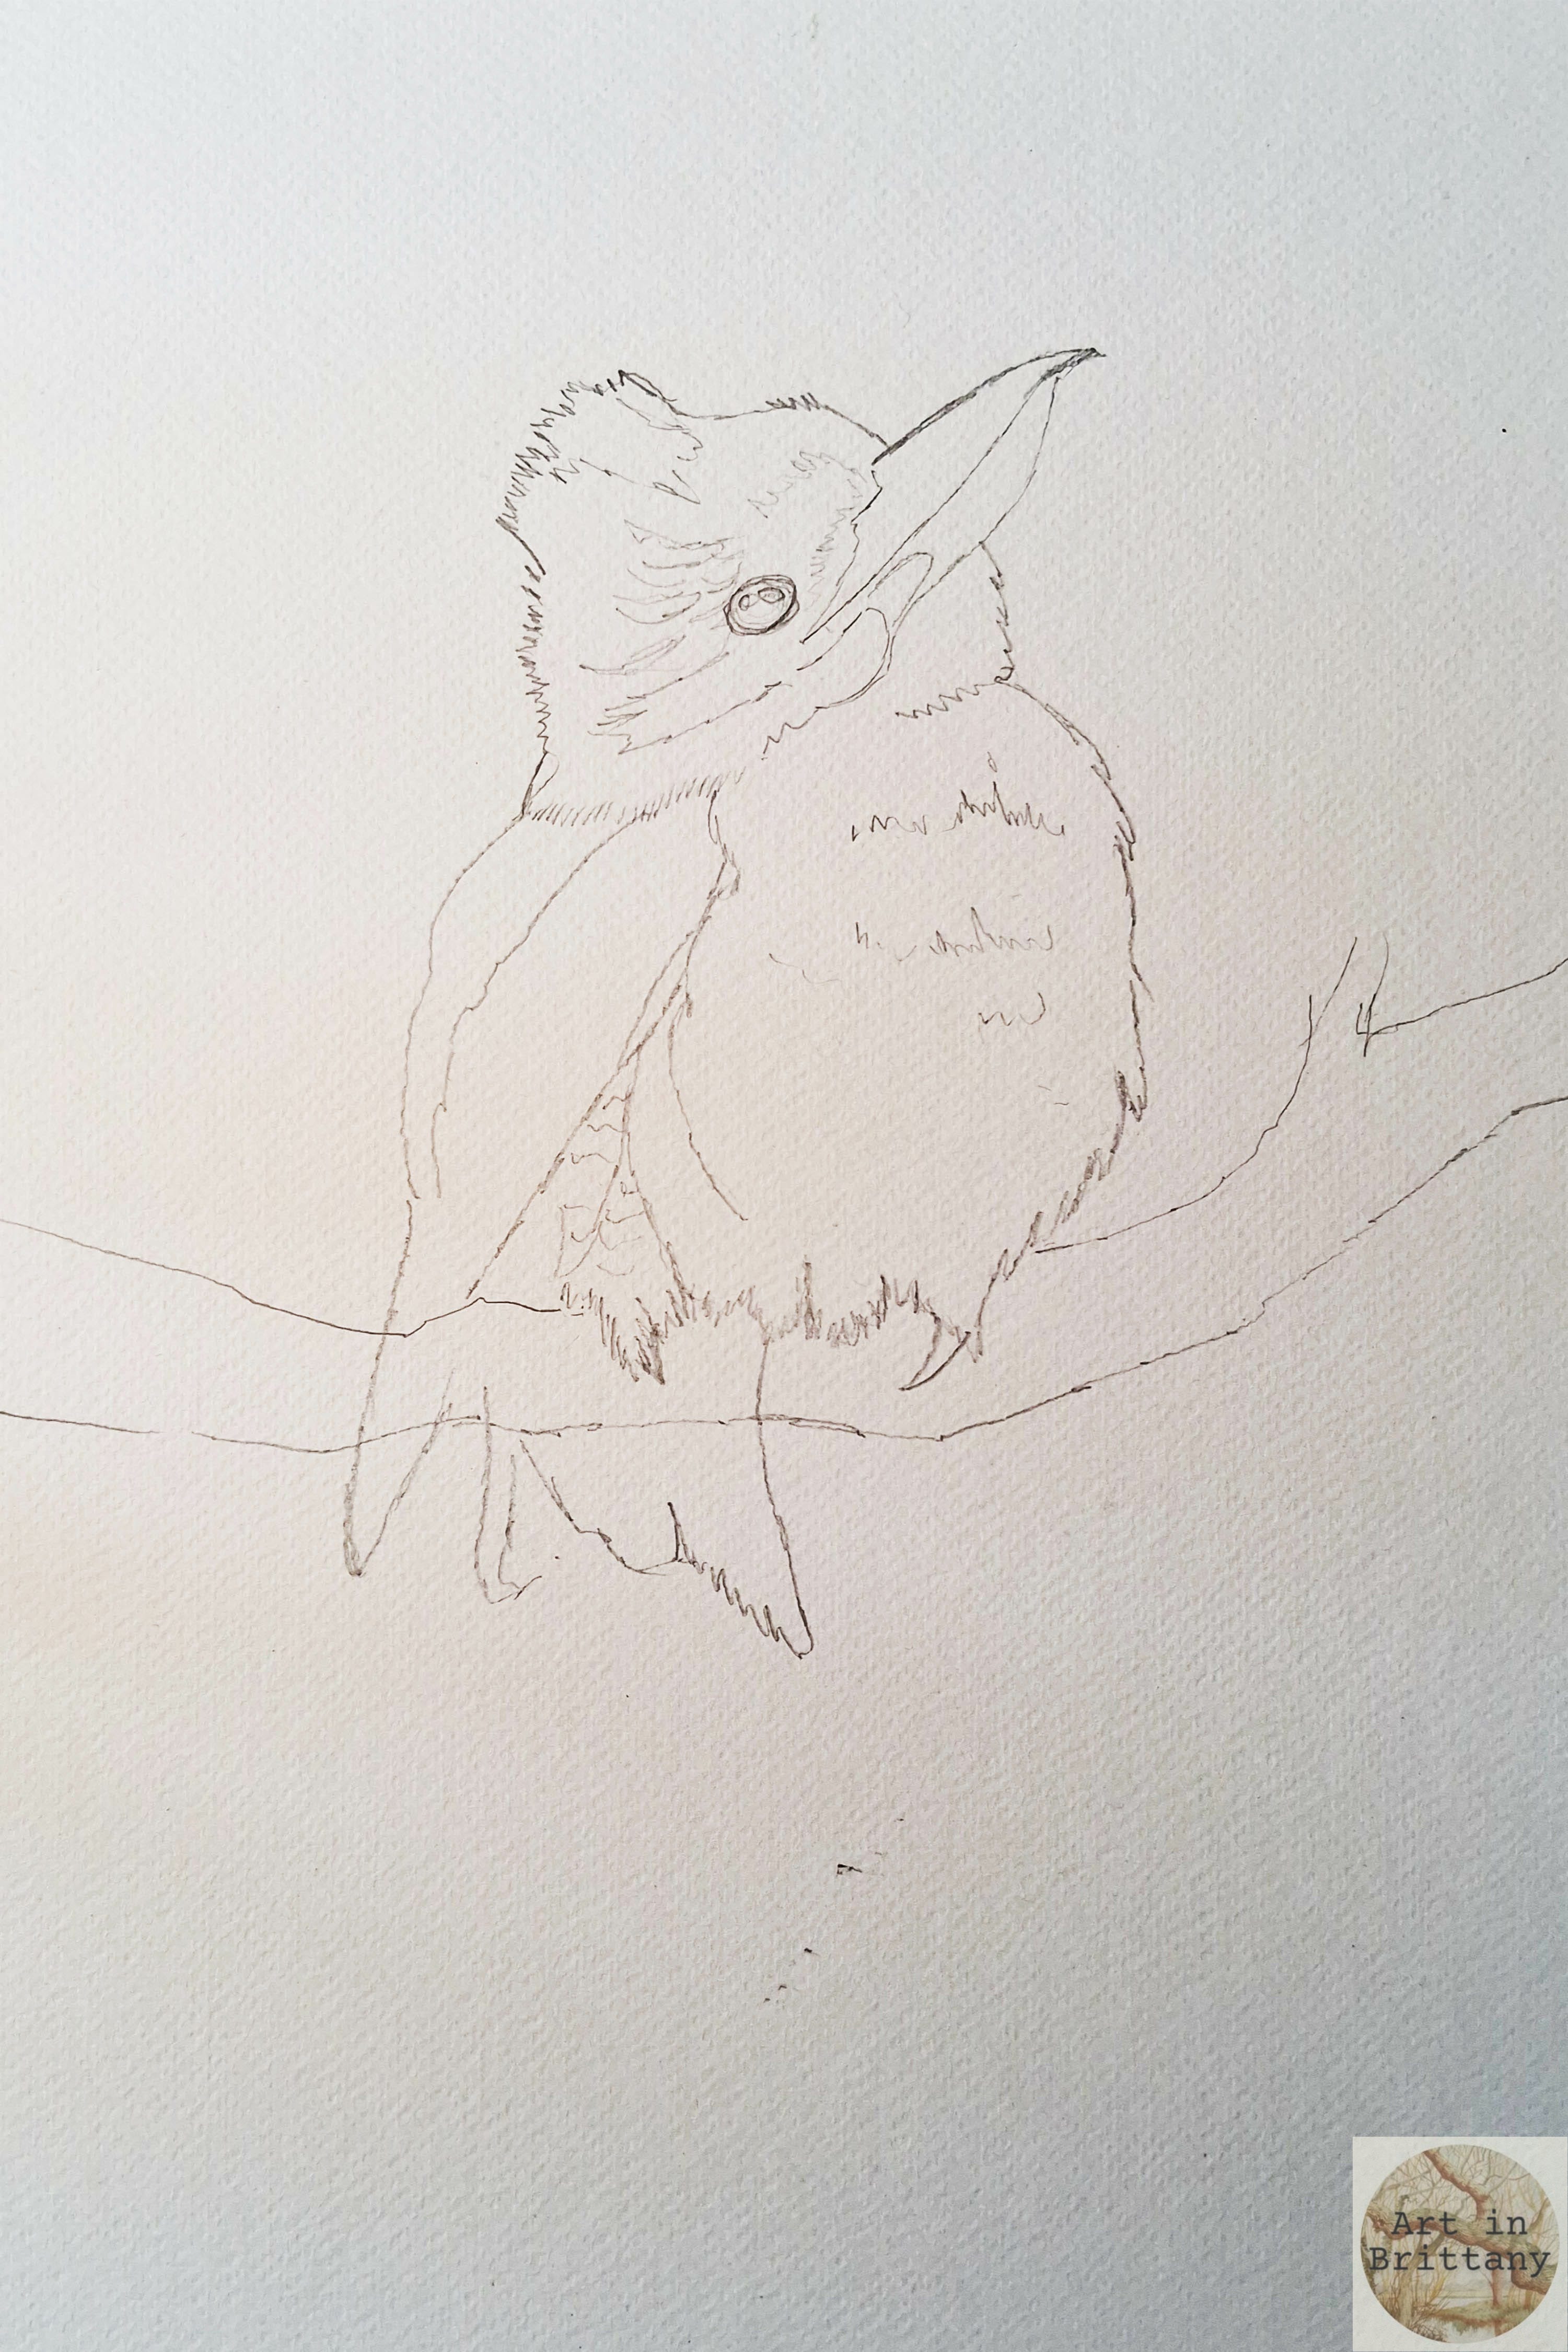
Step 1. Sketch out the image, editing out any unnecessary detail and making changes as you see fit -I’ve changed a metal grill to a tree branch.
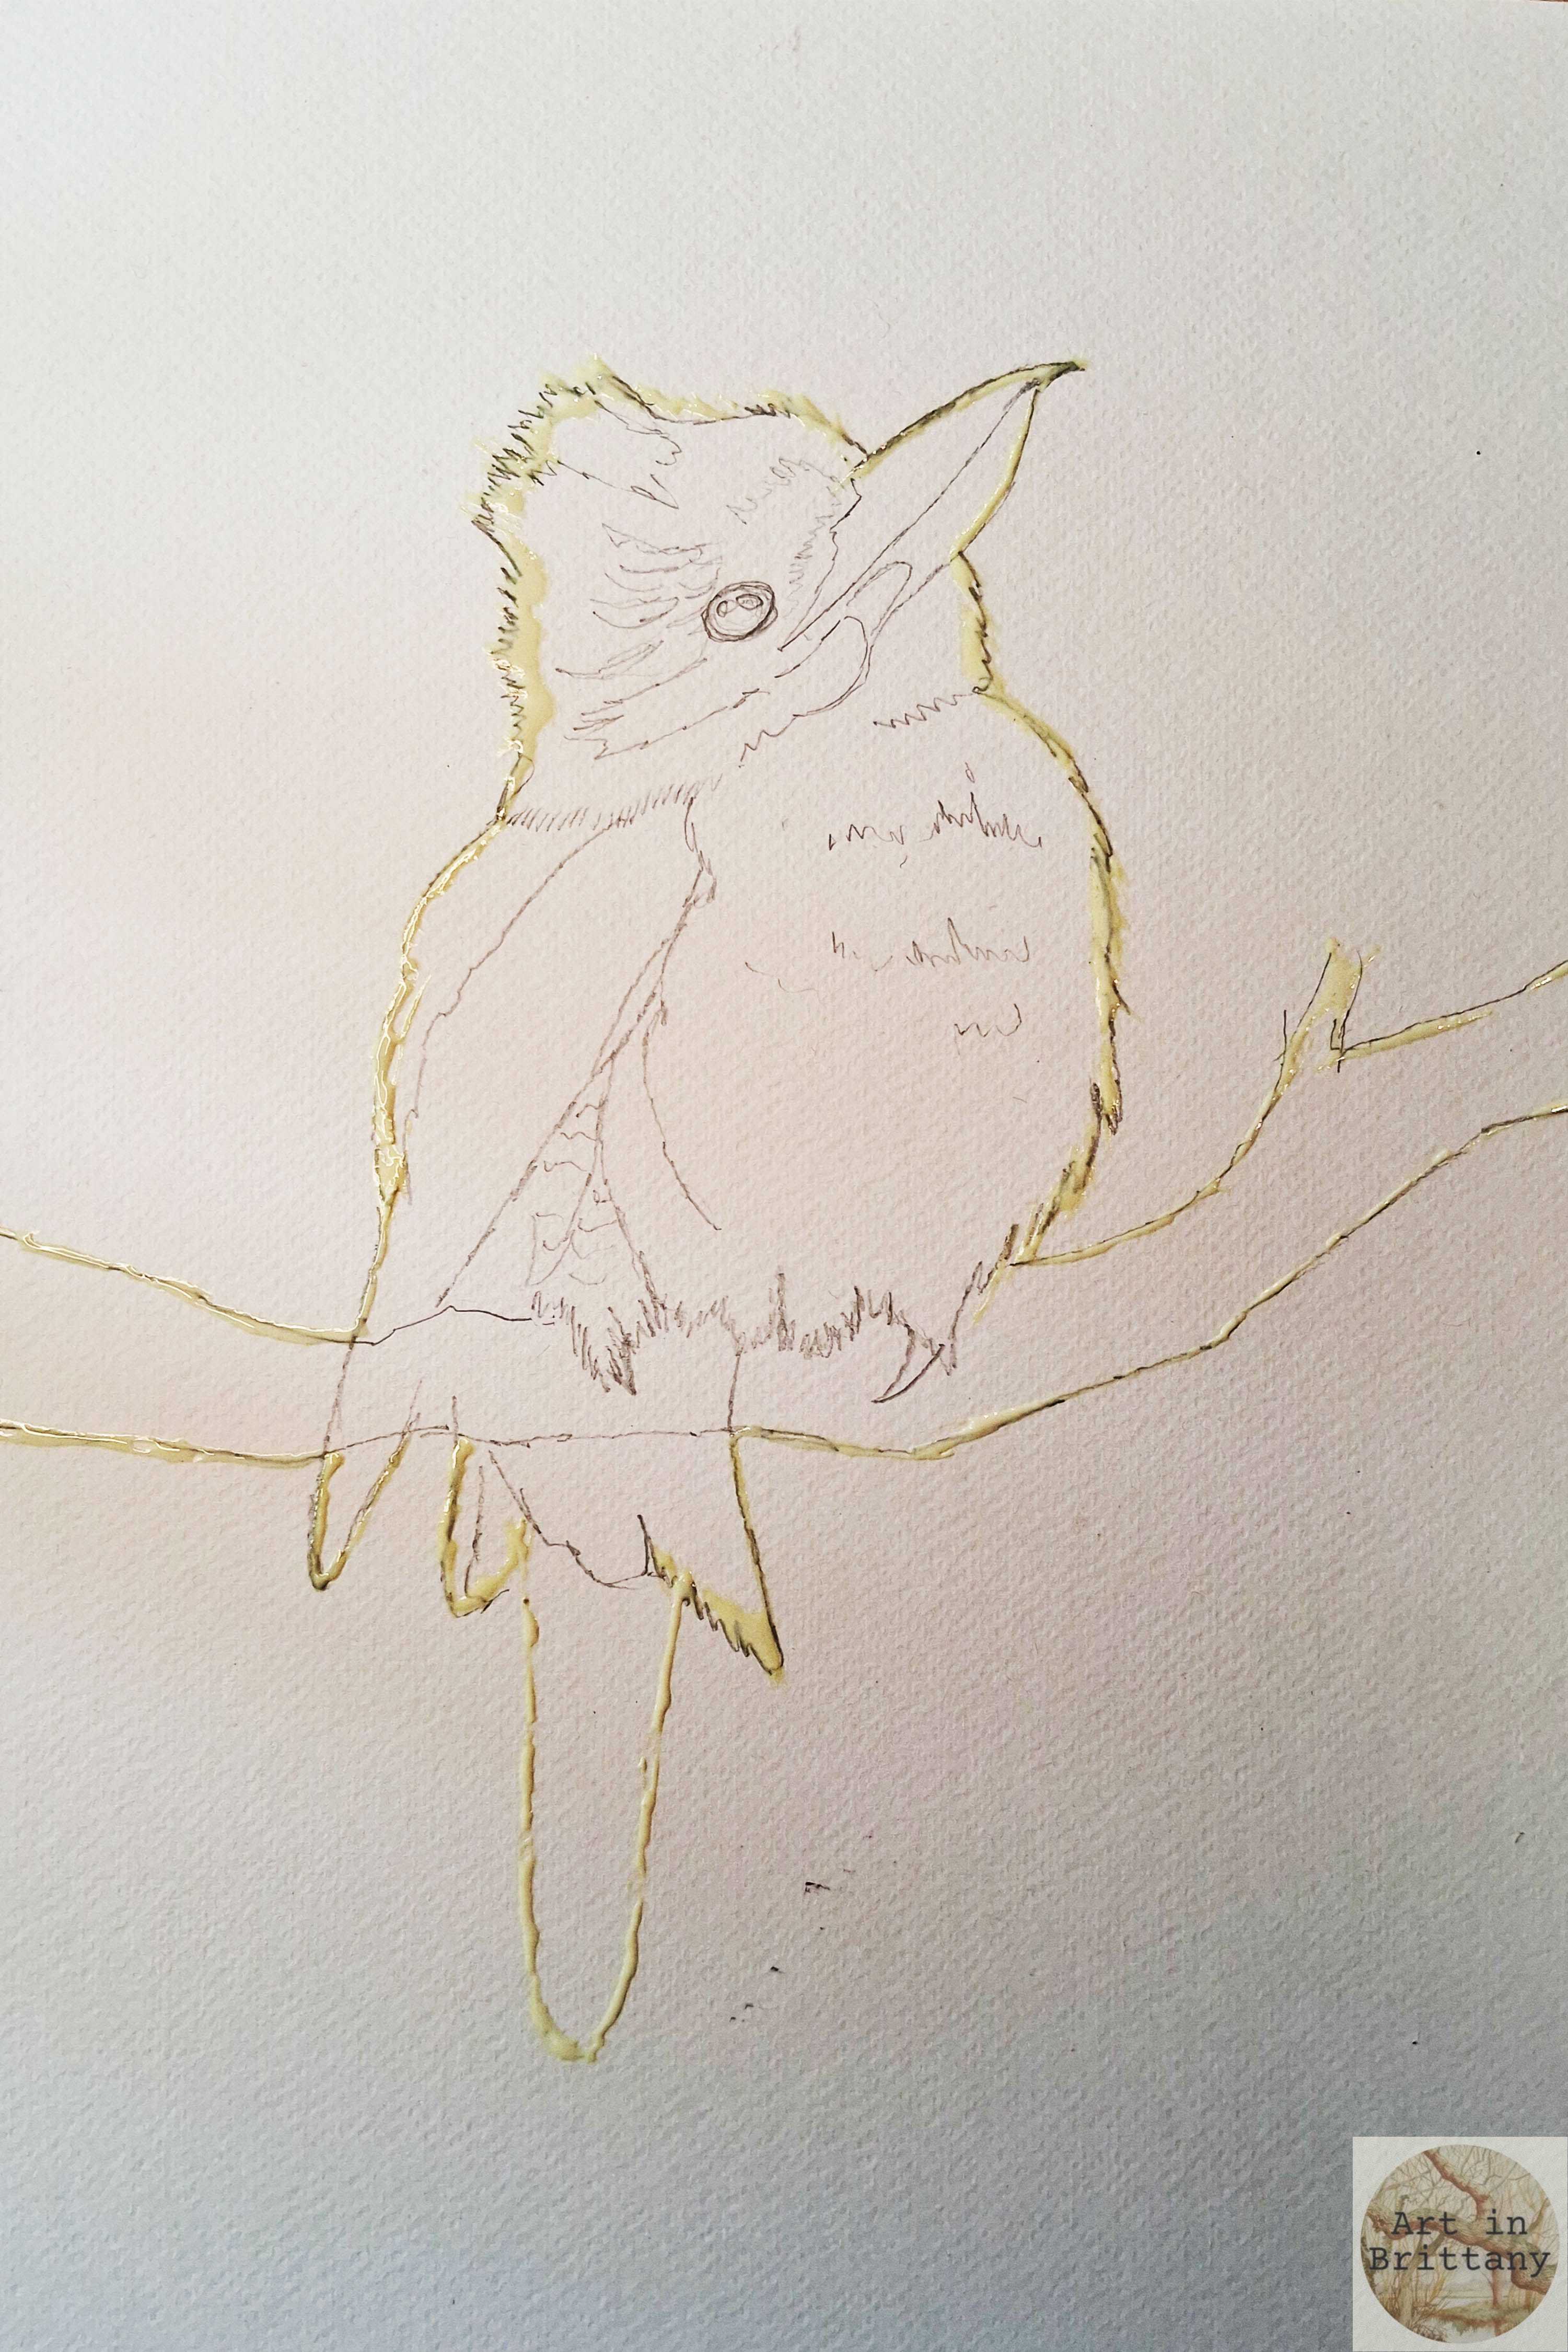
Step 2. For this piece, I am painting the back ground first and because I want very strong colour I am going to start by masking the edges of the bird and branch. I applied masking gum with a ruling pen, ‘drawing’ the edges and fine feathers. Only the edges are covered – our aim is to preserve the white of the paper from the background colour. Here I also sketched in the bird’s tail which I had forgotten originally!
Step 3. When the masking is completely dry we can begin the background. First prepare your washes; I have used Brusho colours, (dry crystal watercolour), mixed with water in a palette, then wet (use your large flat shader) the whole background with water. While still wet, drop colour from your mixed washes onto the wet surface of the background, working through the colours from lightest to darkest. Brusho is very strong and gives excellent deep colour, I’ve applied it with an eye dropper in this example, you could use a large brush and strong washes of regular watercolour if you prefer. I have added colour quite randomly to suggest ‘something’ in the background without any definition – it is a backdrop for the bird.
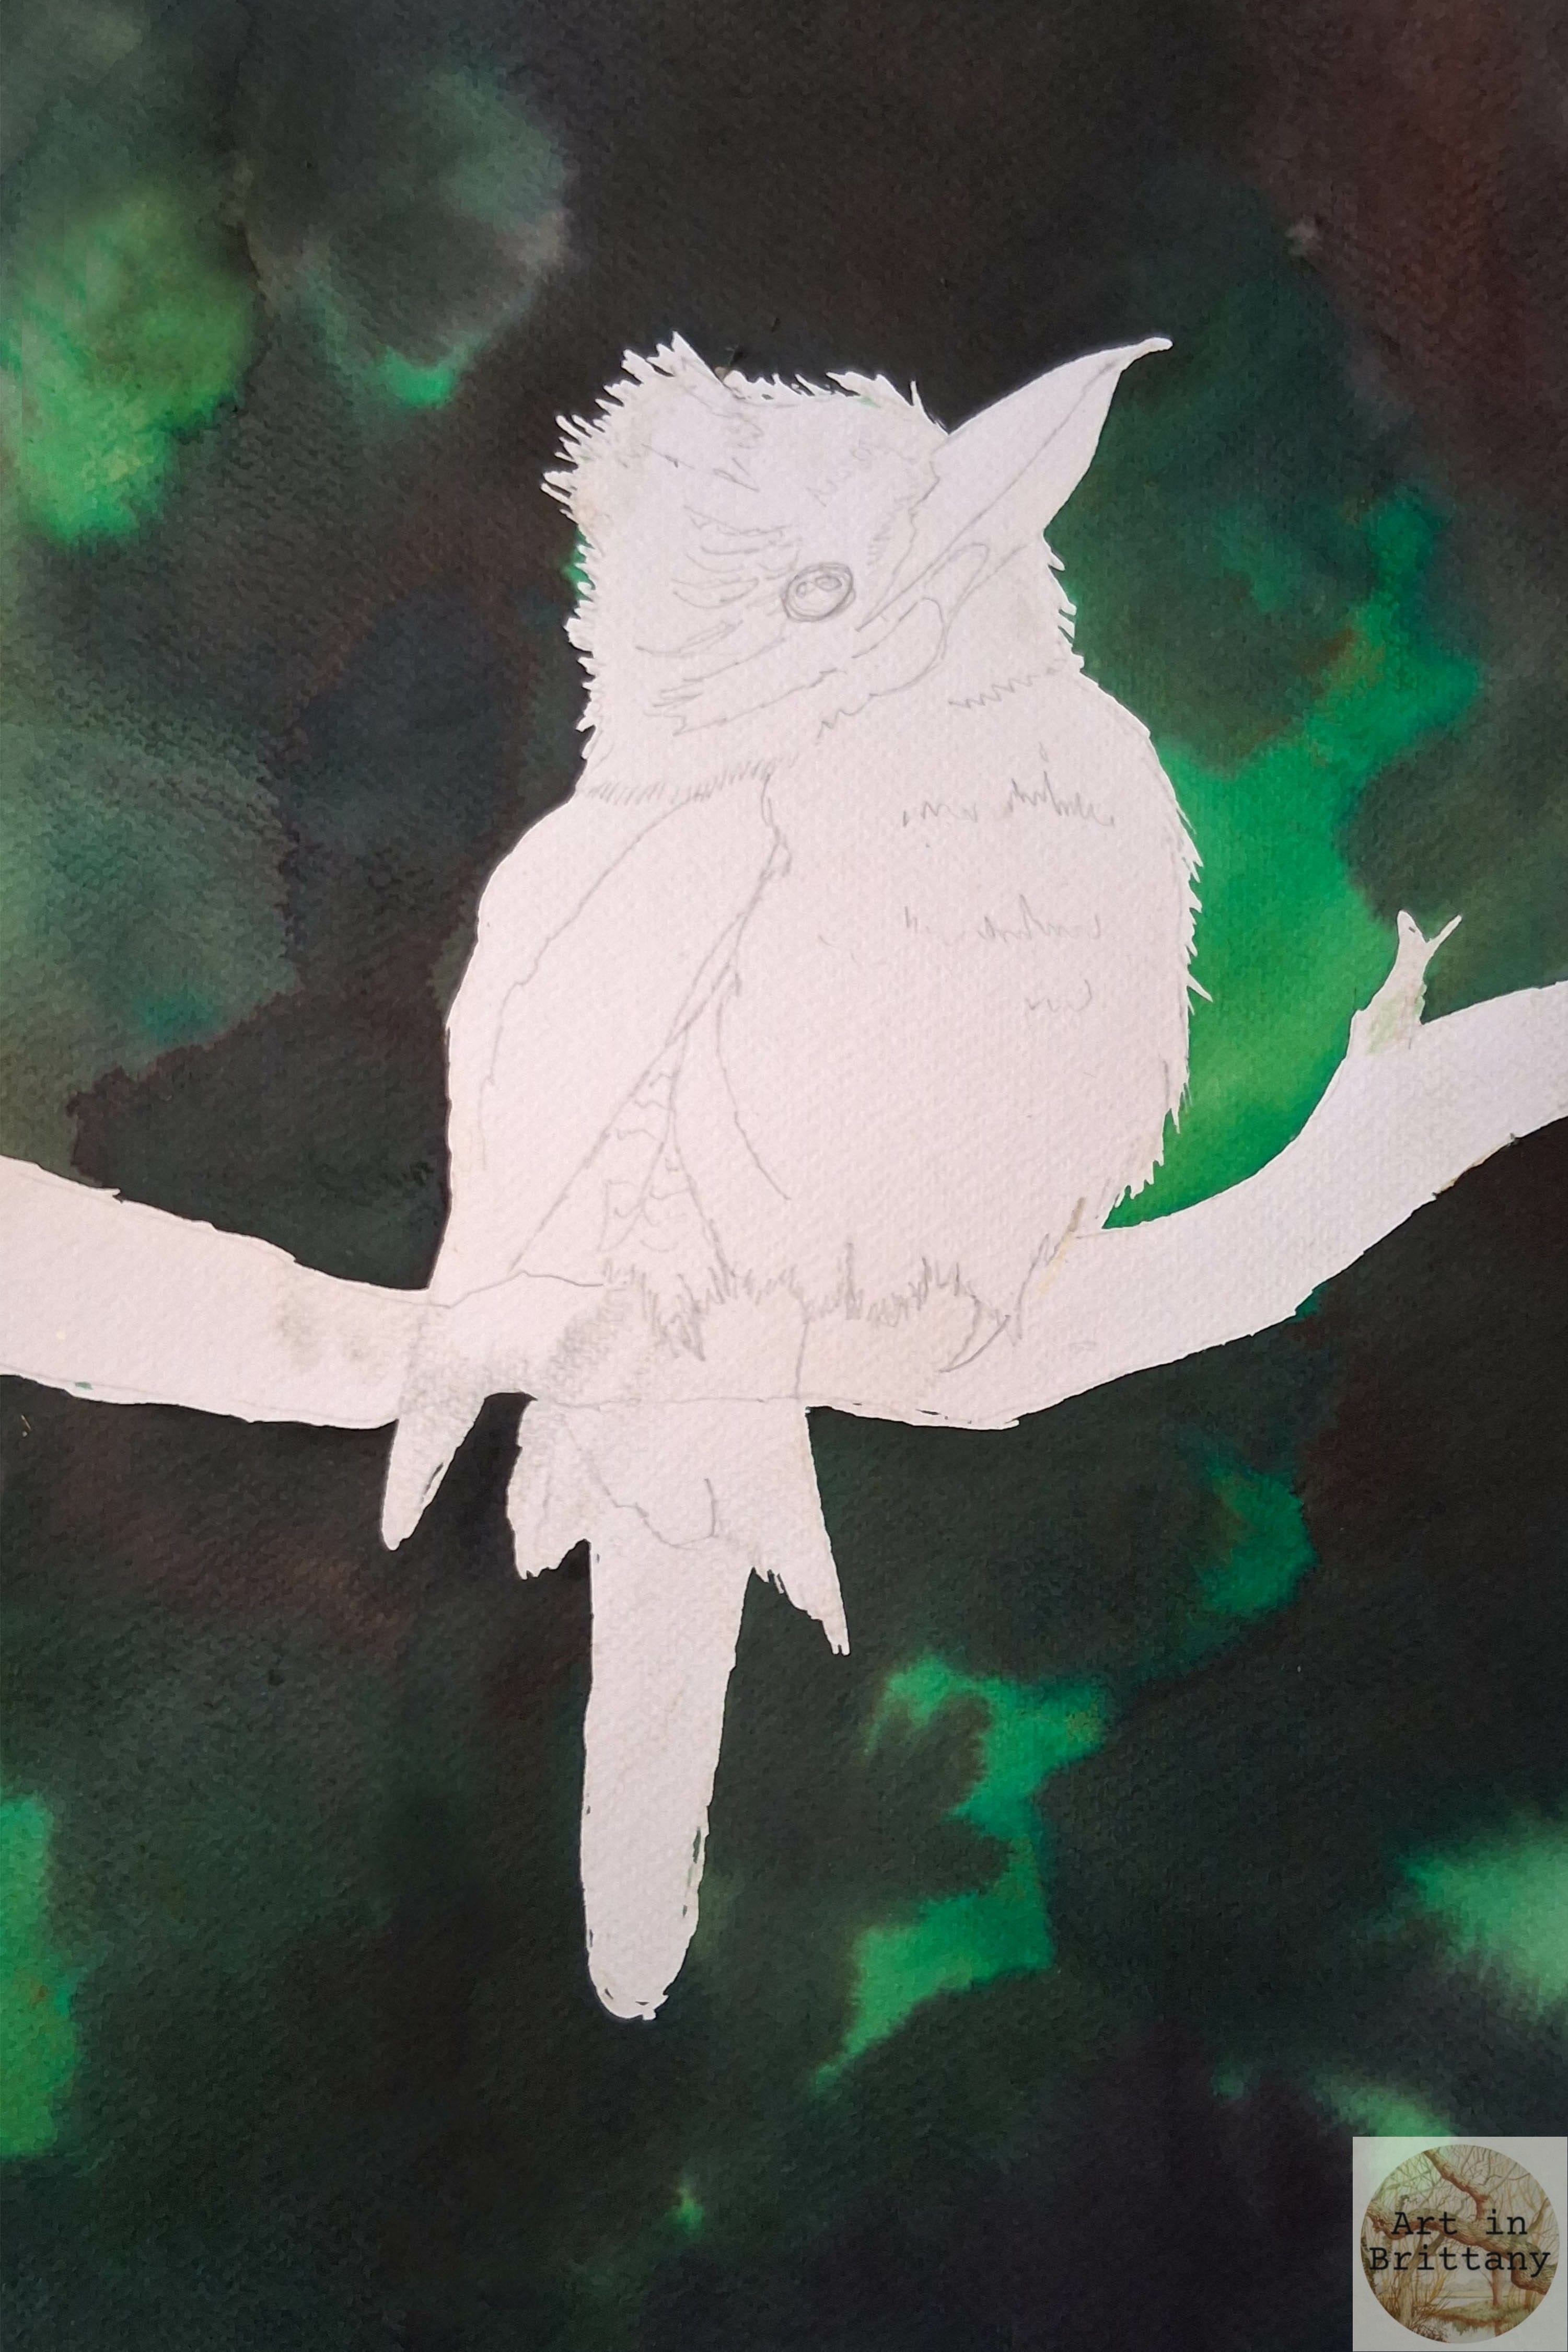
Your background colour must be completely dry before removing the masking gum; this is done by gently rubbing a flat finger tip over the gum causing it to roll up and off the paper. Take care to rub from clean paper towards painted areas to avoid smudging – regularly check your finger for colour pick up.
Step 4. The bird is painted when the masking is all removed. Start with the ‘soft modelling’, use wet-in-wet techniques to create the form of the bird – work from light to dark. Wet the main body of the bird taking care not to lift the background colour at it’s edges, drop in a mix of Potter’s Pink and little Raw Umber for the shadowed ‘white’ areas. Remember a wet surface will produce soft blends, dry surfaces crisp edges. Block in the main areas; wings, head, eye, beak etc
Build detail with stronger colour, Sepia and Payne’s Grey and use a very dry brush to produce ‘feathering’. Continue adding detail taking care to observe the direction of feathers and markings.
Use Zinc White Gouache for the highlights in the eye, (applied with the wrong end of a paint brush) and for the feather tips on the wing feathers – use a dry brush for this and make a template for the curved edge if you wish.


Elizabeth Tomkins, Kookaburra-W.I.P, 2026.
Step 5. I decided to keep the branch very simple. I painted the entire branch in Yellow Ochre and while it was still very wet, I dropped in some Sepia and a little Payne’s Grey. I used lot’s of water to help the colours blend on the paper, suggesting shadows and texture without competing with the bird (you could use salt on the wet paint, or cling film for texture if you prefer). Take care to ‘feather the edges under the bird so it looks as though his belly feathers are in front of the branch. Add his claws – I used Payne’s Grey.
Tweak any areas of your subject – often that means adjusting tonal levels and a bit of tidying but don’t fiddle – less is more! Remember to step back and assess your work from time to time.