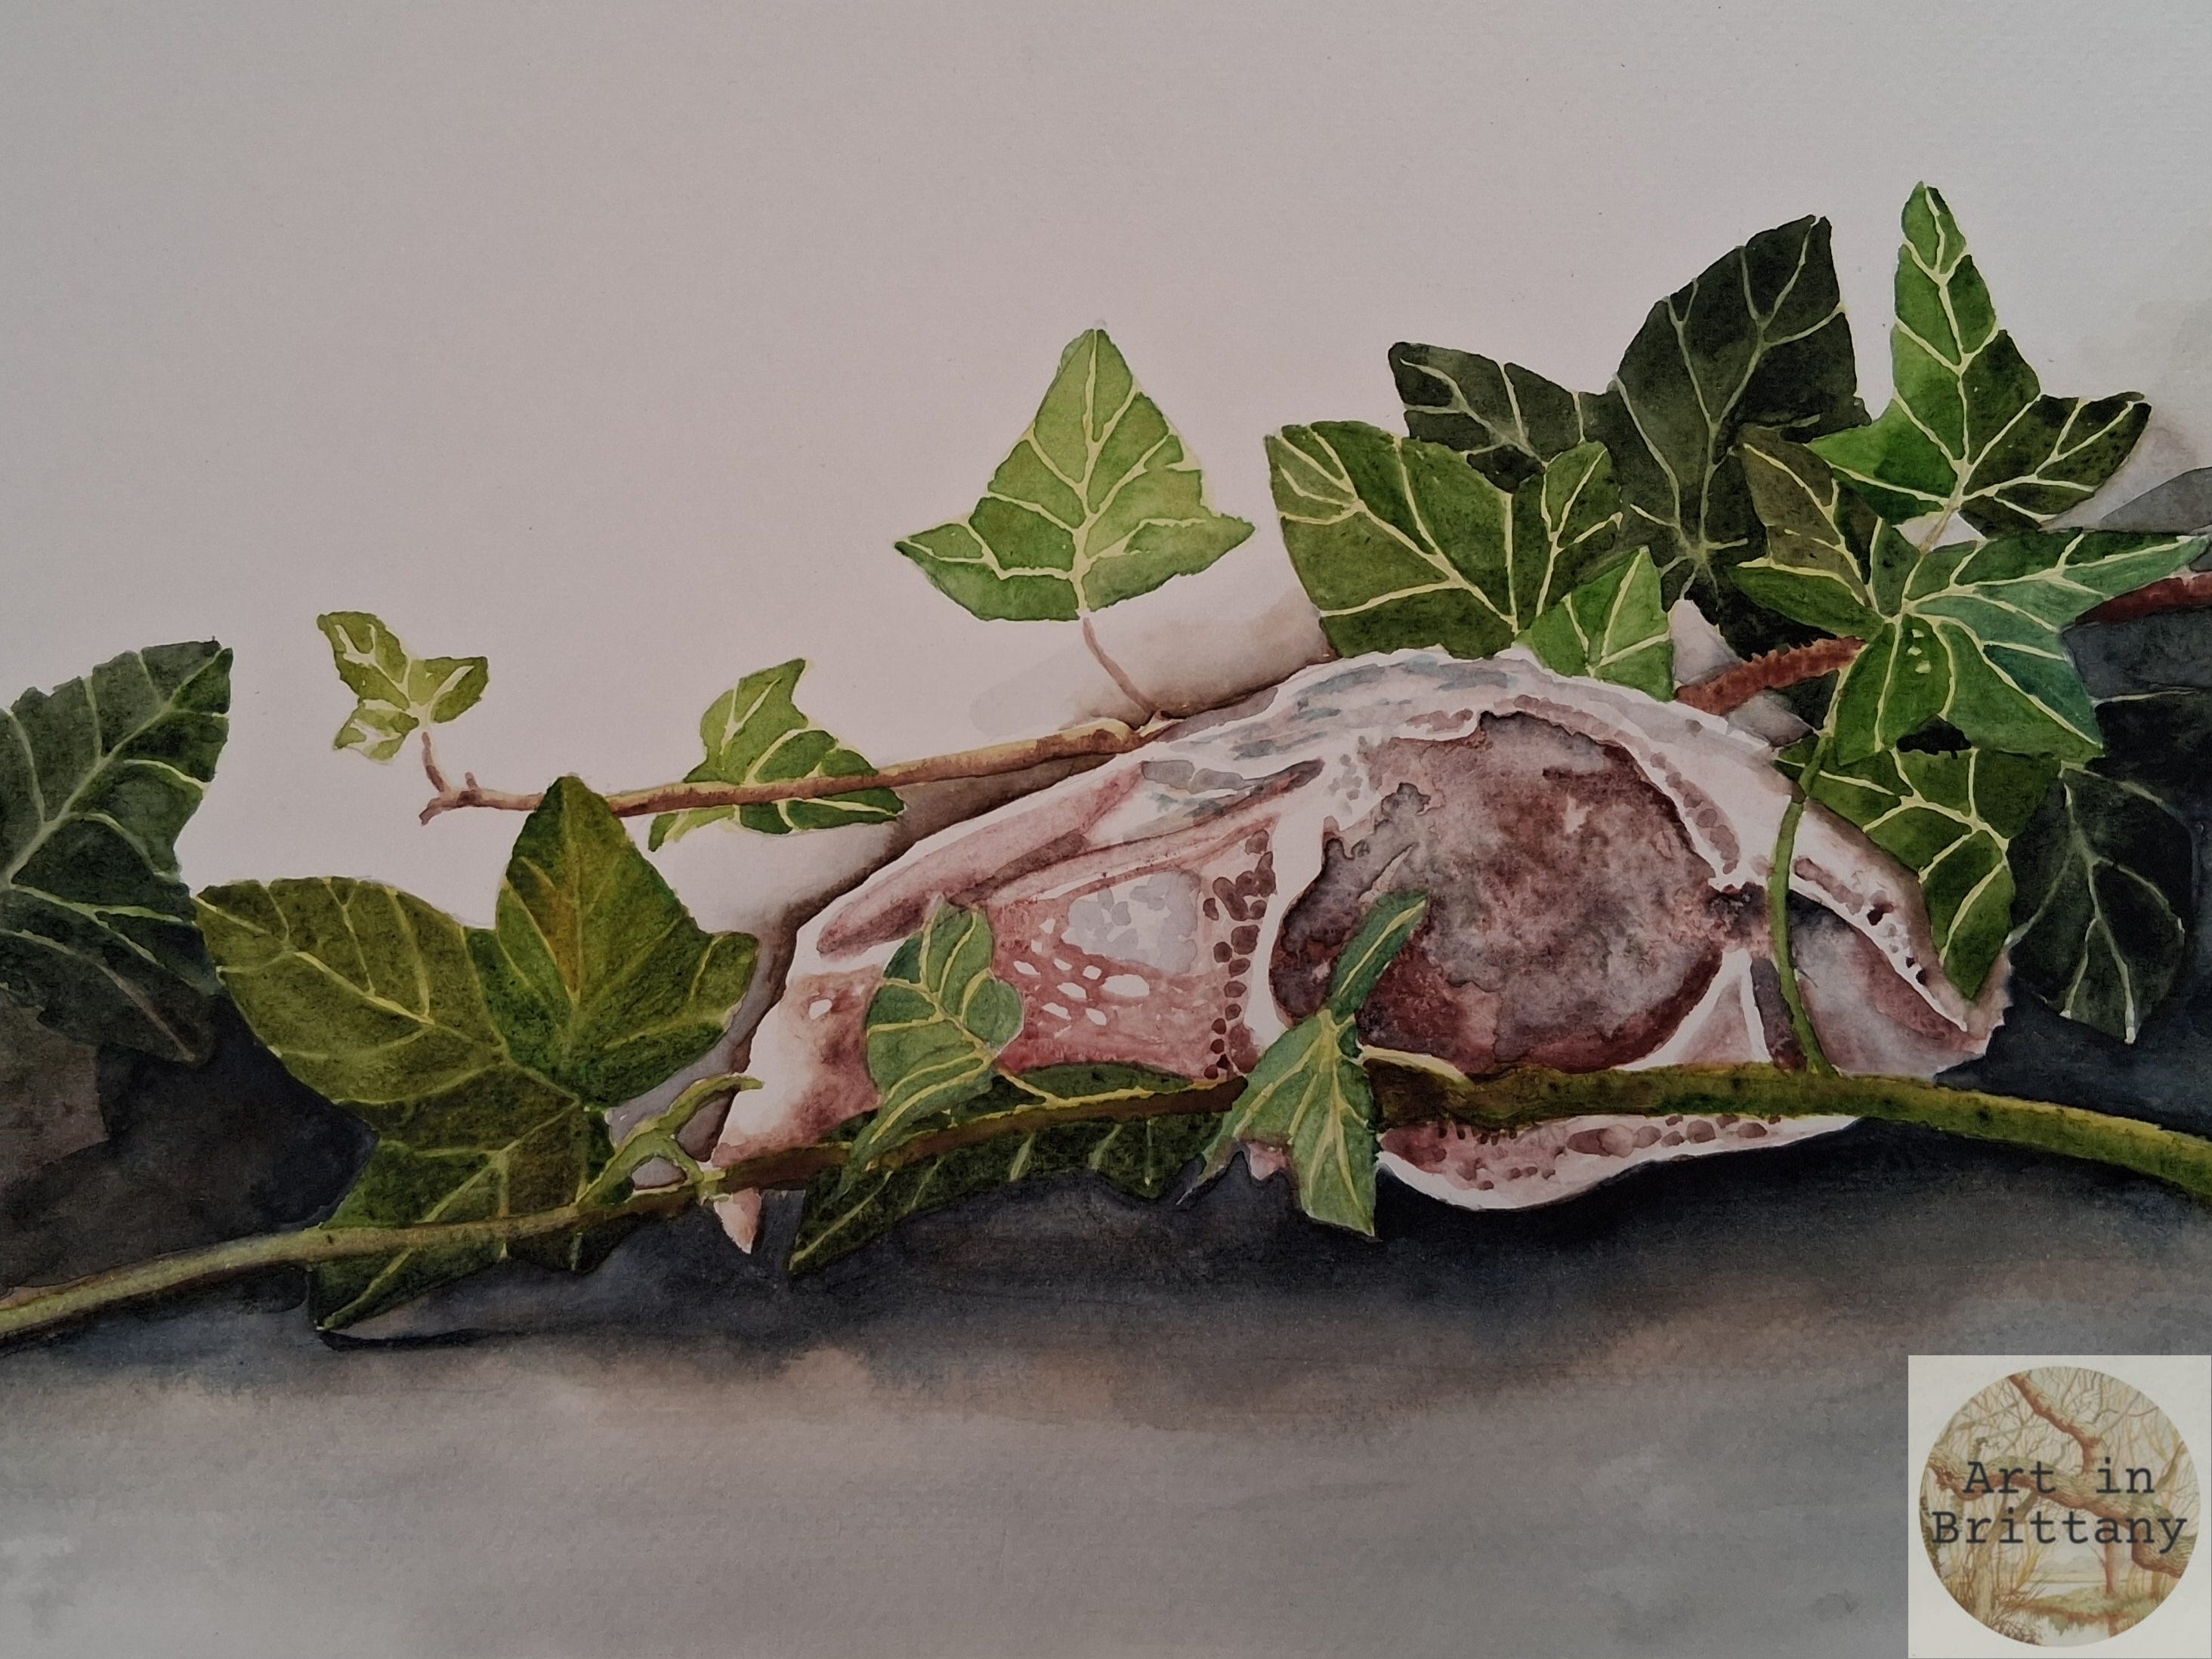

🍂 Samhain (pronounced SOW-in) is celebrated on October 31st, marking the end of Summer and the beginning of Winter. It’s considered a liminal period, when the veil between the worlds of the living and the dead is thinnest. It’s a time to reflect on what has been and dream of what is to come. There is a huge amount of symbolism attached to this ancient festival - pumpkins, nuts and fruits, crows, ravens, owls, bonfires, candle light, animal skulls, as well as rituals and spooky associations.
The Project
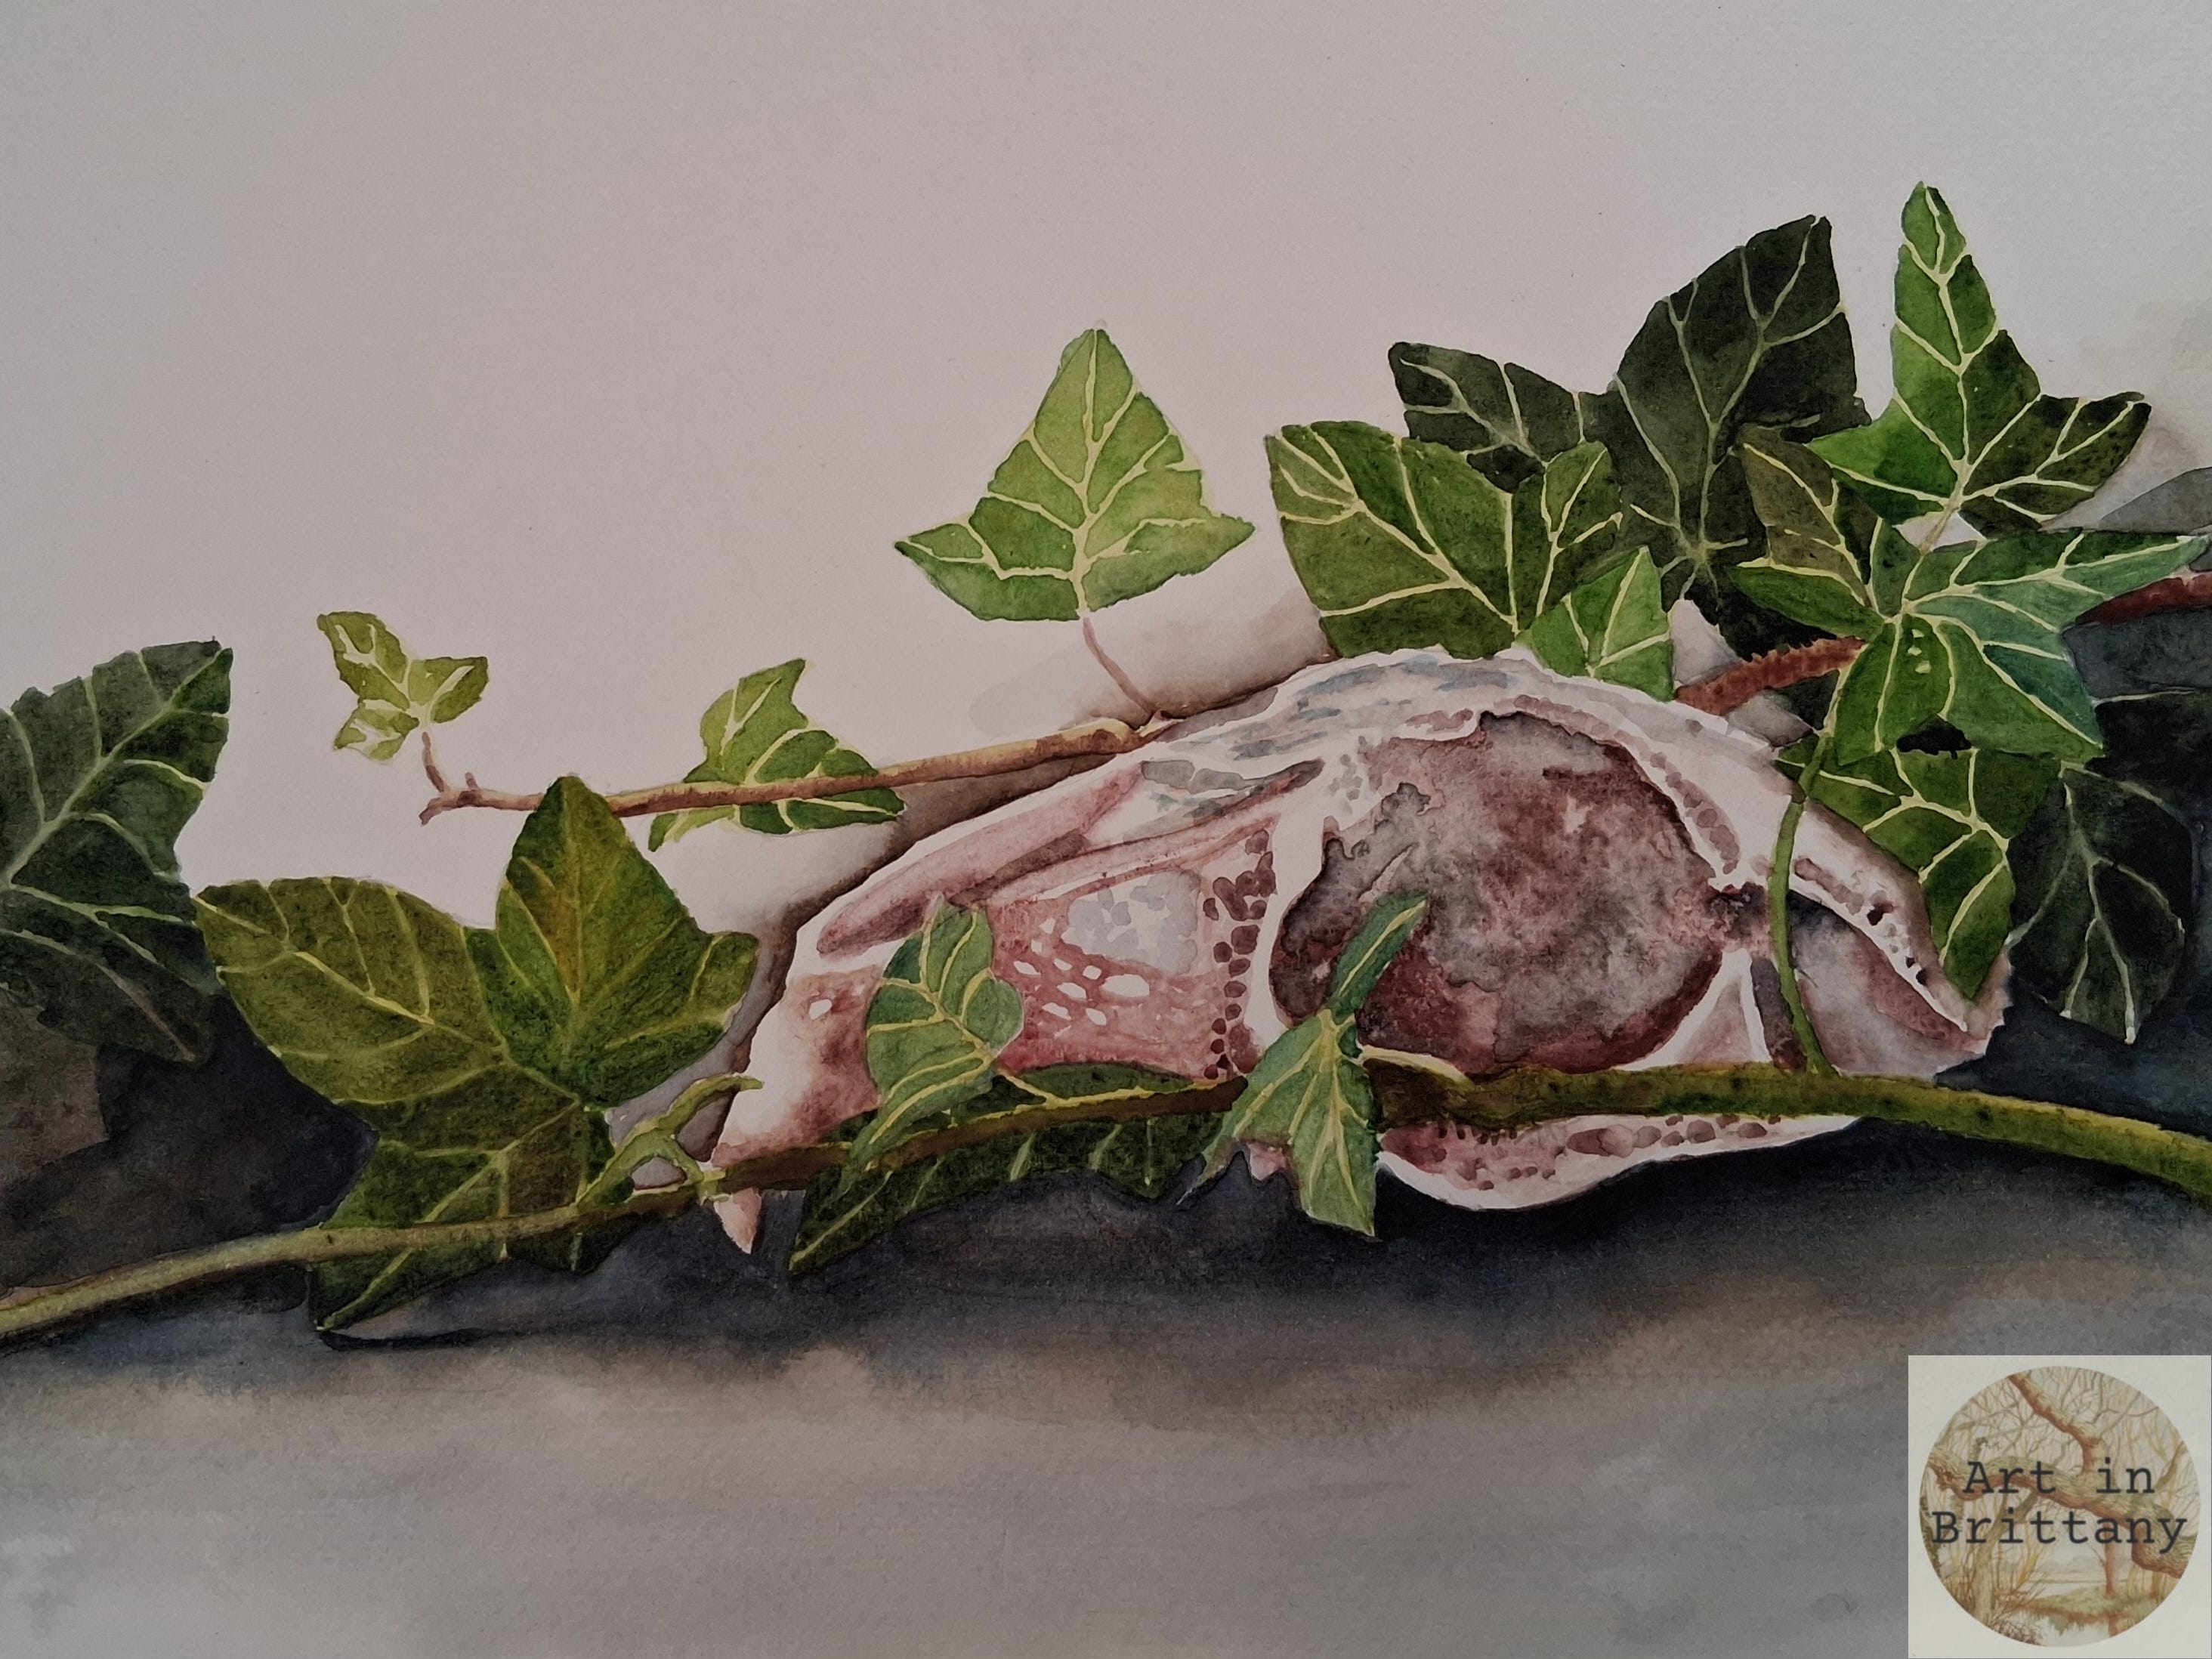
For this piece I used a small animal skull (I have quite a collection now!) with some ivy strands. I’ve used negative painting, wet-in-wet and traditional watercolour techniques.
Materials I used -
Fabriano Acid free NOT surface 280gsm (130lb) watercolour paper 35 x 25 cms
Winsor & Newton pigments - Payne’s Grey, Vandyke Brown, New Gamboge, Sap Green, Oxide of Chrome, Potter’s Pink, Caput Mortem, .
Rosemary’s Brushes - Golden Synthetic No 8 round, Short Flat Shader, fine liner/rigger.
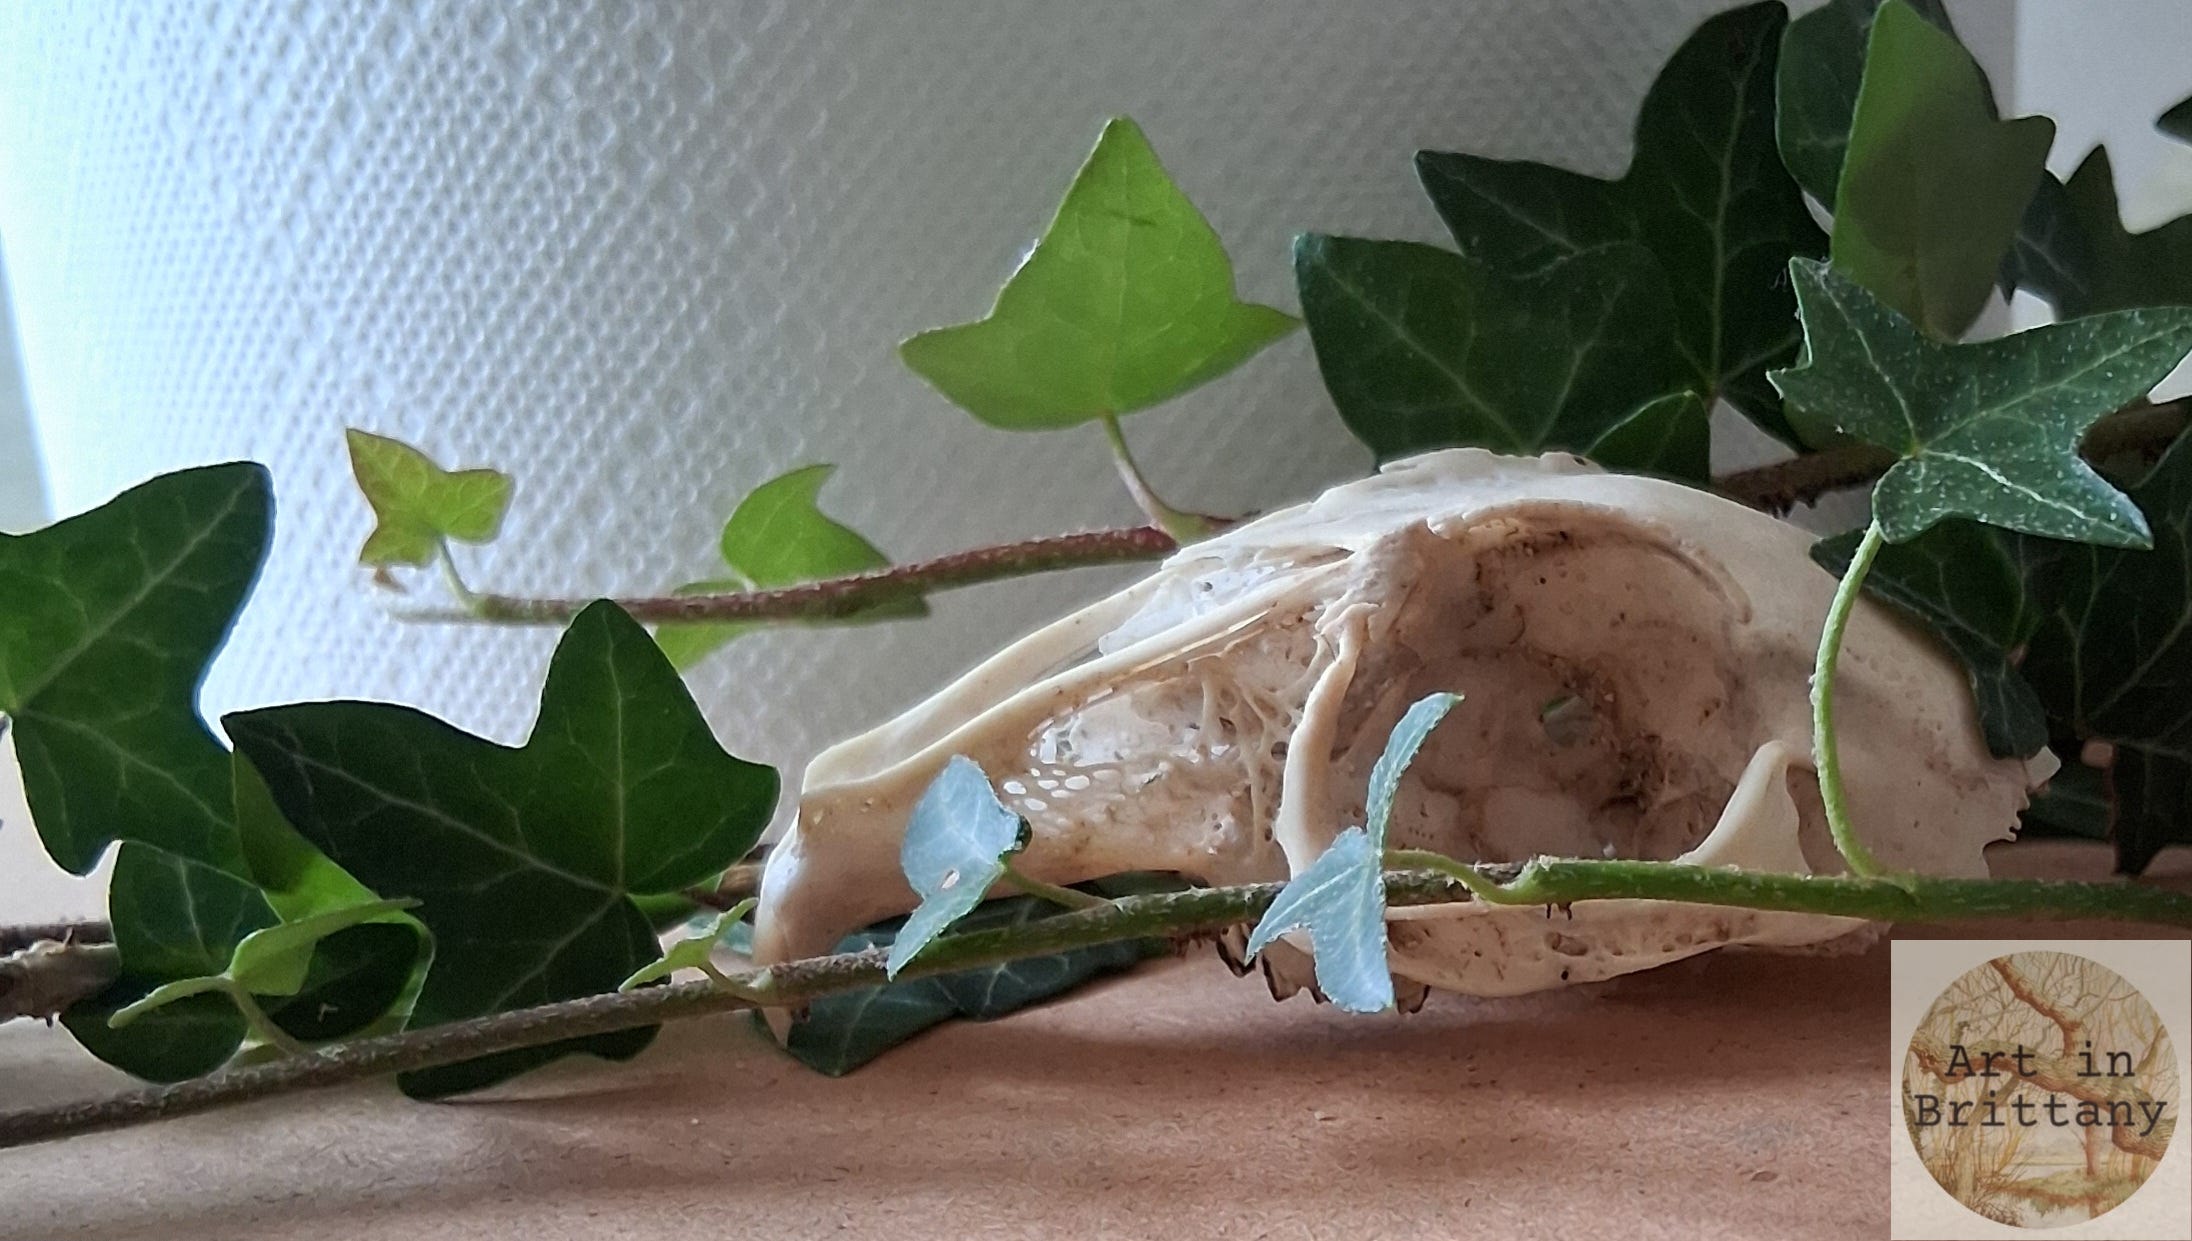
My reference image.
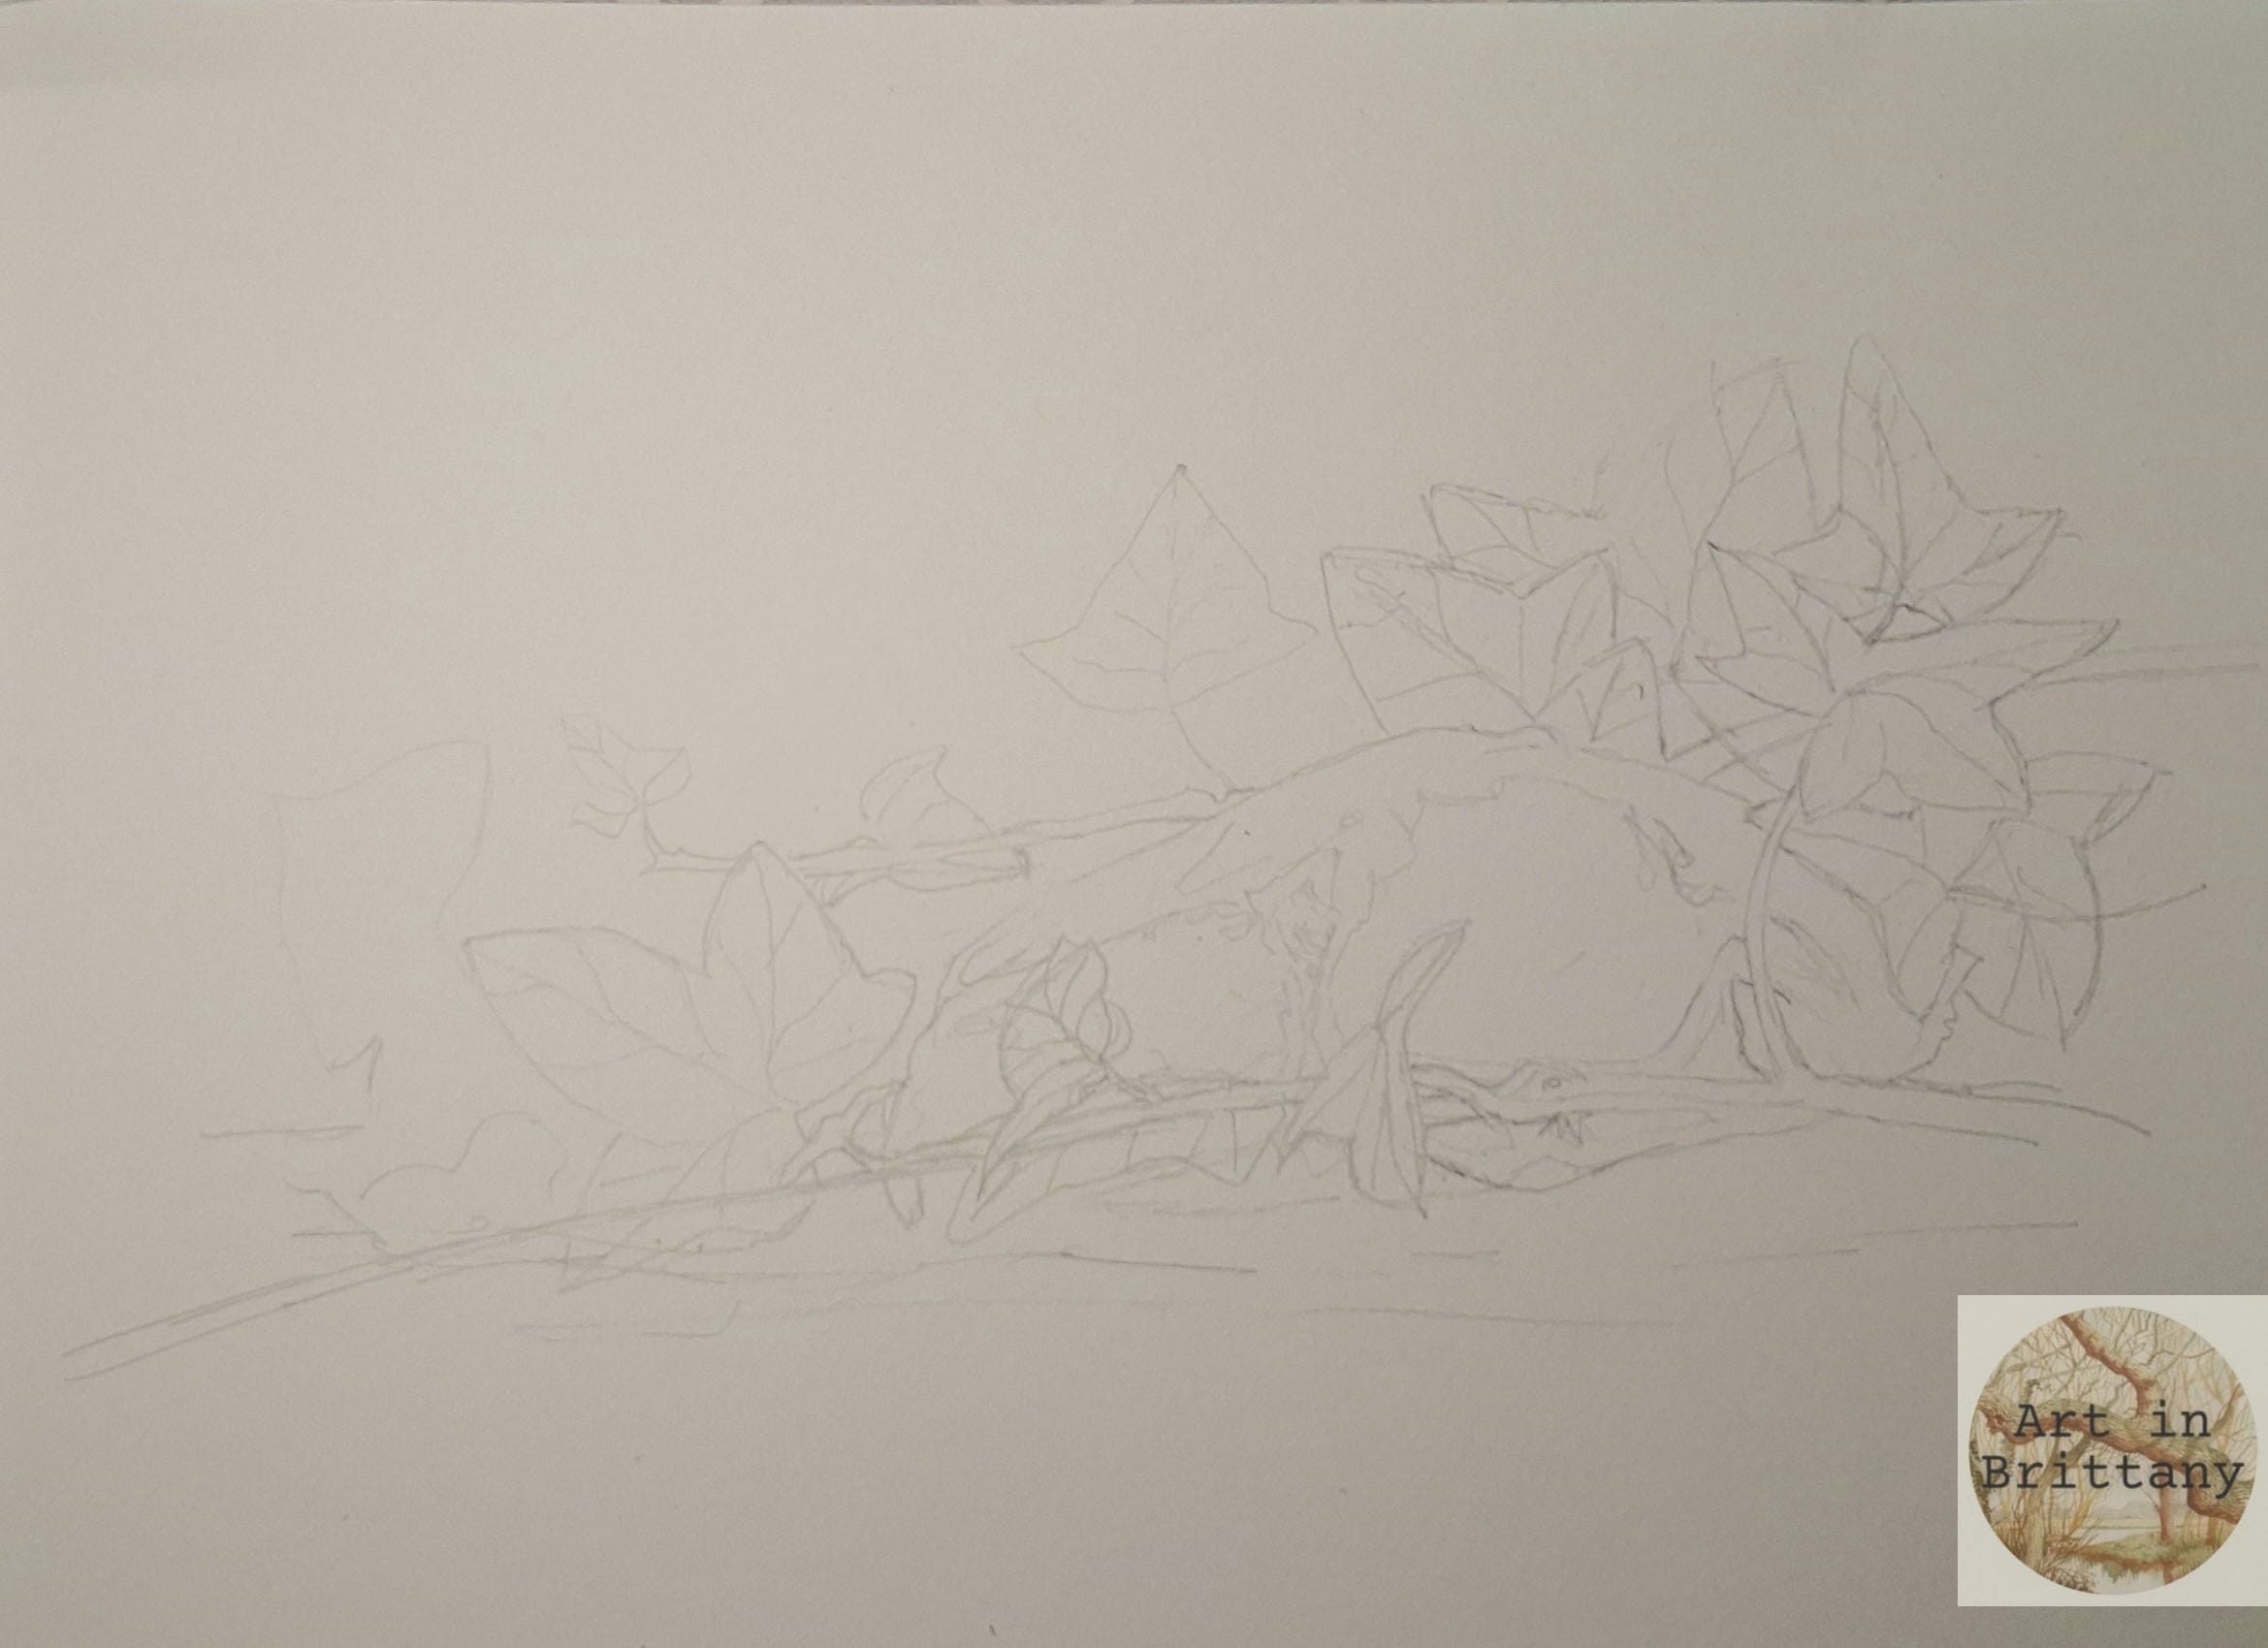
Step 1. Sketch out the main composition. You don’t need all the detail - just the main shapes and feel free to ‘edit’ the image, perhaps omitting some of the leaves etc
Step 2. I began by adding shadows under the leaves and behind the skull - I used Vandyke Brown and Payne’s Grey, using plain water to soften the outer edges.
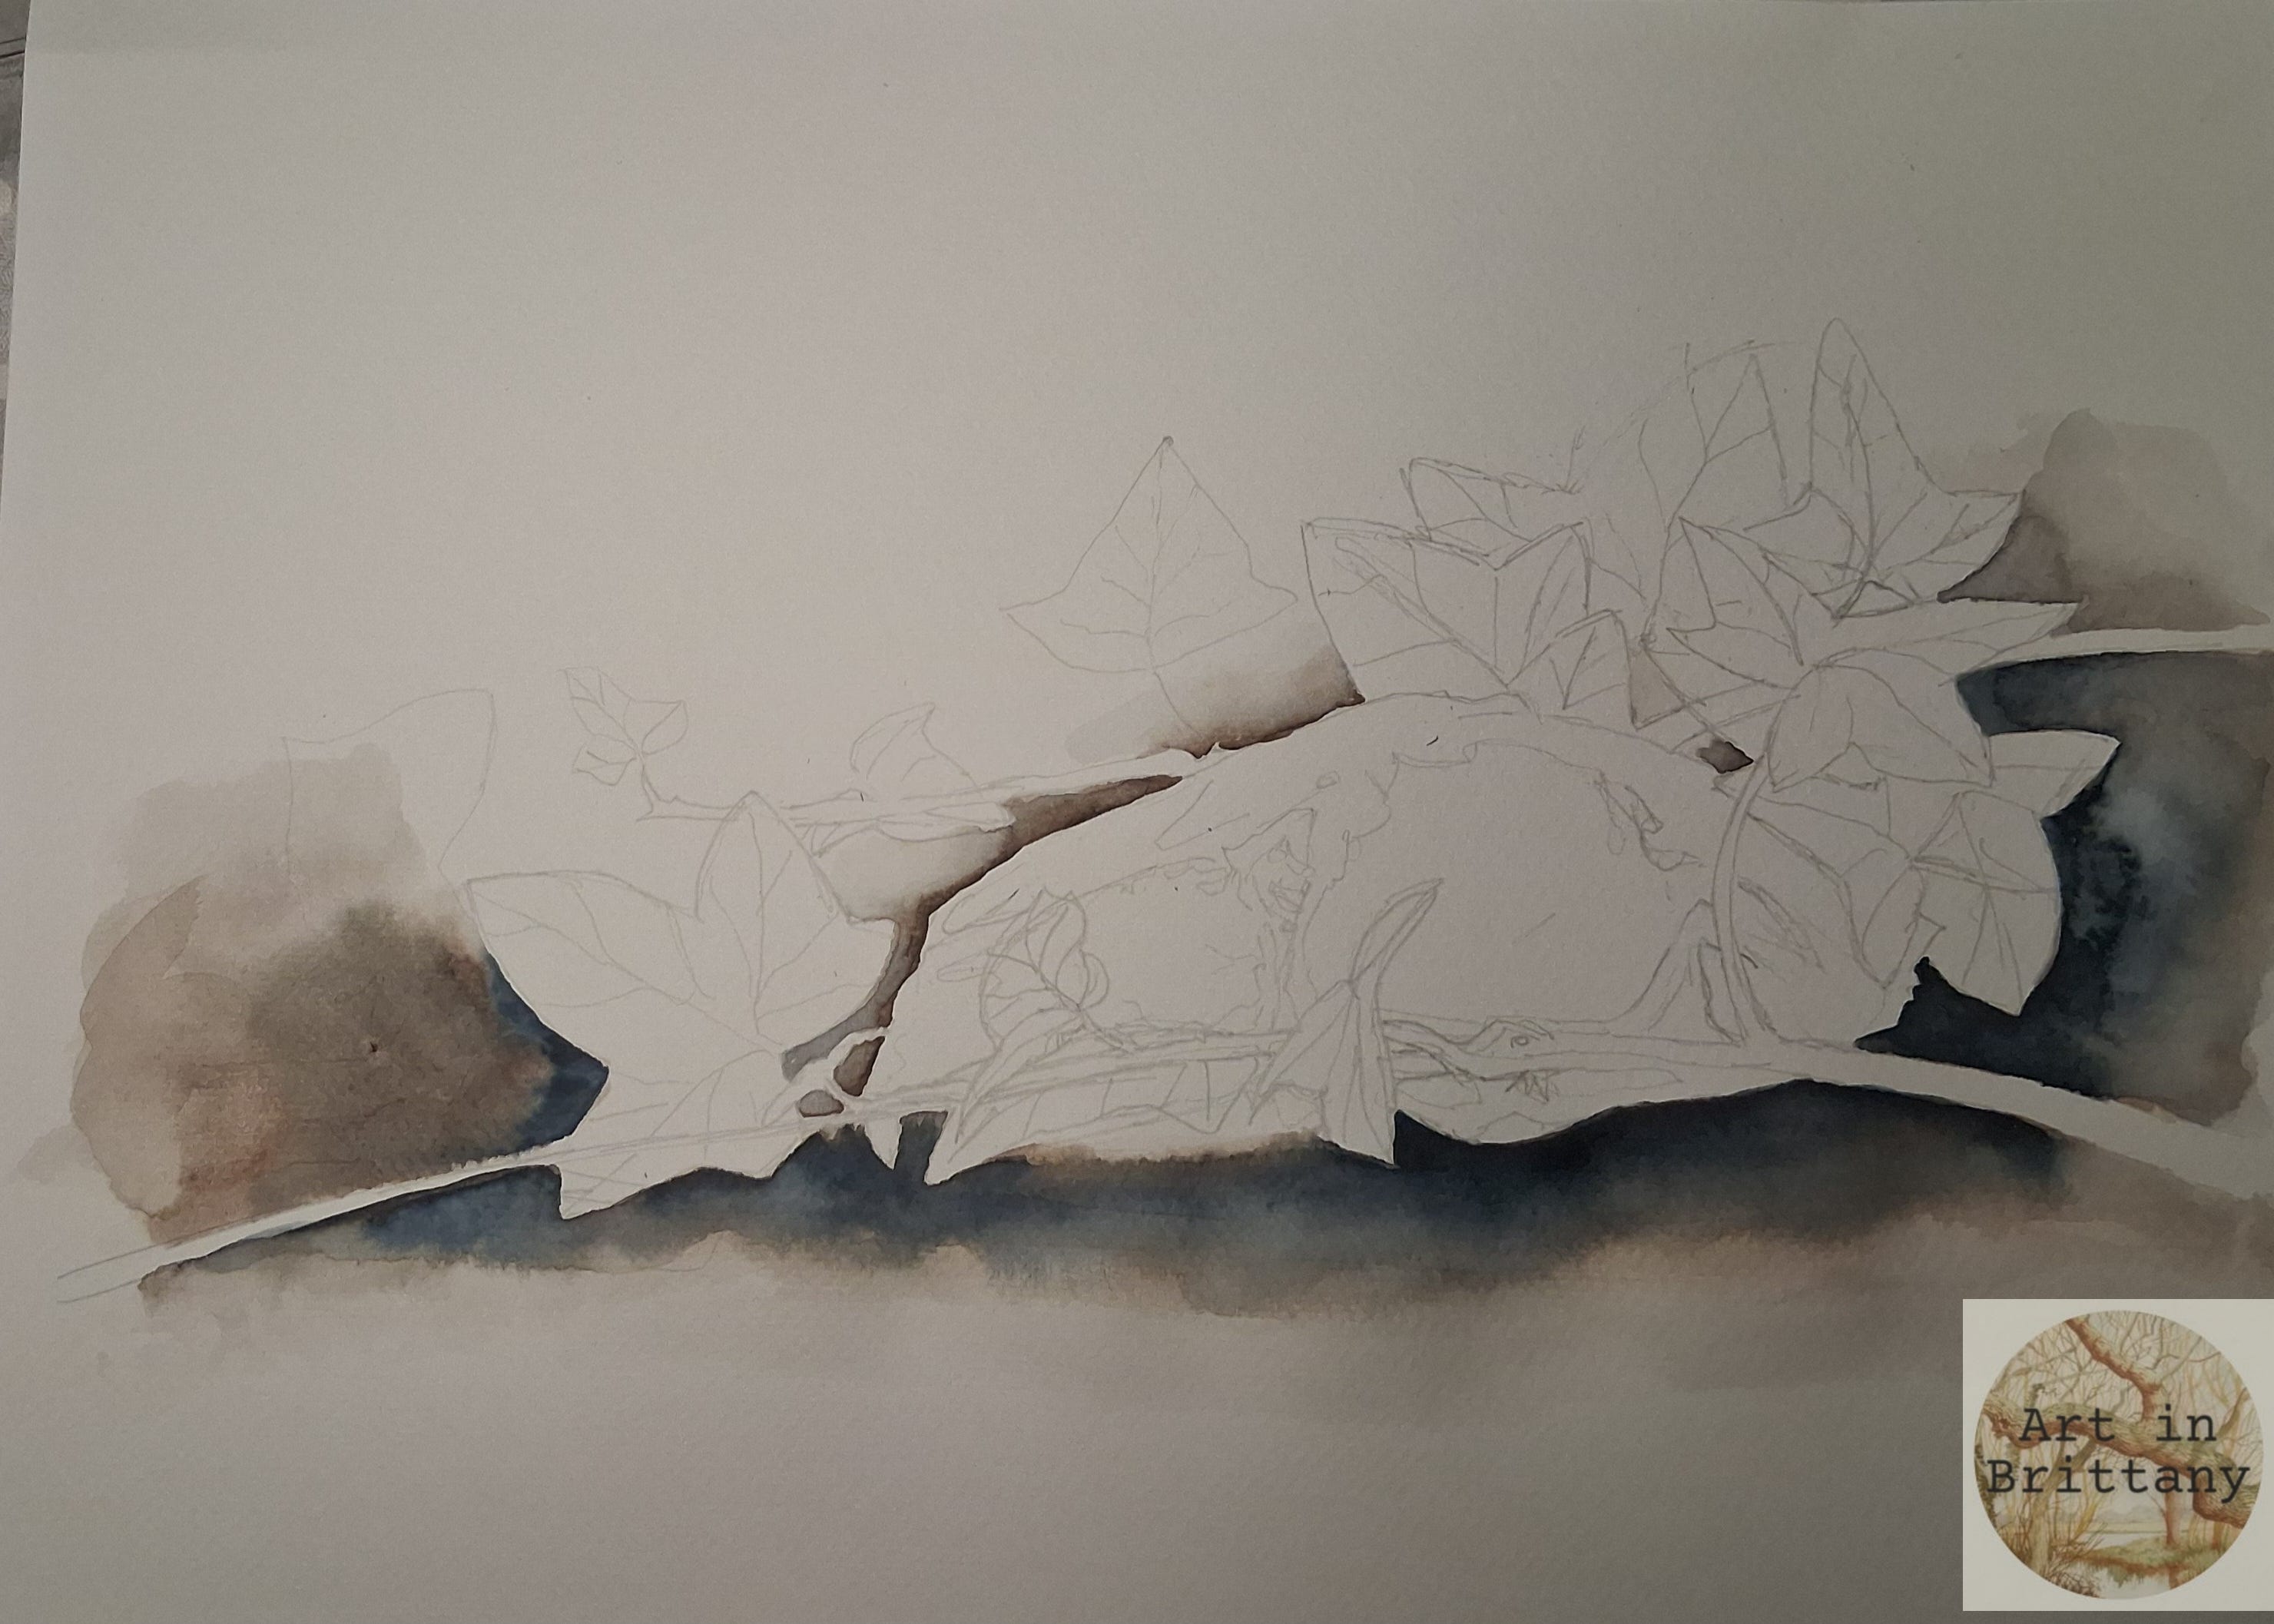
Step 3. The next step is to block in the leaves and stems - here I have used a New Gamboge and Sap Green mix, most of this will be covered in darker layers so it does not need to be too even.
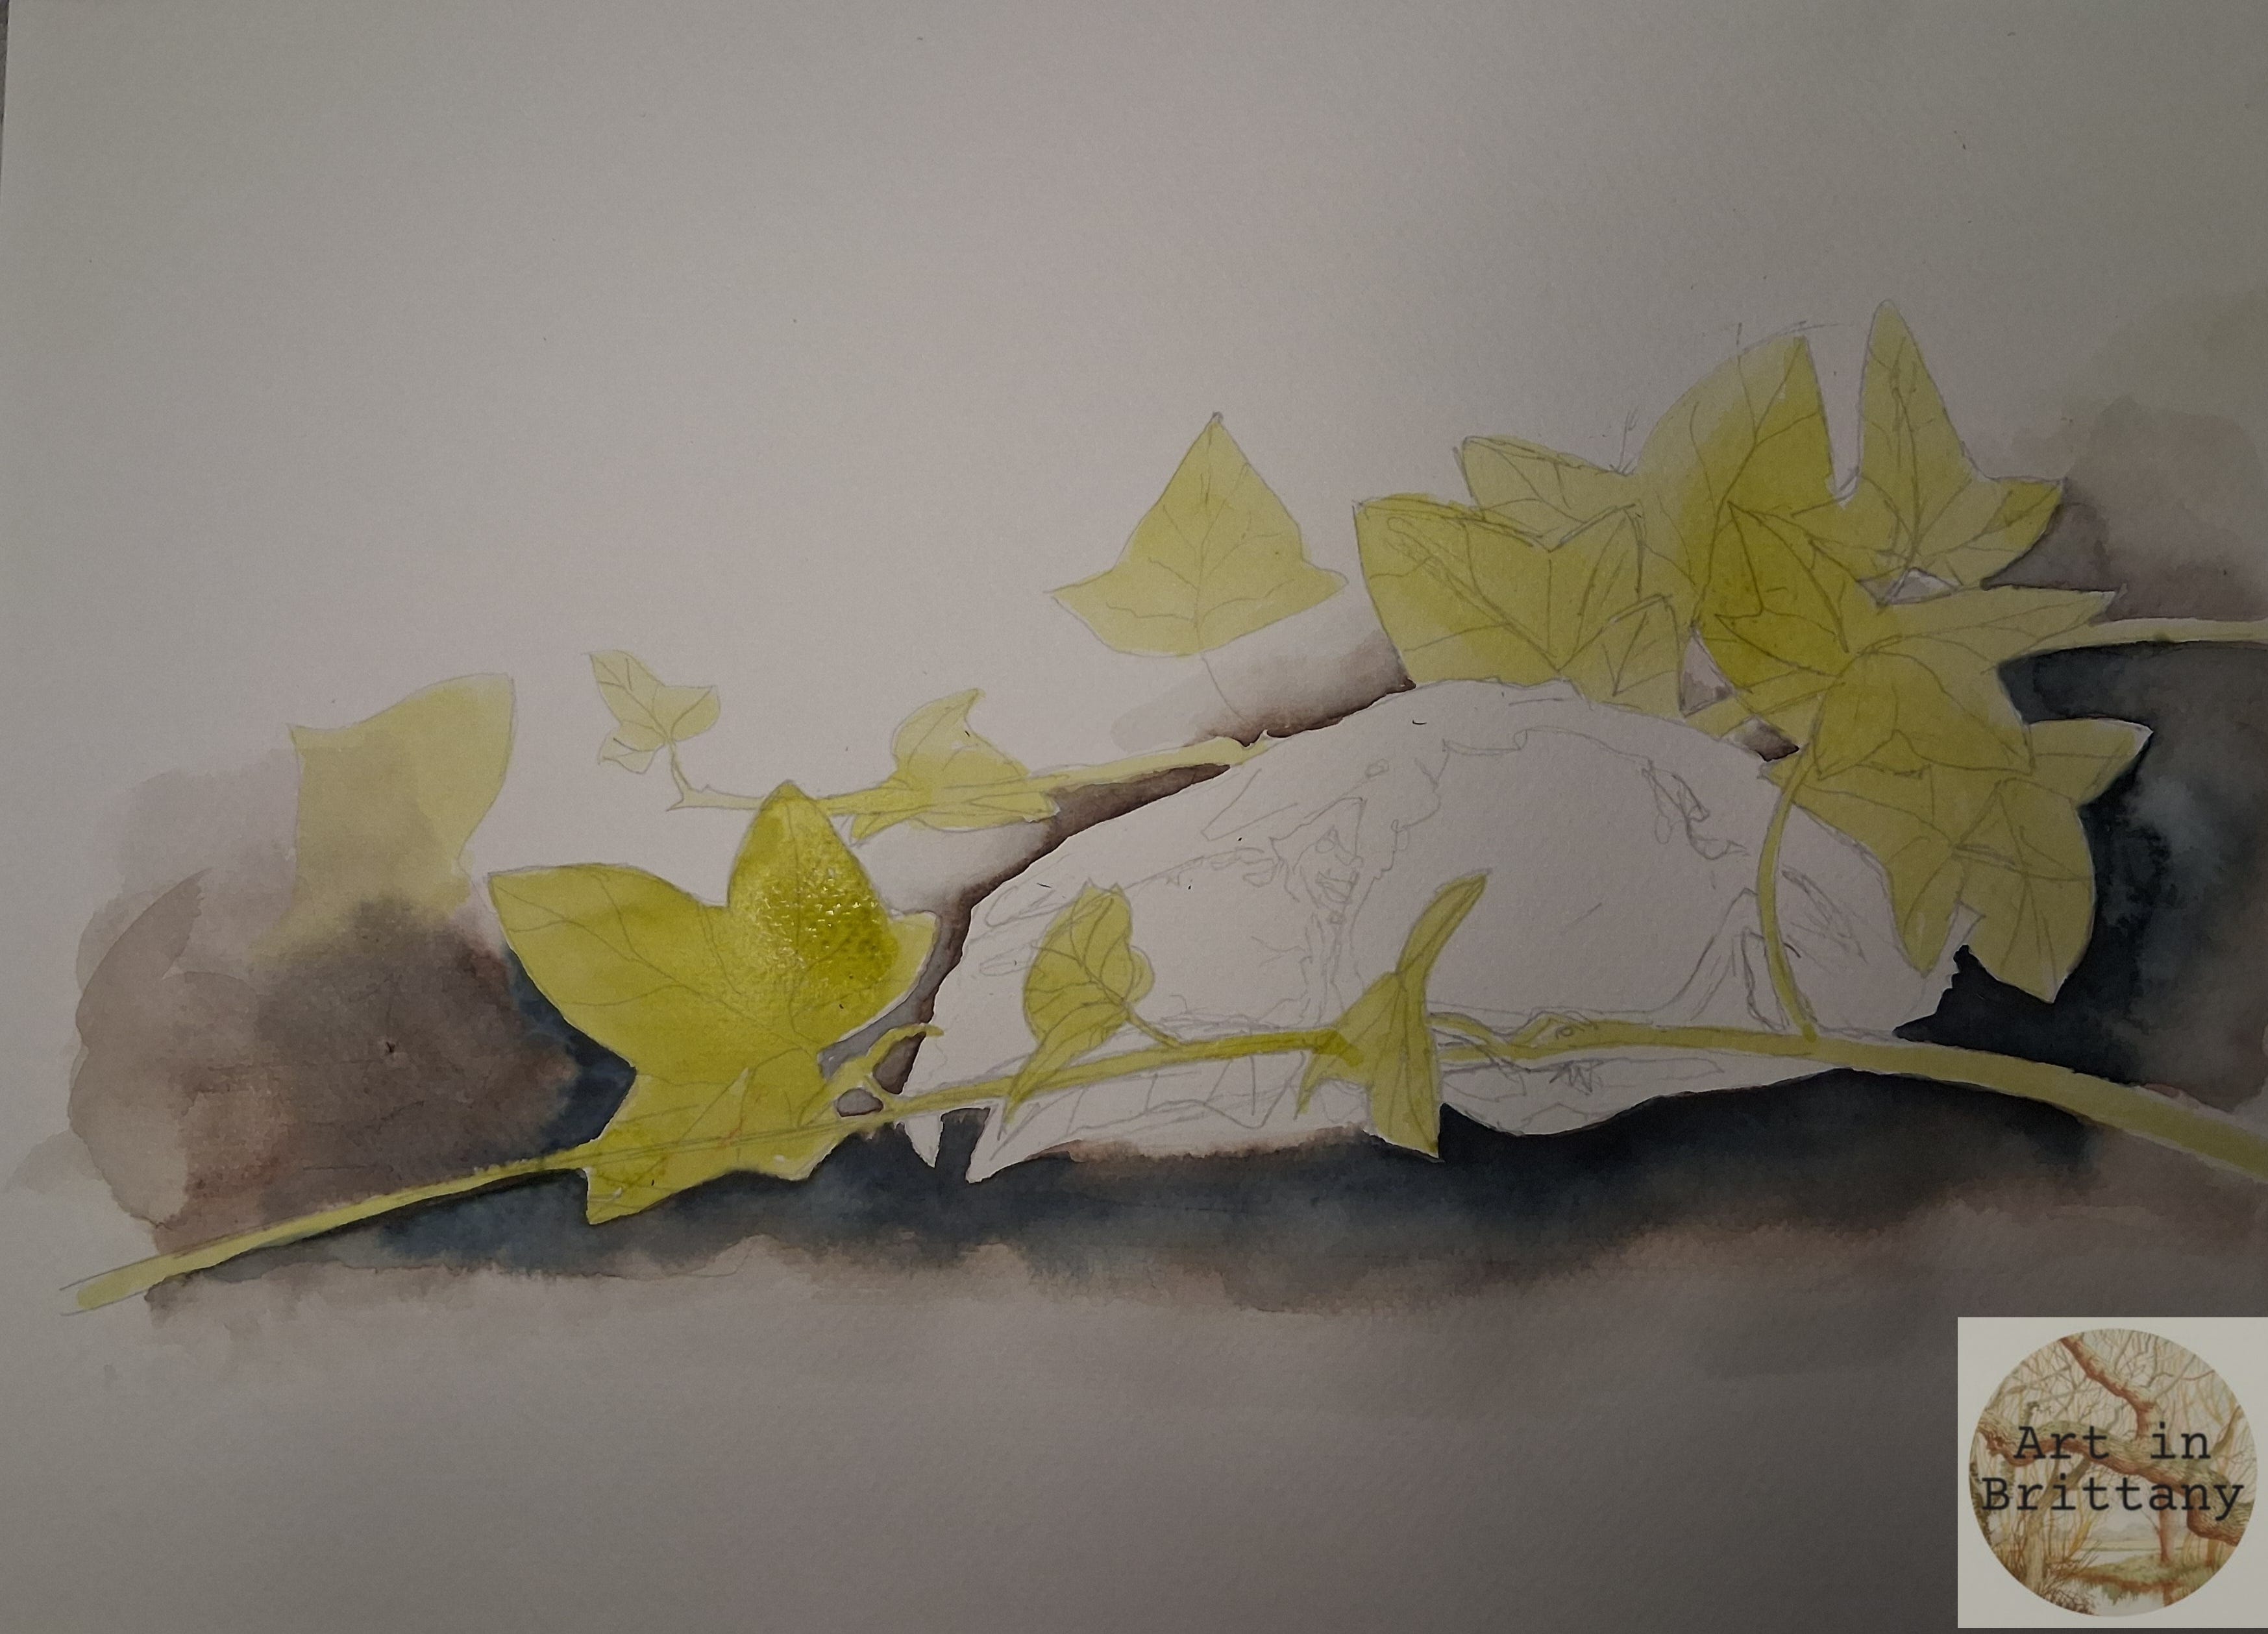
Step 4. The leaves are next - each section of leaf is painted leaving fine veins where the base coat shows through. The greens should be nuanced so that shadow and form are described through tone. Below - I’ve started with the lighter leaves (and base coated a leaf I had missed!). The stems painted wet-in-wet with deeper shadow to the lower edge.
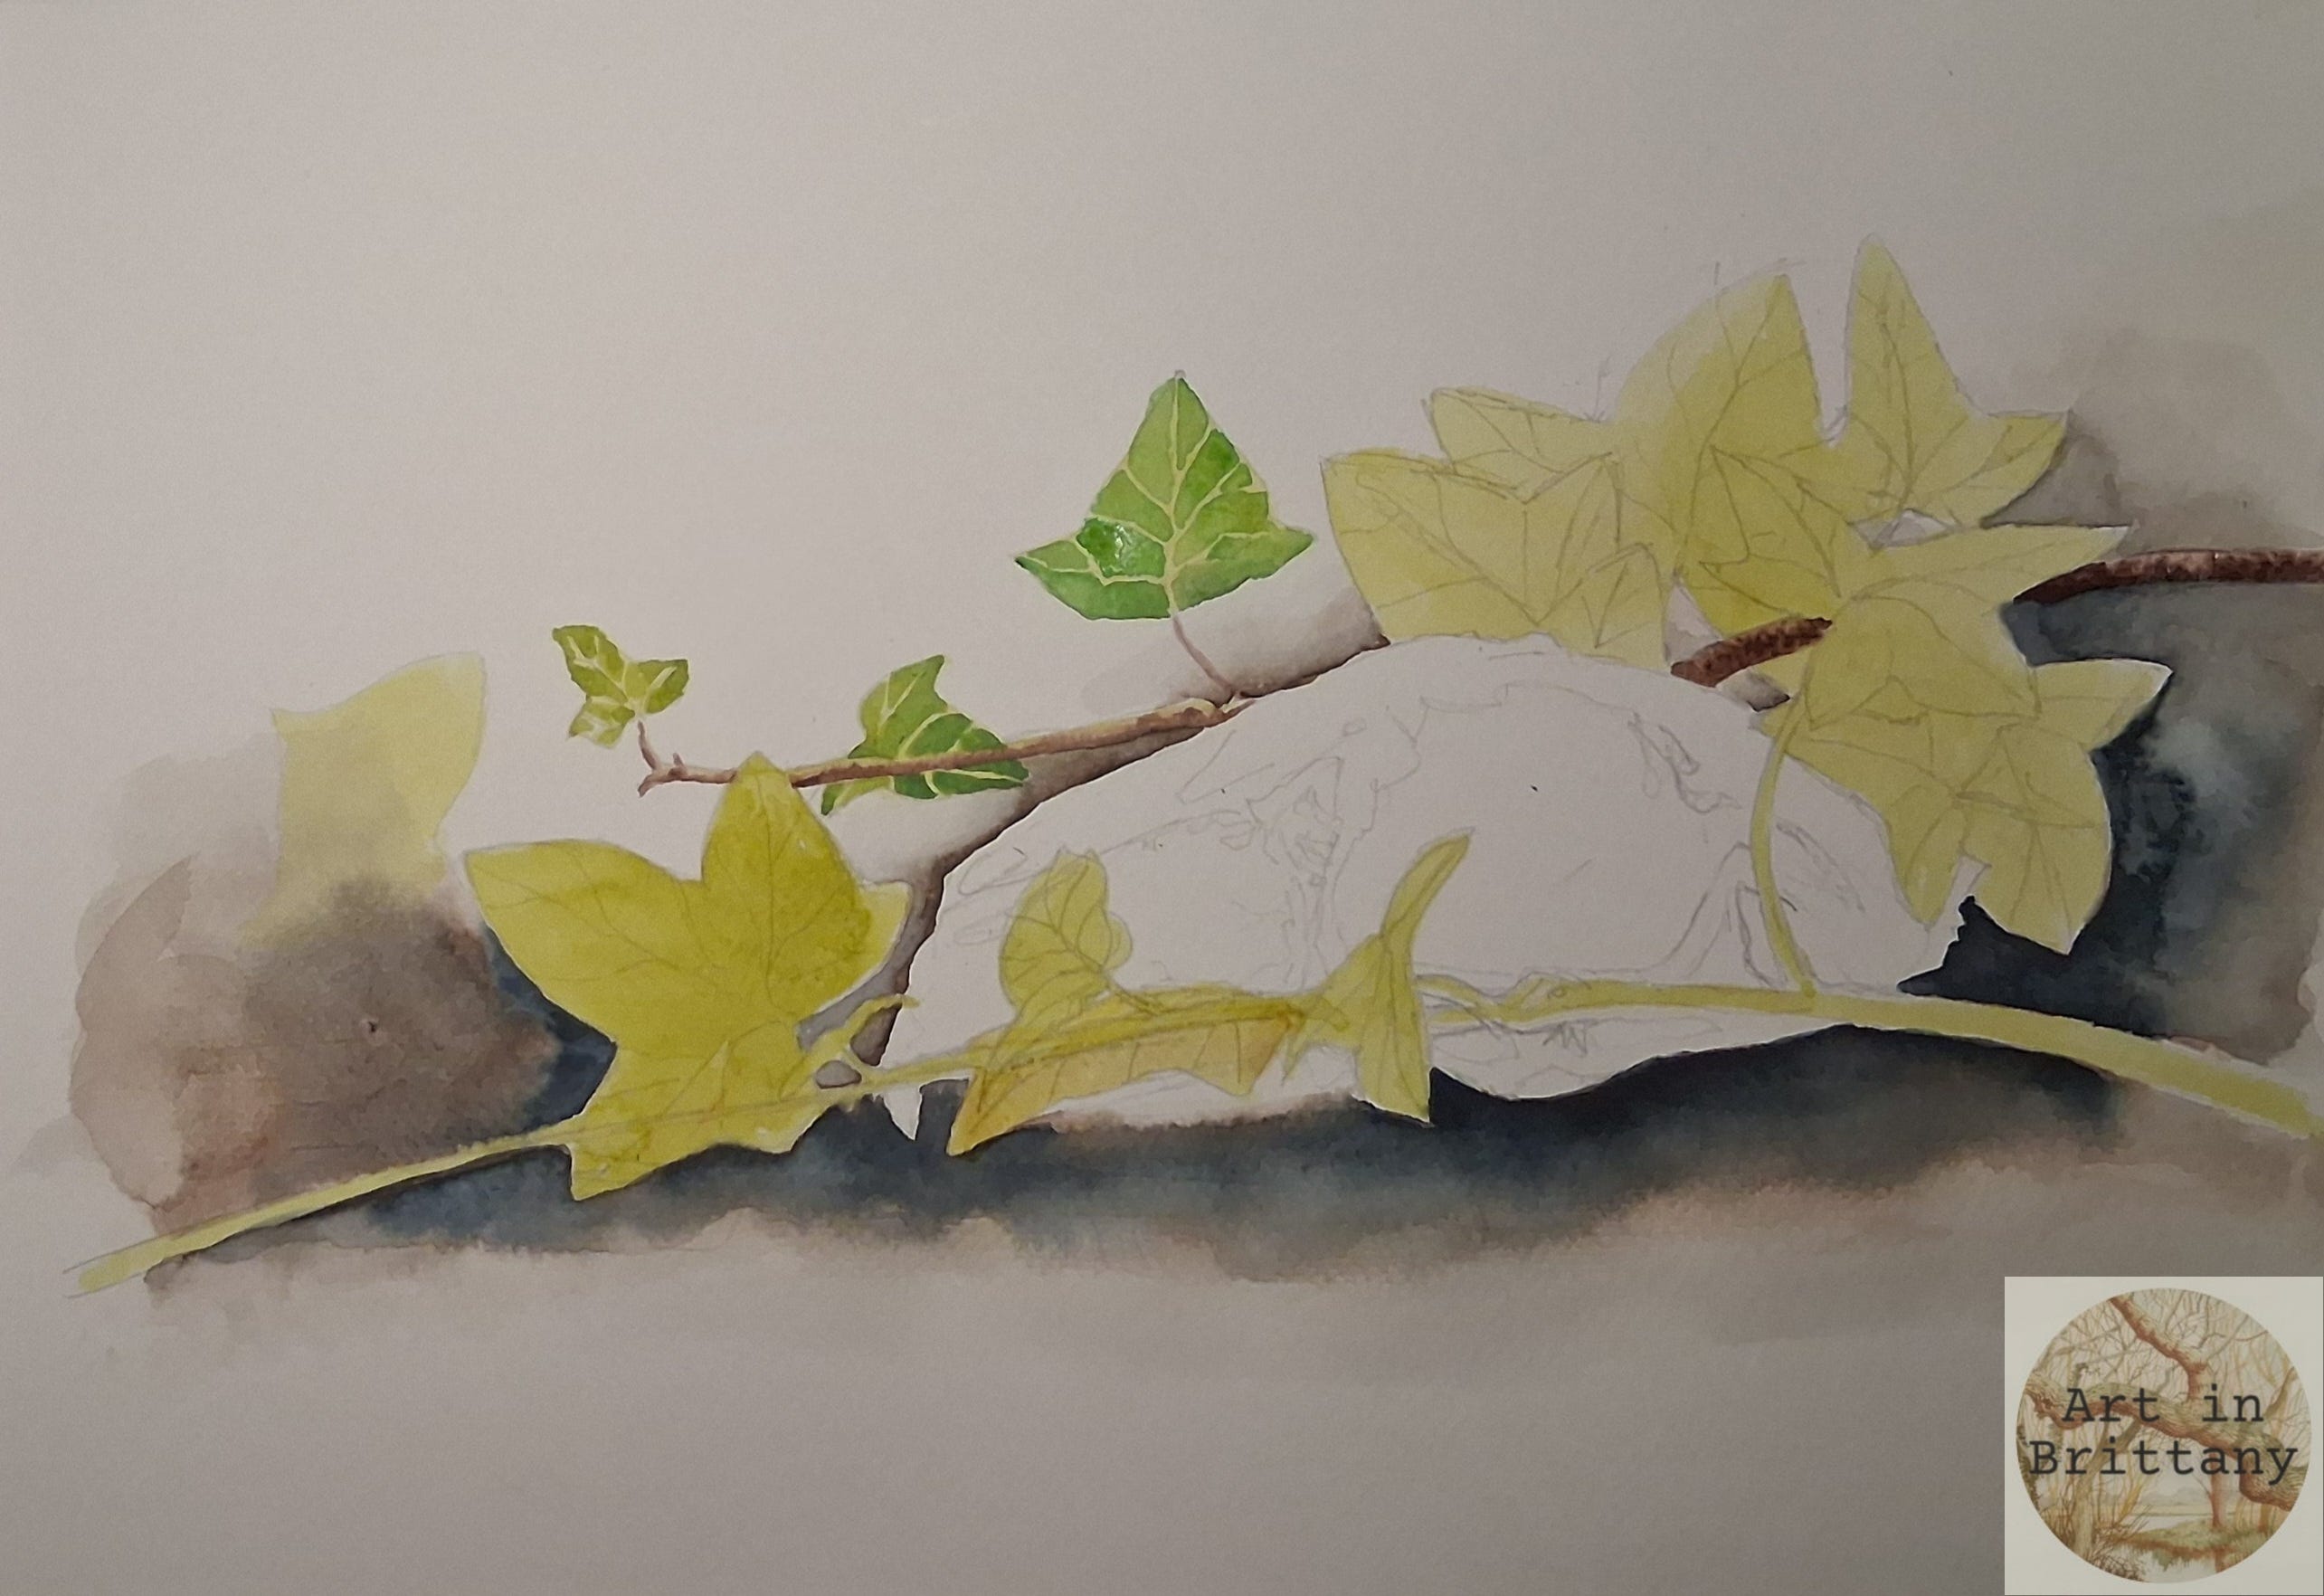
Continue working on the leaves - you may wish to exaggerate colour or tonal differences for clarity.
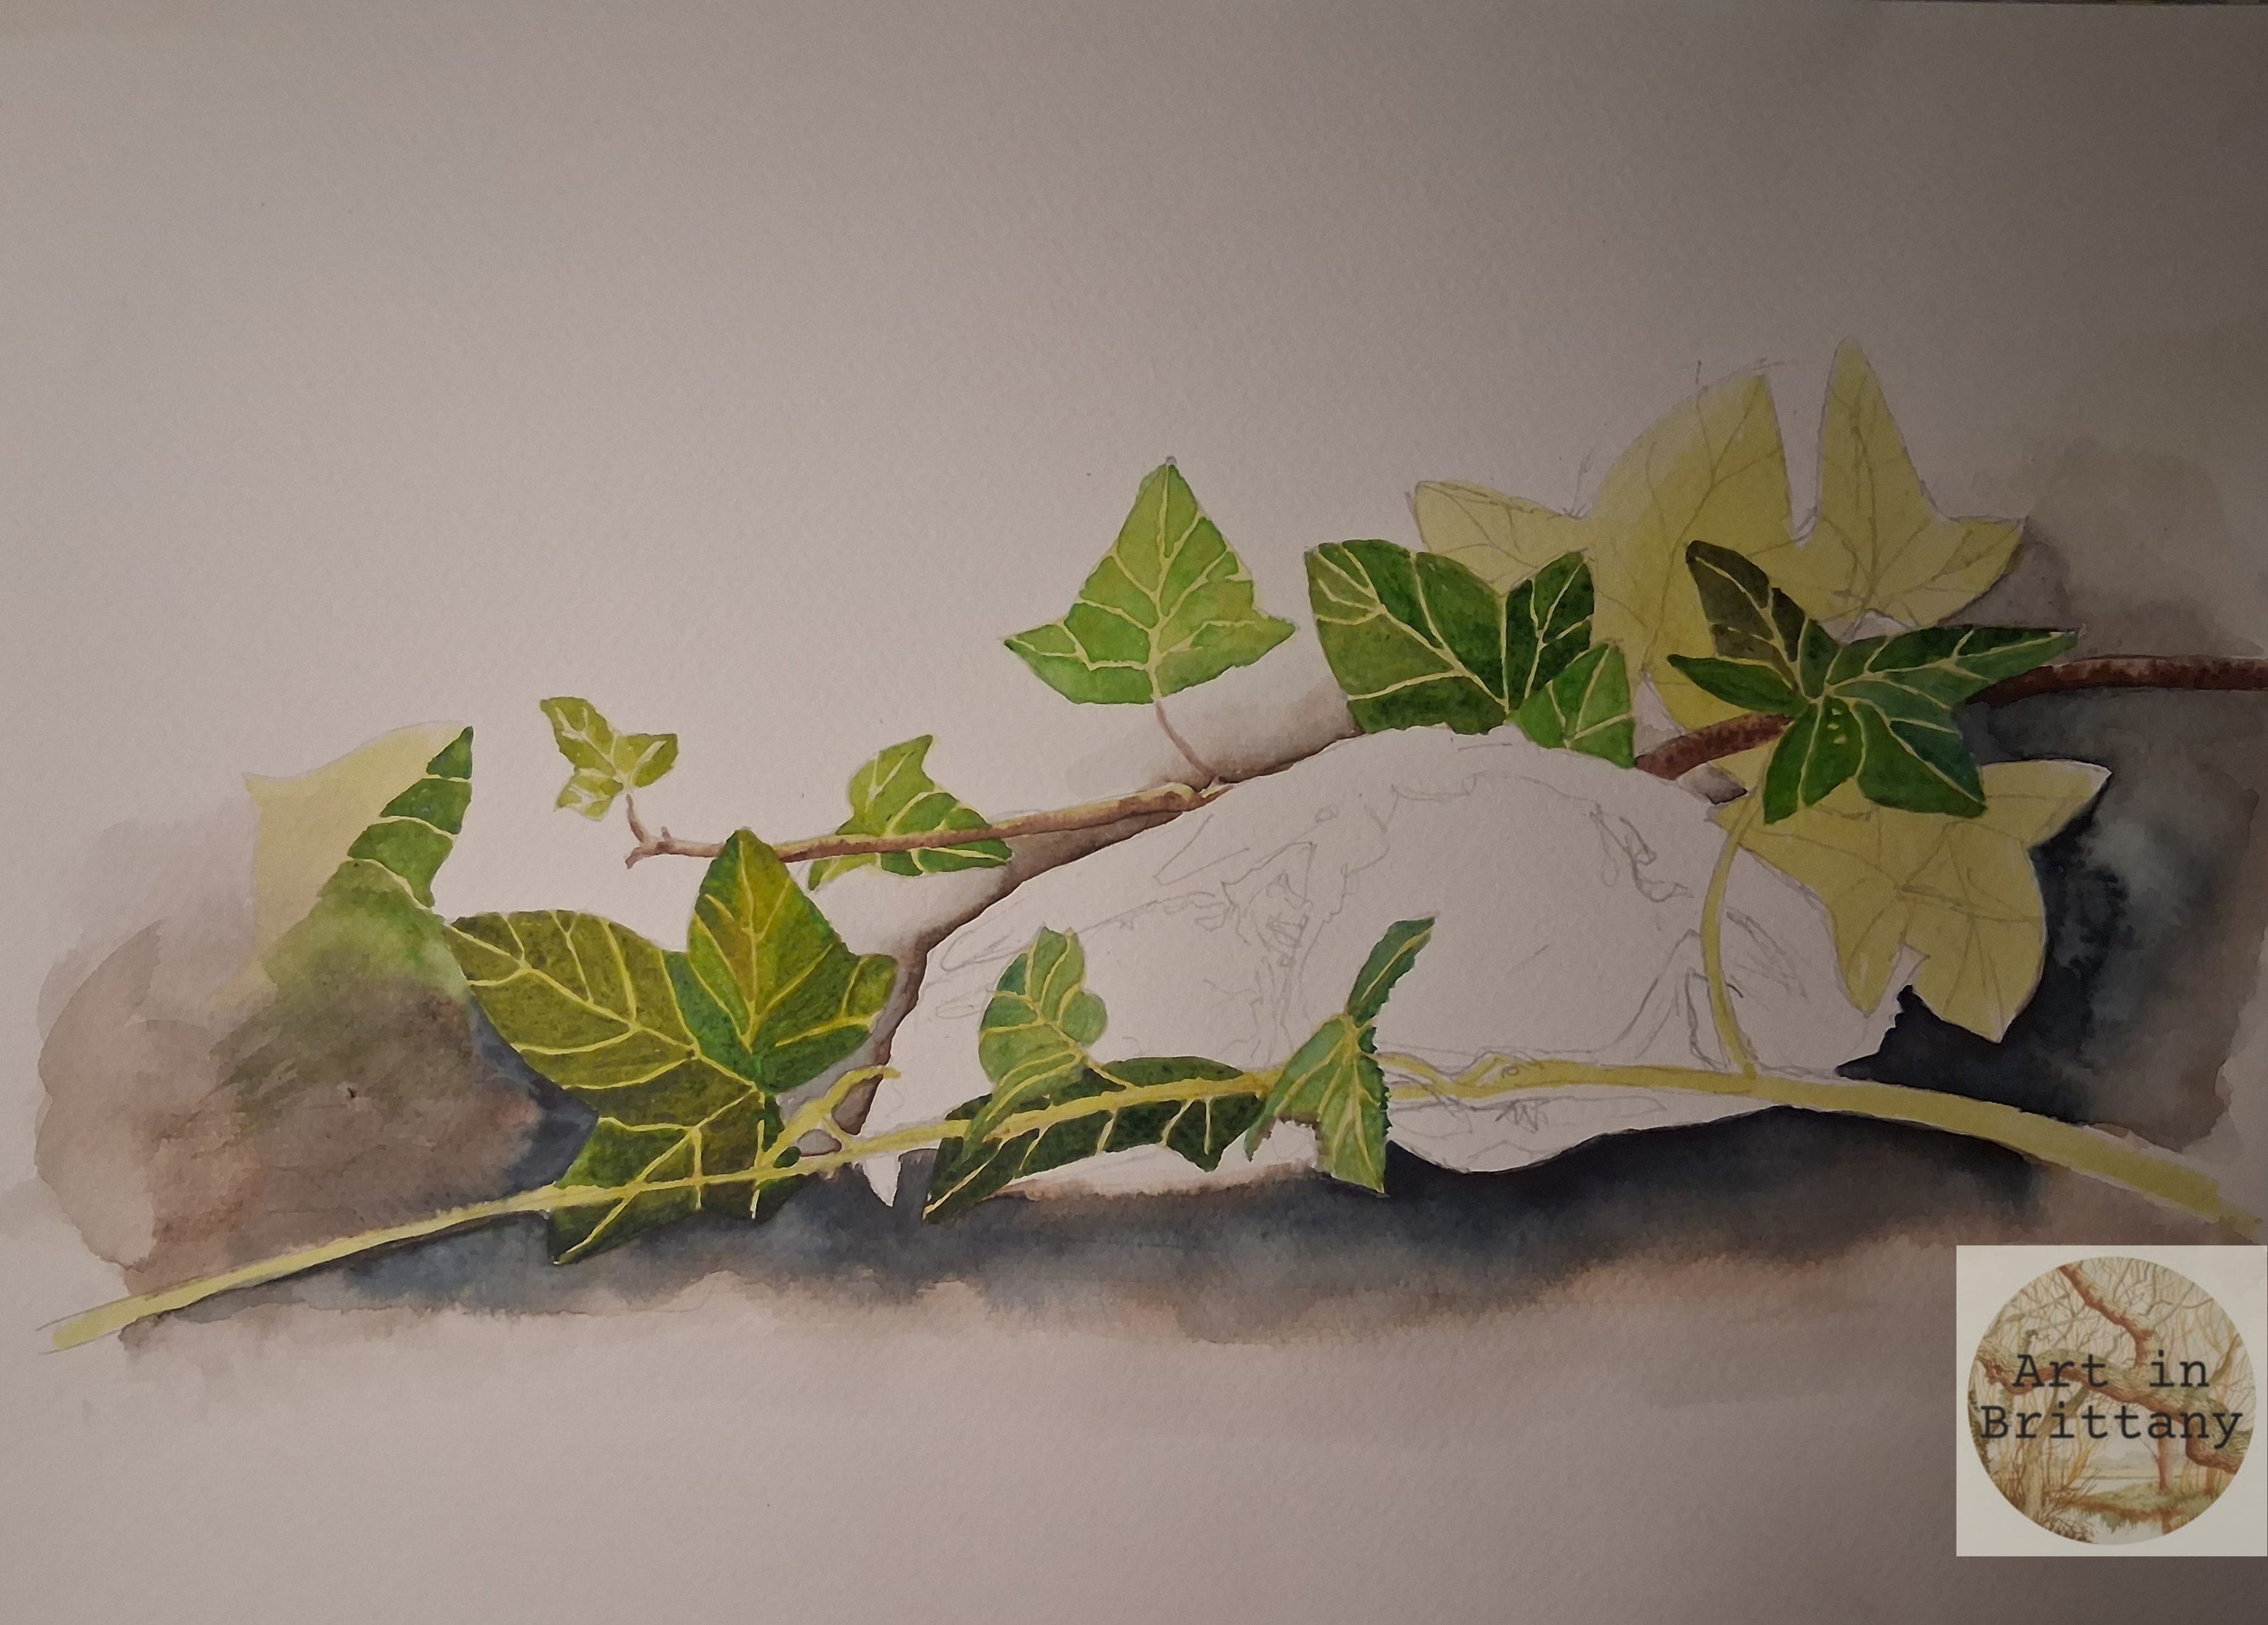
Complete the leaves using increasingly darker greens - deepen them by adding colours already used like Vandyke Brown and Payne’s Grey.
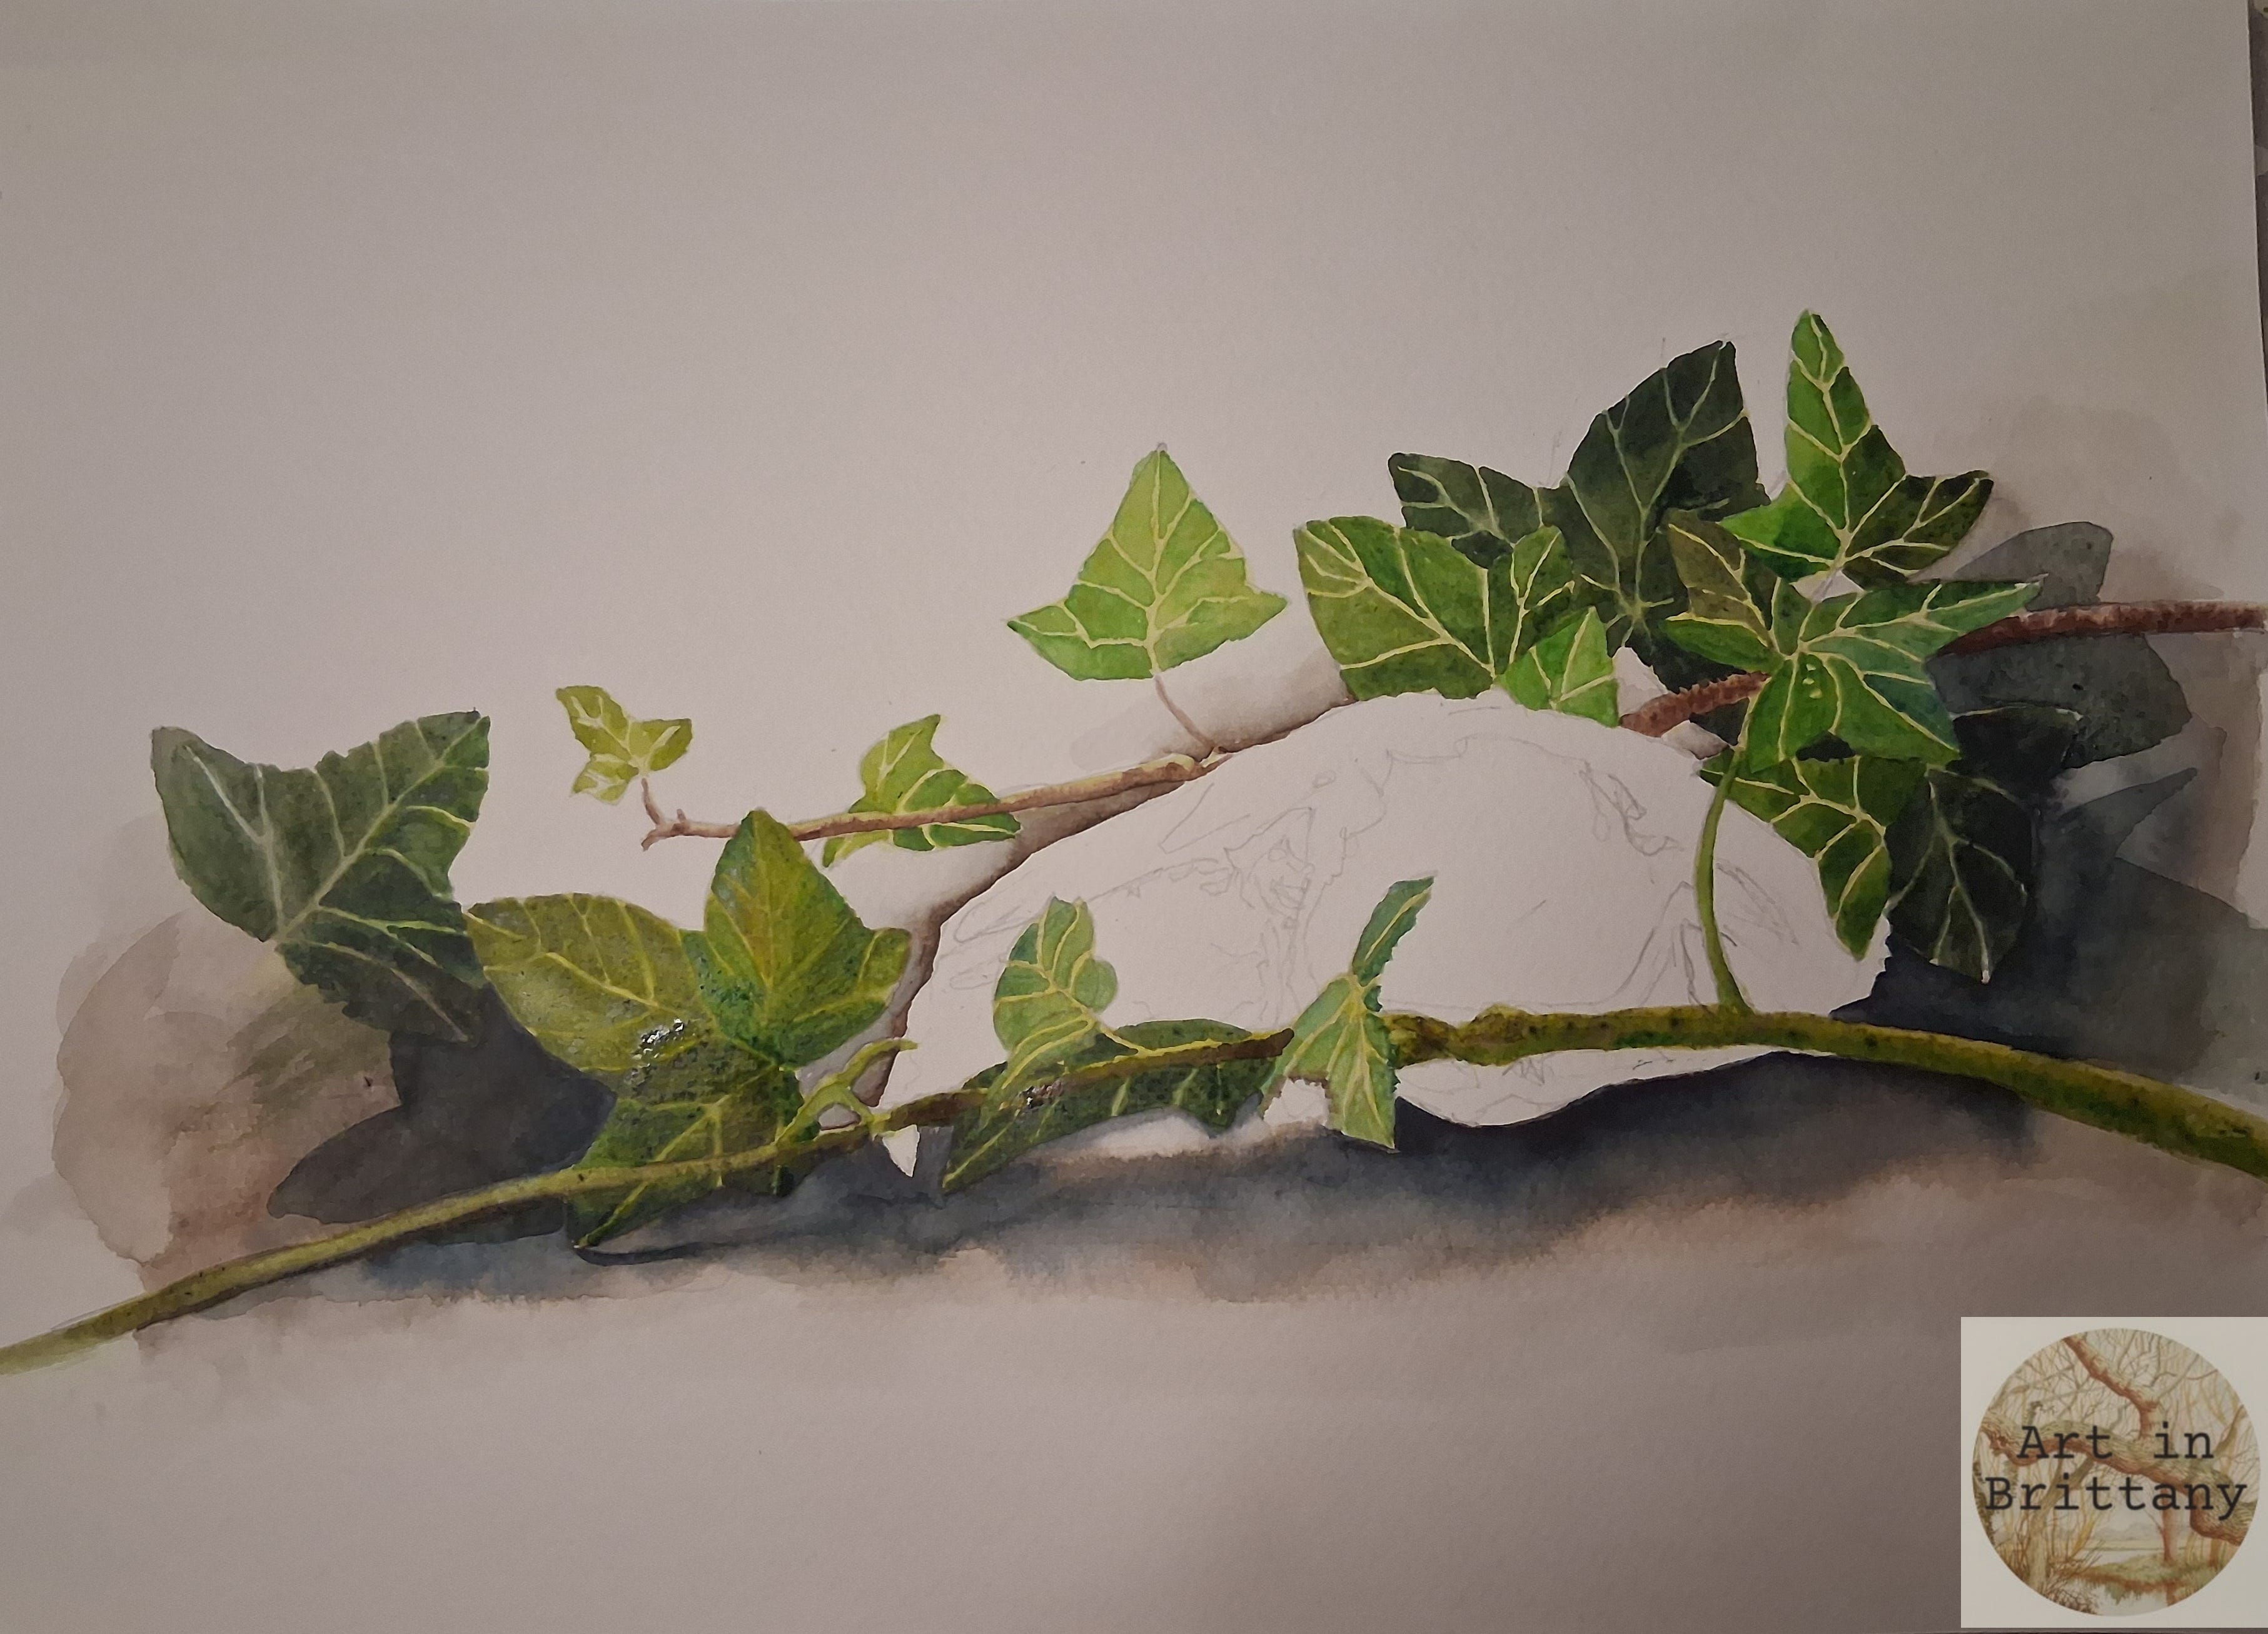
Step 5. The skull is next - I’ve used Potter’s Pink and Caput Mortem to create layers of detail. I’ve tried to use runbacks to suggest texture in the eye socket.
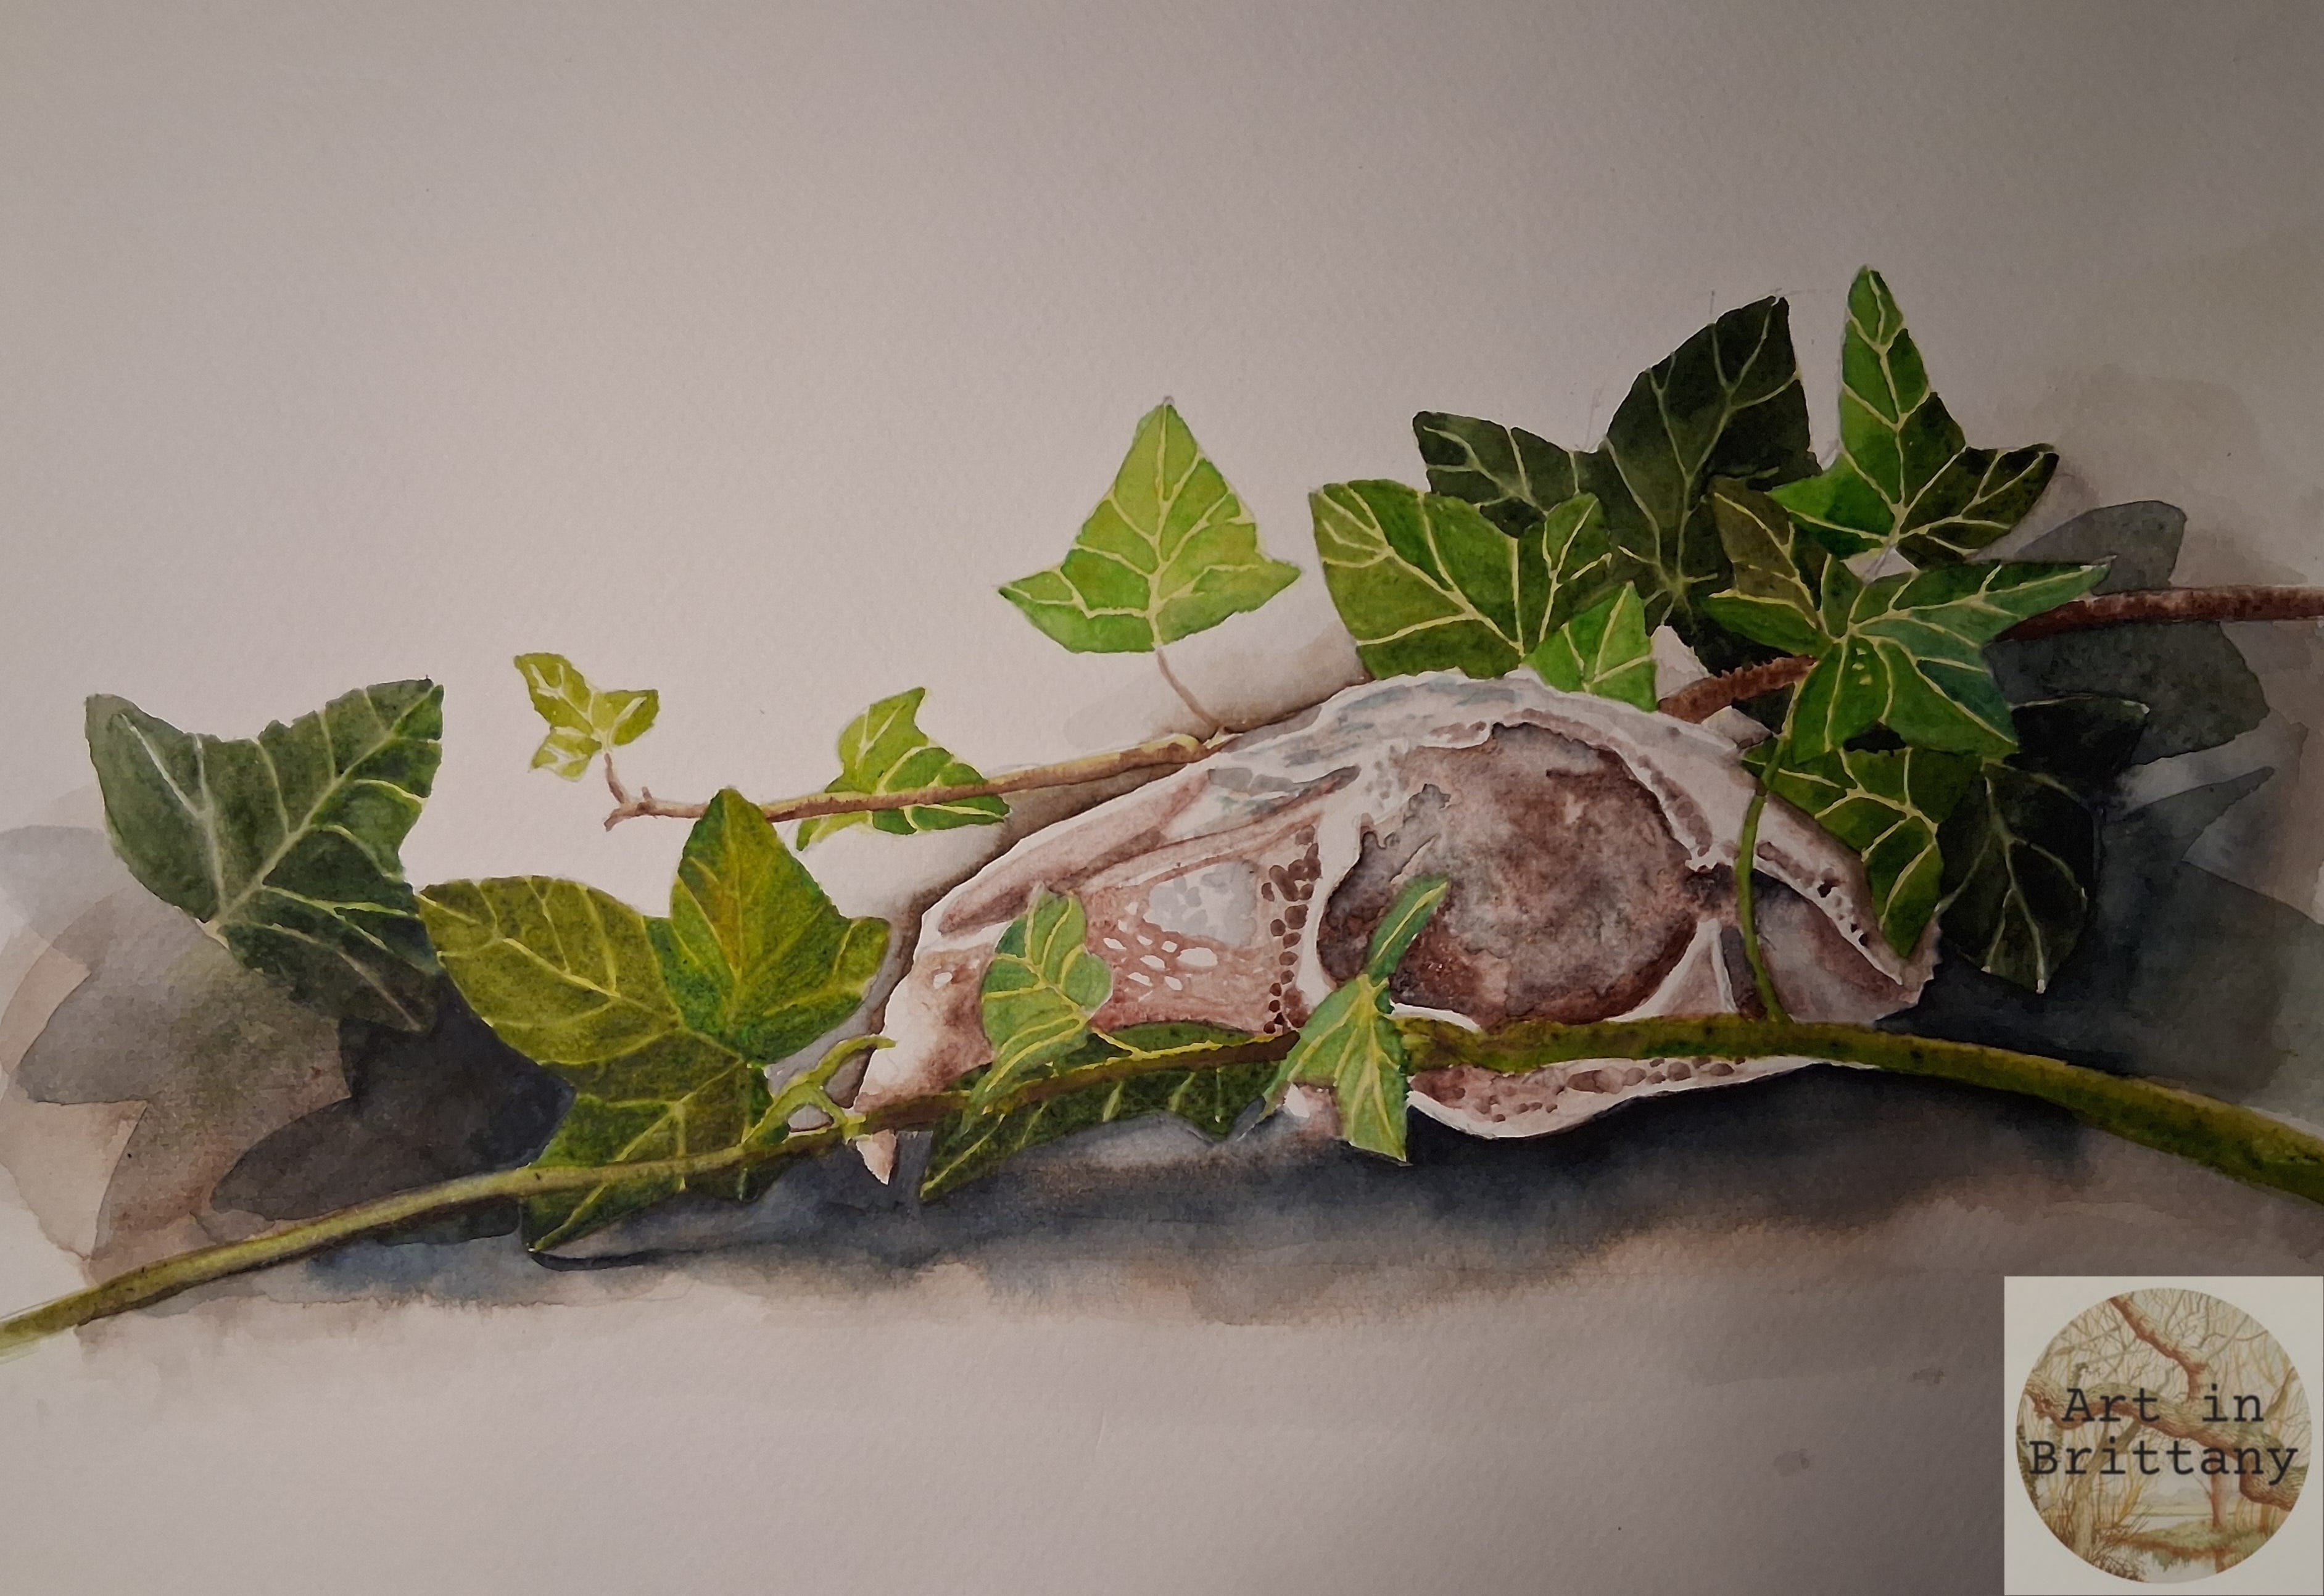
Finally, adjust shadows, remove any visible pencil marks and crop.