


Every morning, a thrush sings from the treetops above my stables, greeting the day long before the sun fully rises. There’s something wonderfully sure and hopeful in his voice, and I wanted to capture that feeling in paint. This tutorial walks you through the watercolour inspired by his dawn chorus.
The Project
In this tutorial, I have used wet-in-wet techniques for most of the work, this creates soft edges and blends over which sharper details can be added when the surface is dry.
Please note; the background in the following process images appears to change colour - this is due to natural lighting changes while I was painting. It really is just Cerulean Blue.
Materials I used -
Fabriano Acid free NOT surface 280gsm (130lb) watercolour paper 25 x 35 cms
Winsor & Newton pigments - Cerulean Blue, Yellow Ochre, Sepia, Payne’s Grey, Potter’s Pink, Sap Green, and Zinc White Gouache.
Rosemary’s Brushes - Golden Synthetic No 8 round, Short Flat Shader, fine liner/rigger.
Faber-Castell - 9000 HB pencil

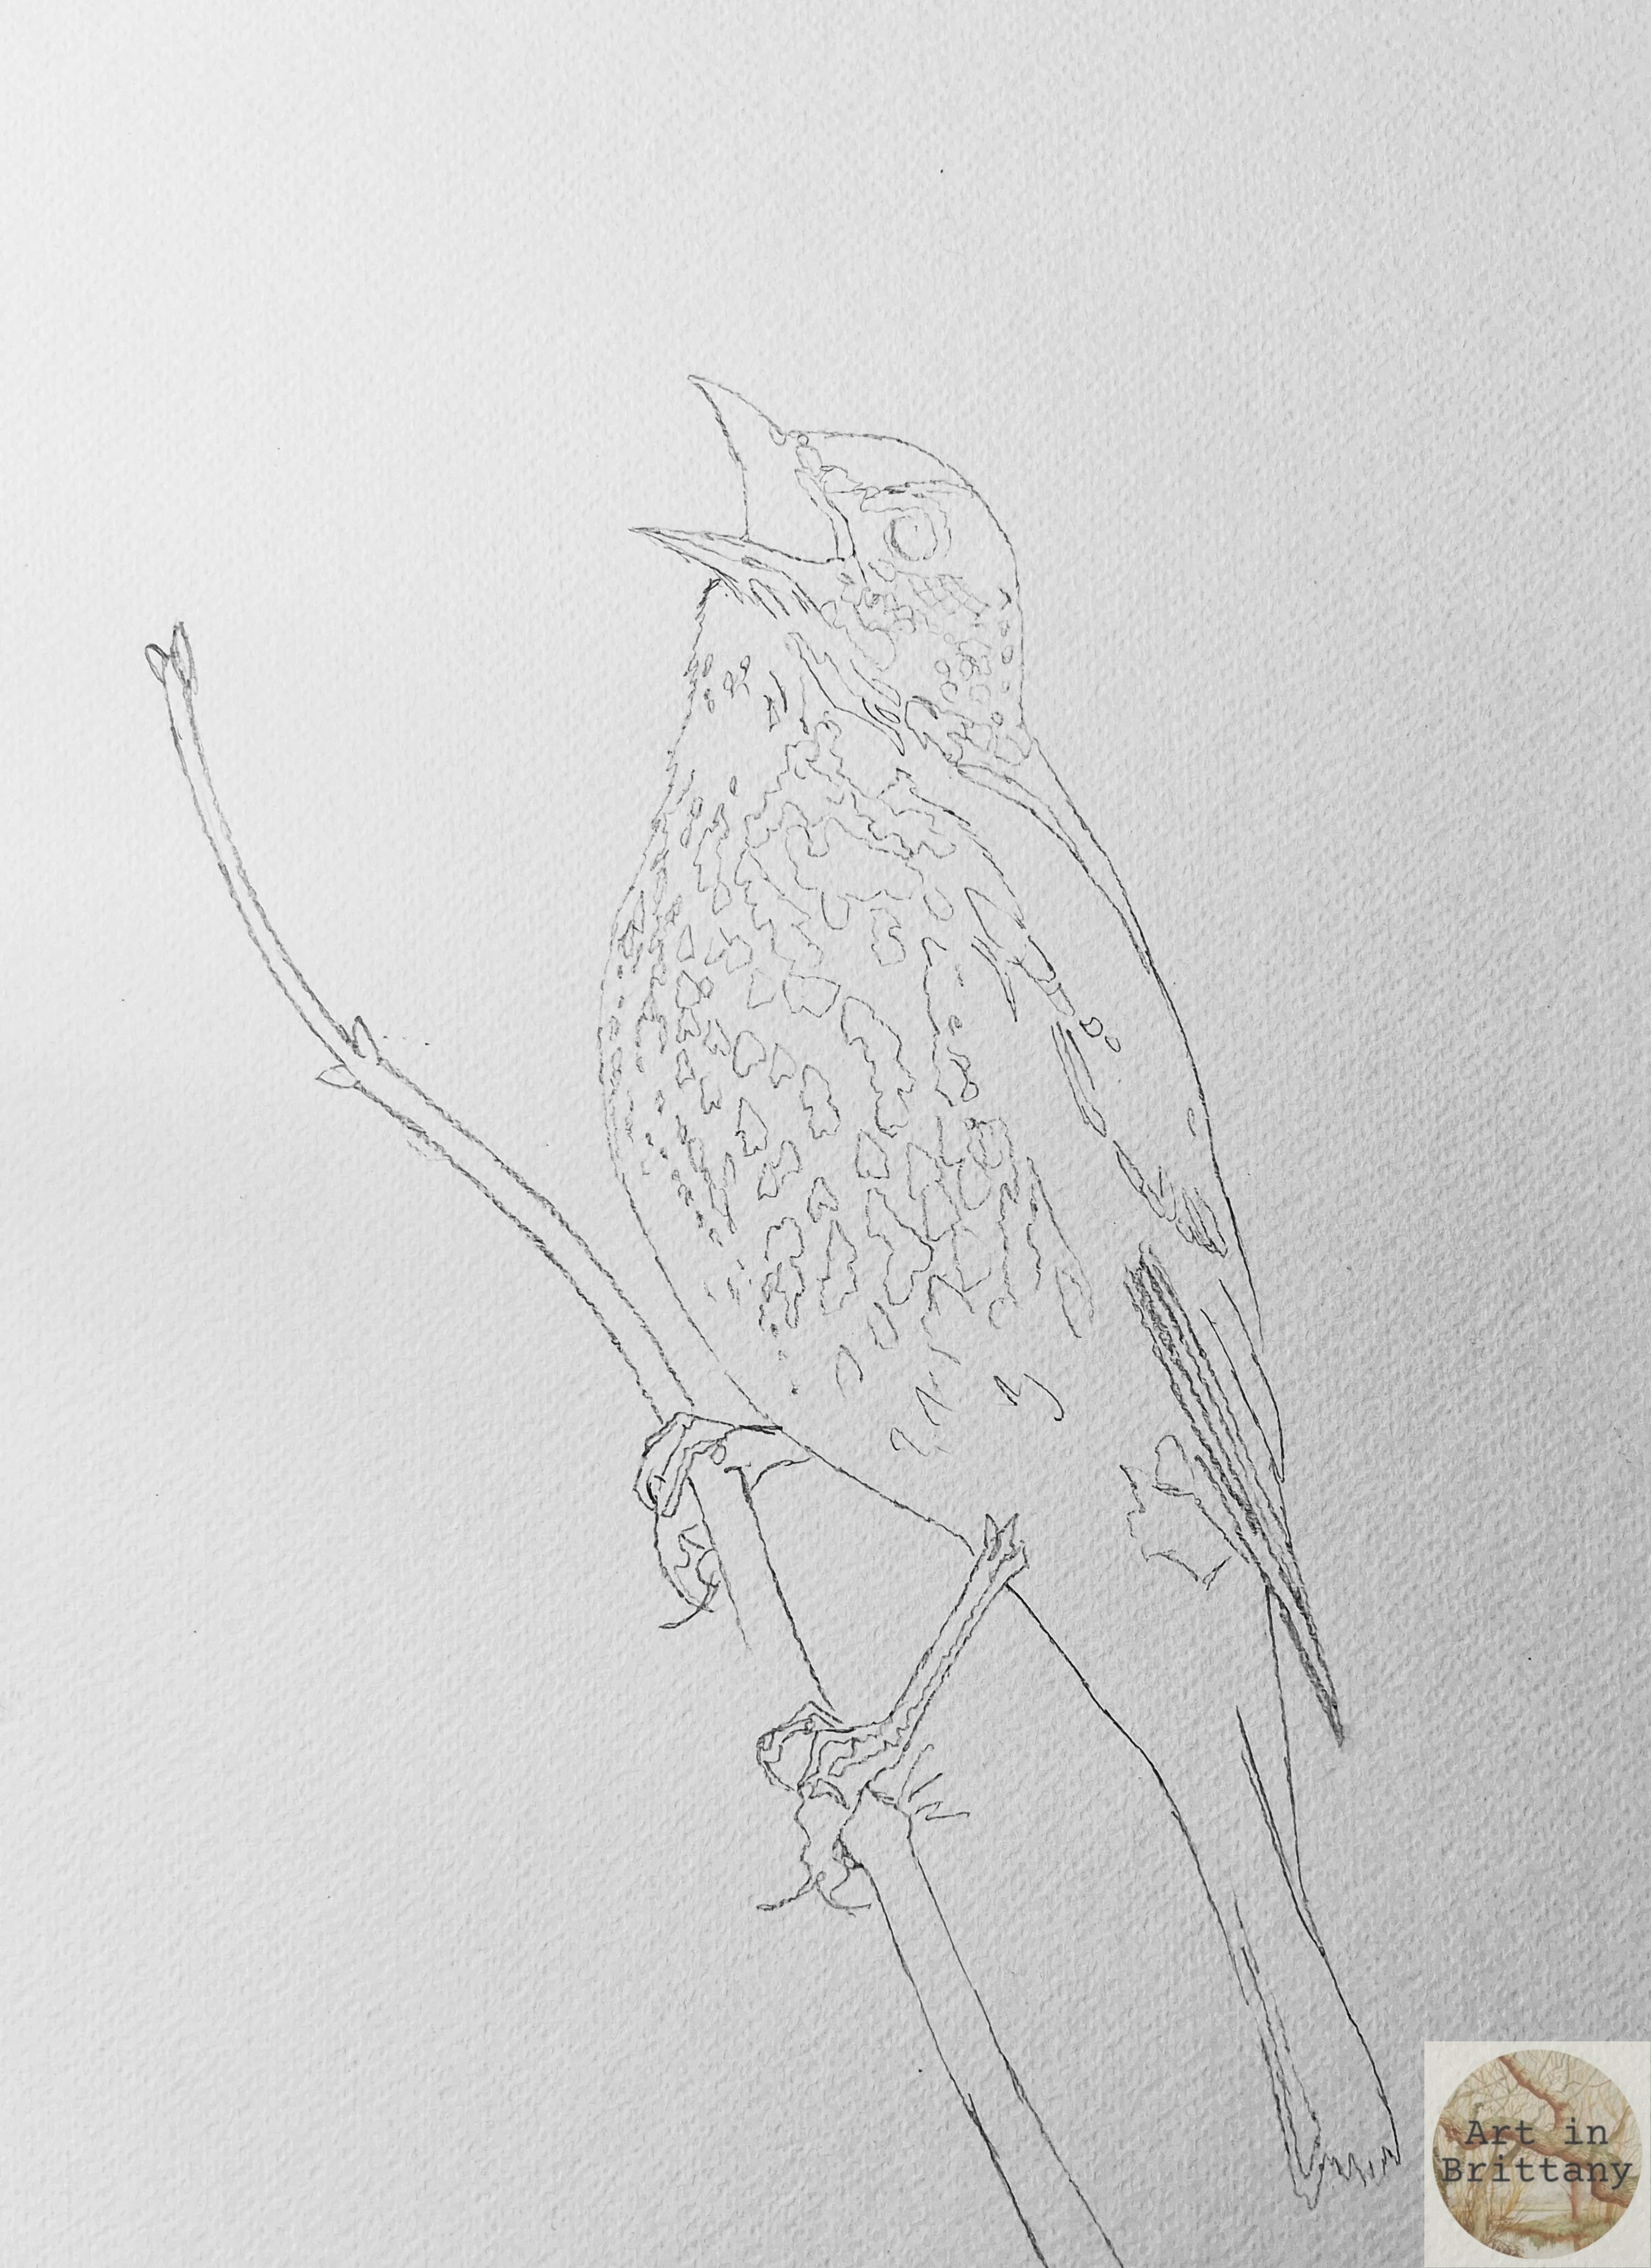
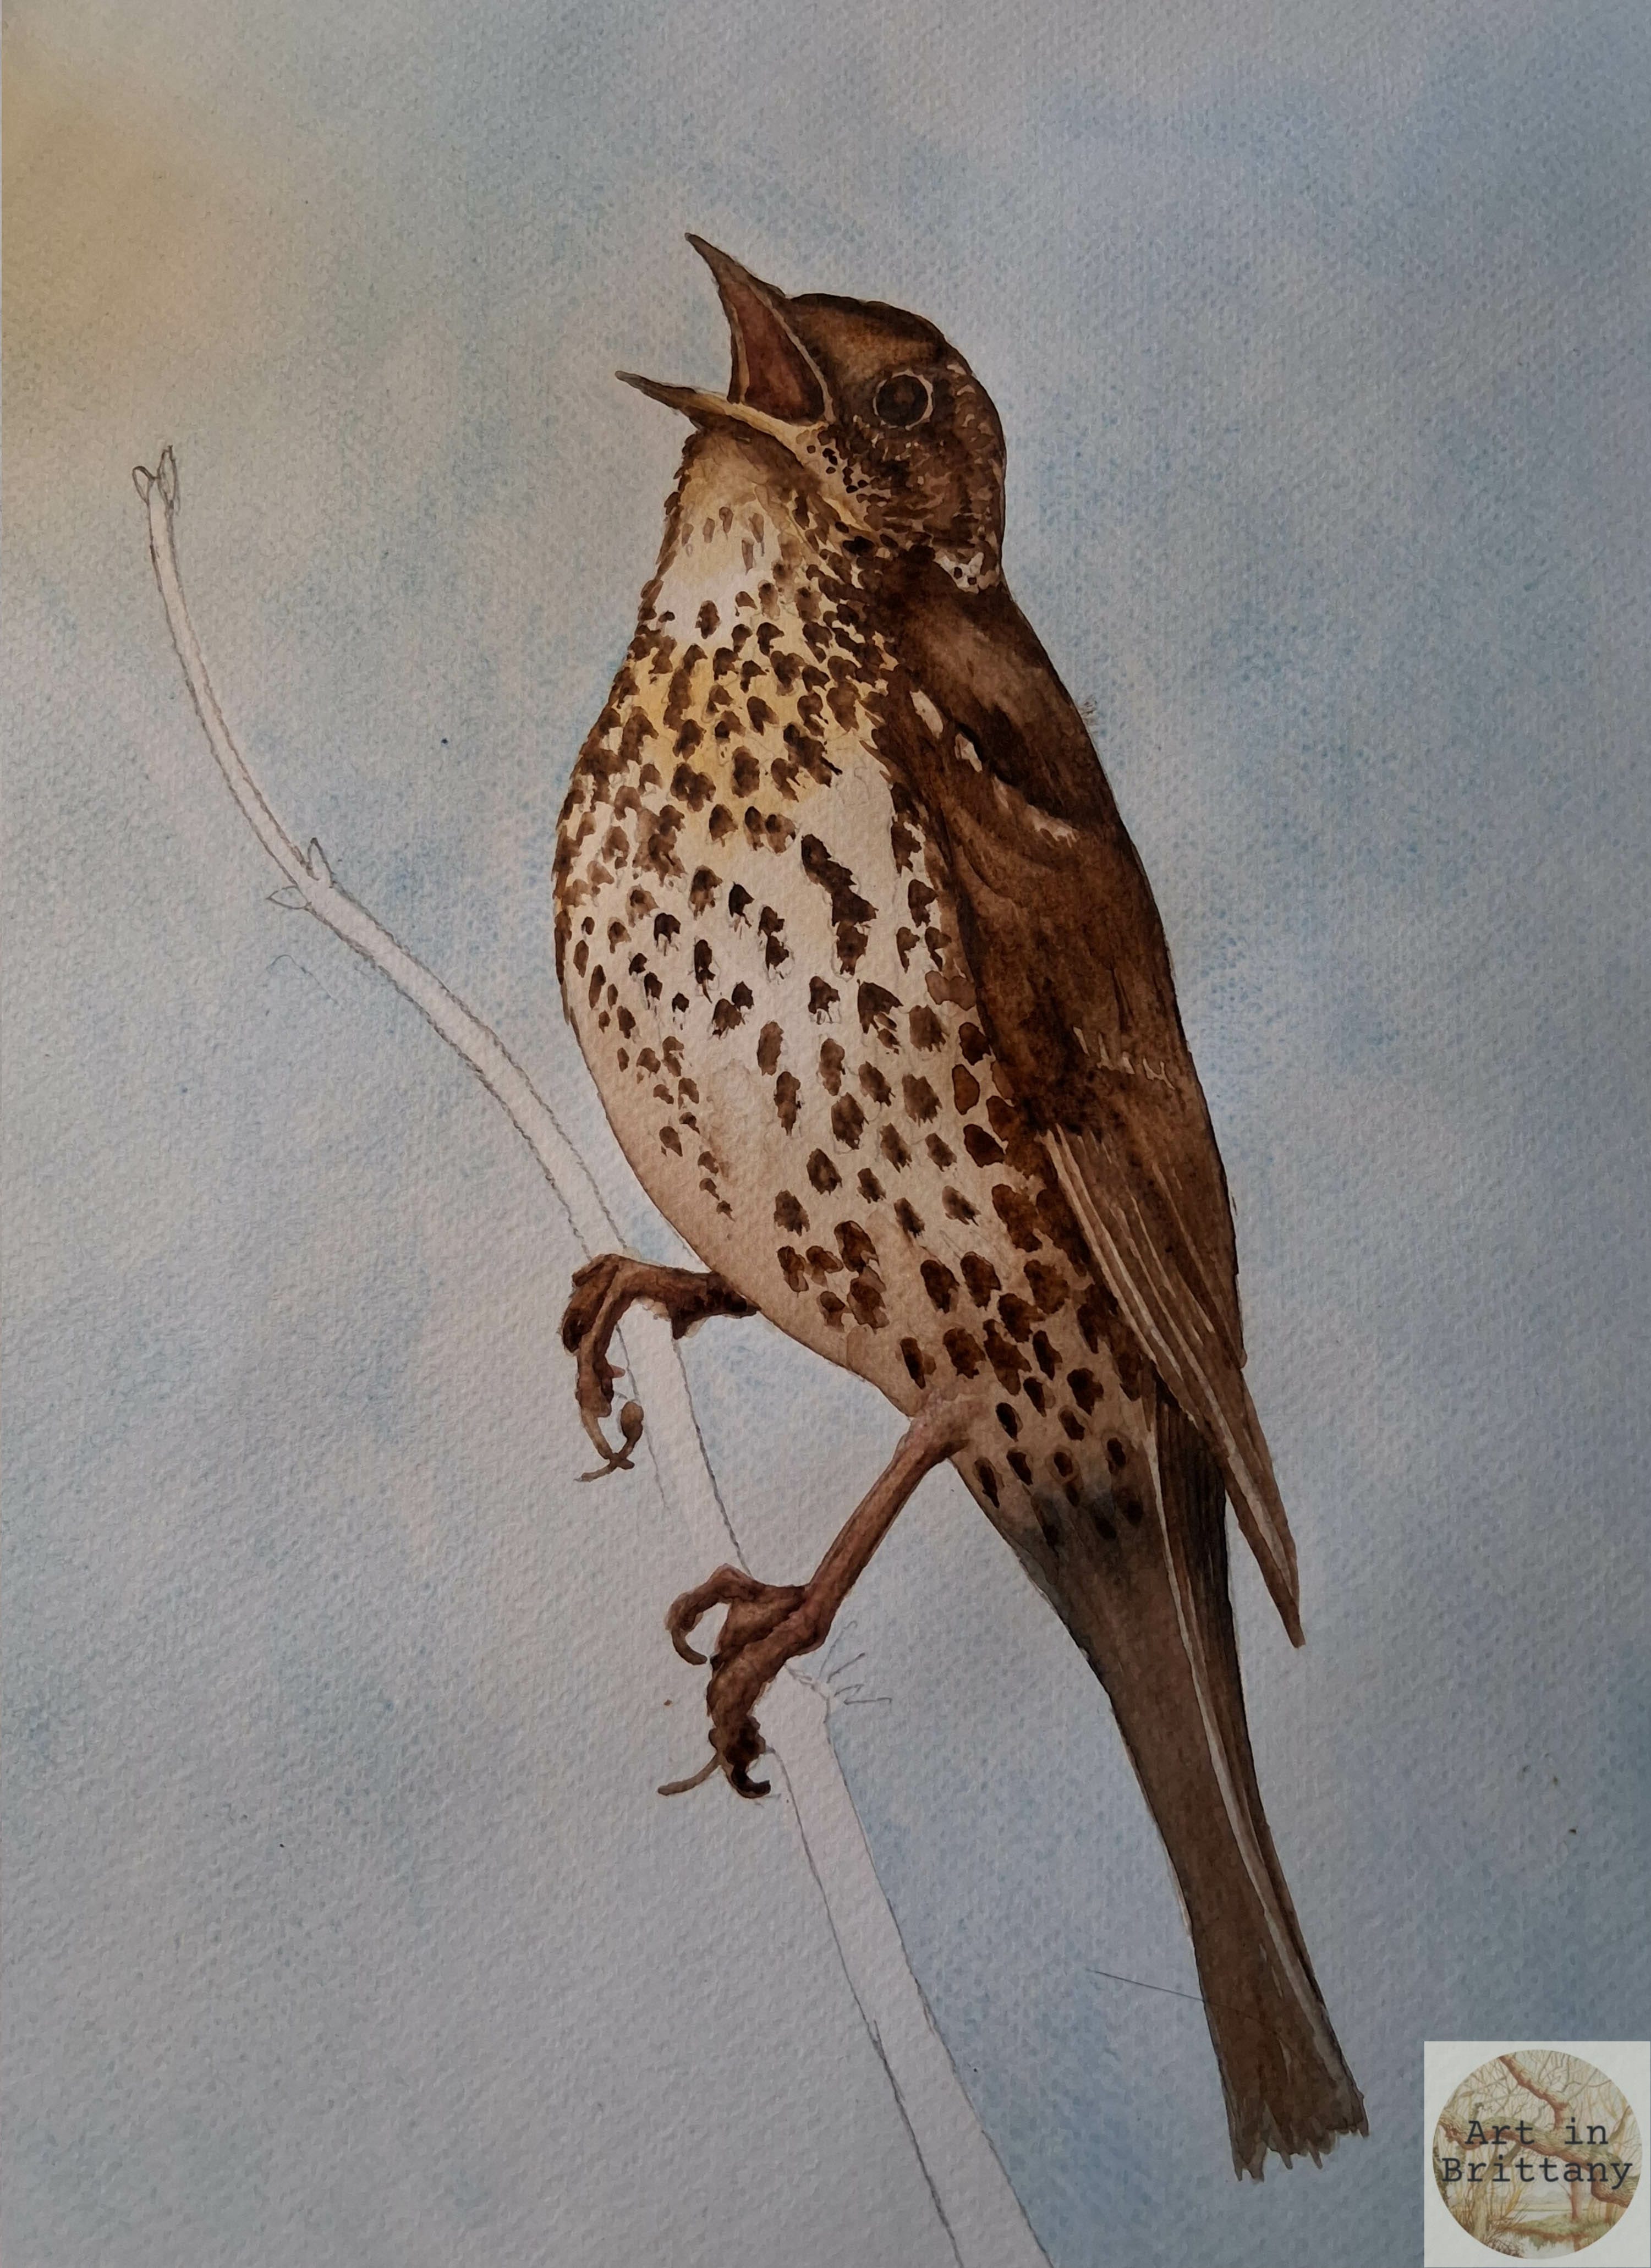
Step 1. Sketch out the image, editing out any unnecessary detail.
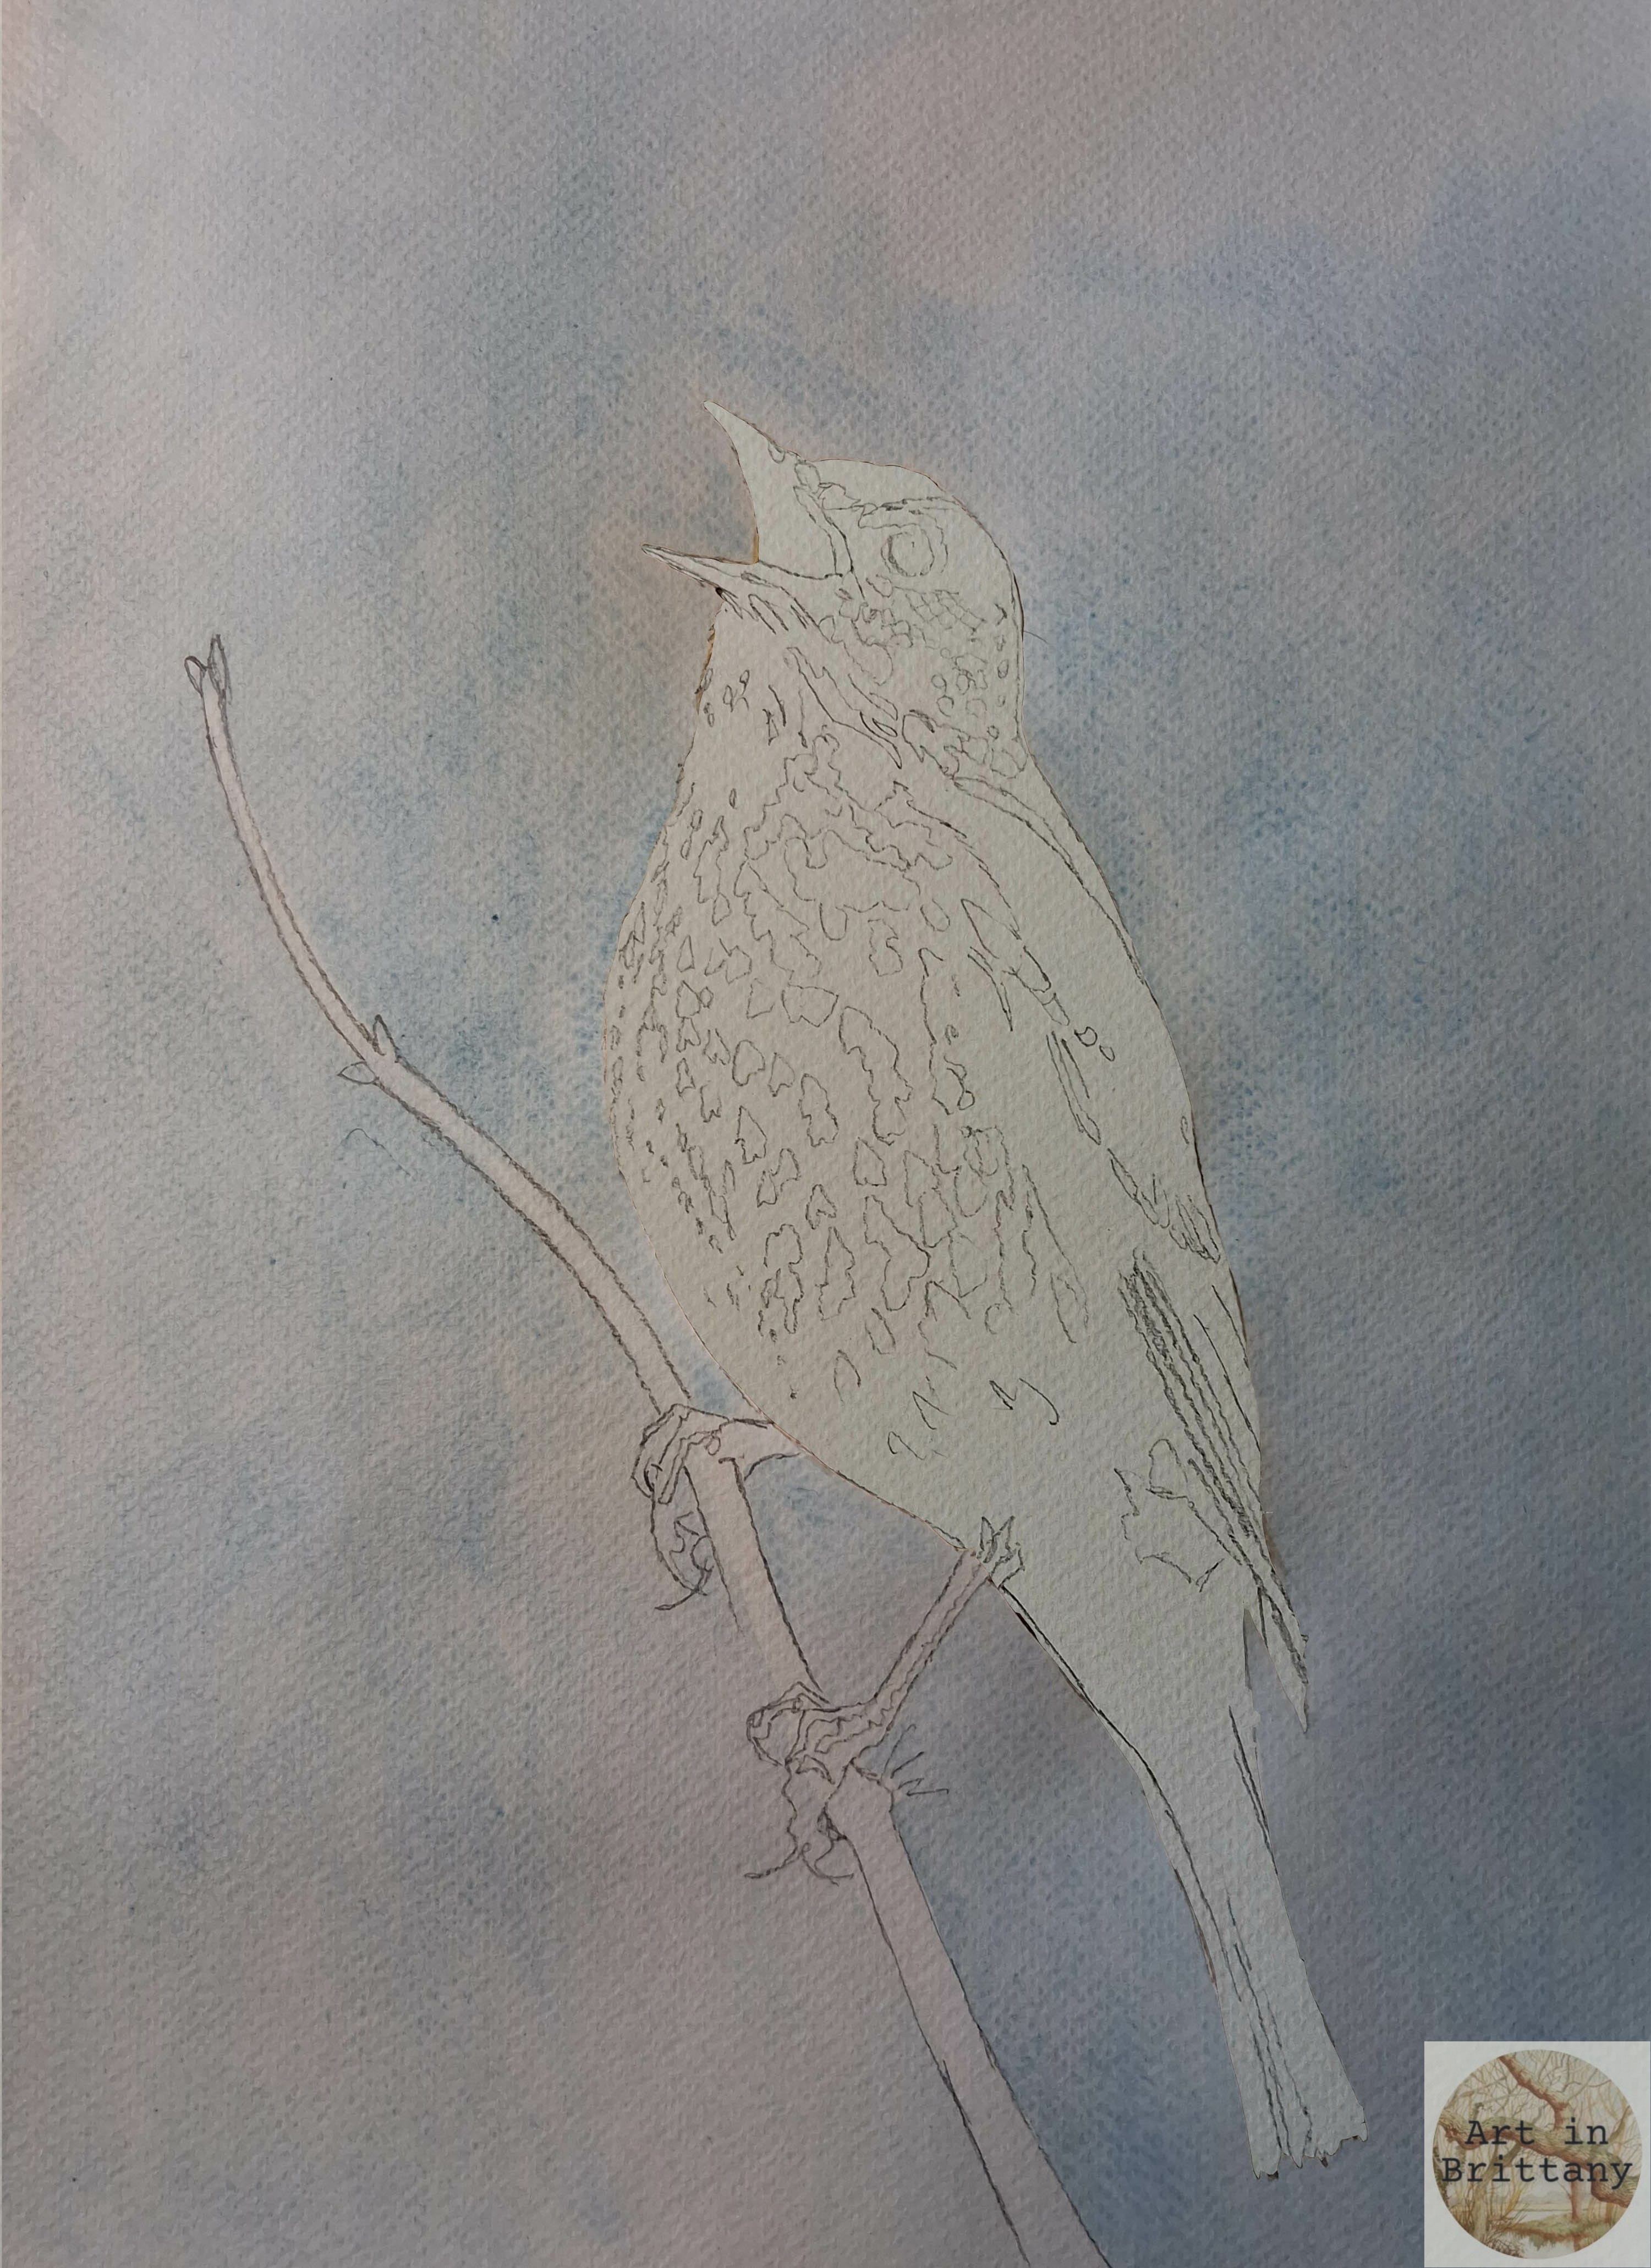
Step 2. Using my large flat shader I wet the whole page except for the bird and twig – take care around the paler edges of the bird. Working quickly, drop cerulean blue onto the wet surface, allowing it to run over the wet areas and ‘find’ the dry edges of the bird. Make sure your sky makes a neat edge around the bird and that it creates a consistent background between it’s legs etc. You could use any colour you like or perhaps more than one – but be careful if you use yellow and blue as a green sky may not be what you had in mind!
Step 3. When the background is completely dry, apply plain water evenly to the whole body of the bird and drop in Yellow Ochre, Sepia and a little Payne’s Grey to describe the form of the bird with soft-edged tone. Lift out* small areas if you need to. Sharp edged details are added later to a dry surface.
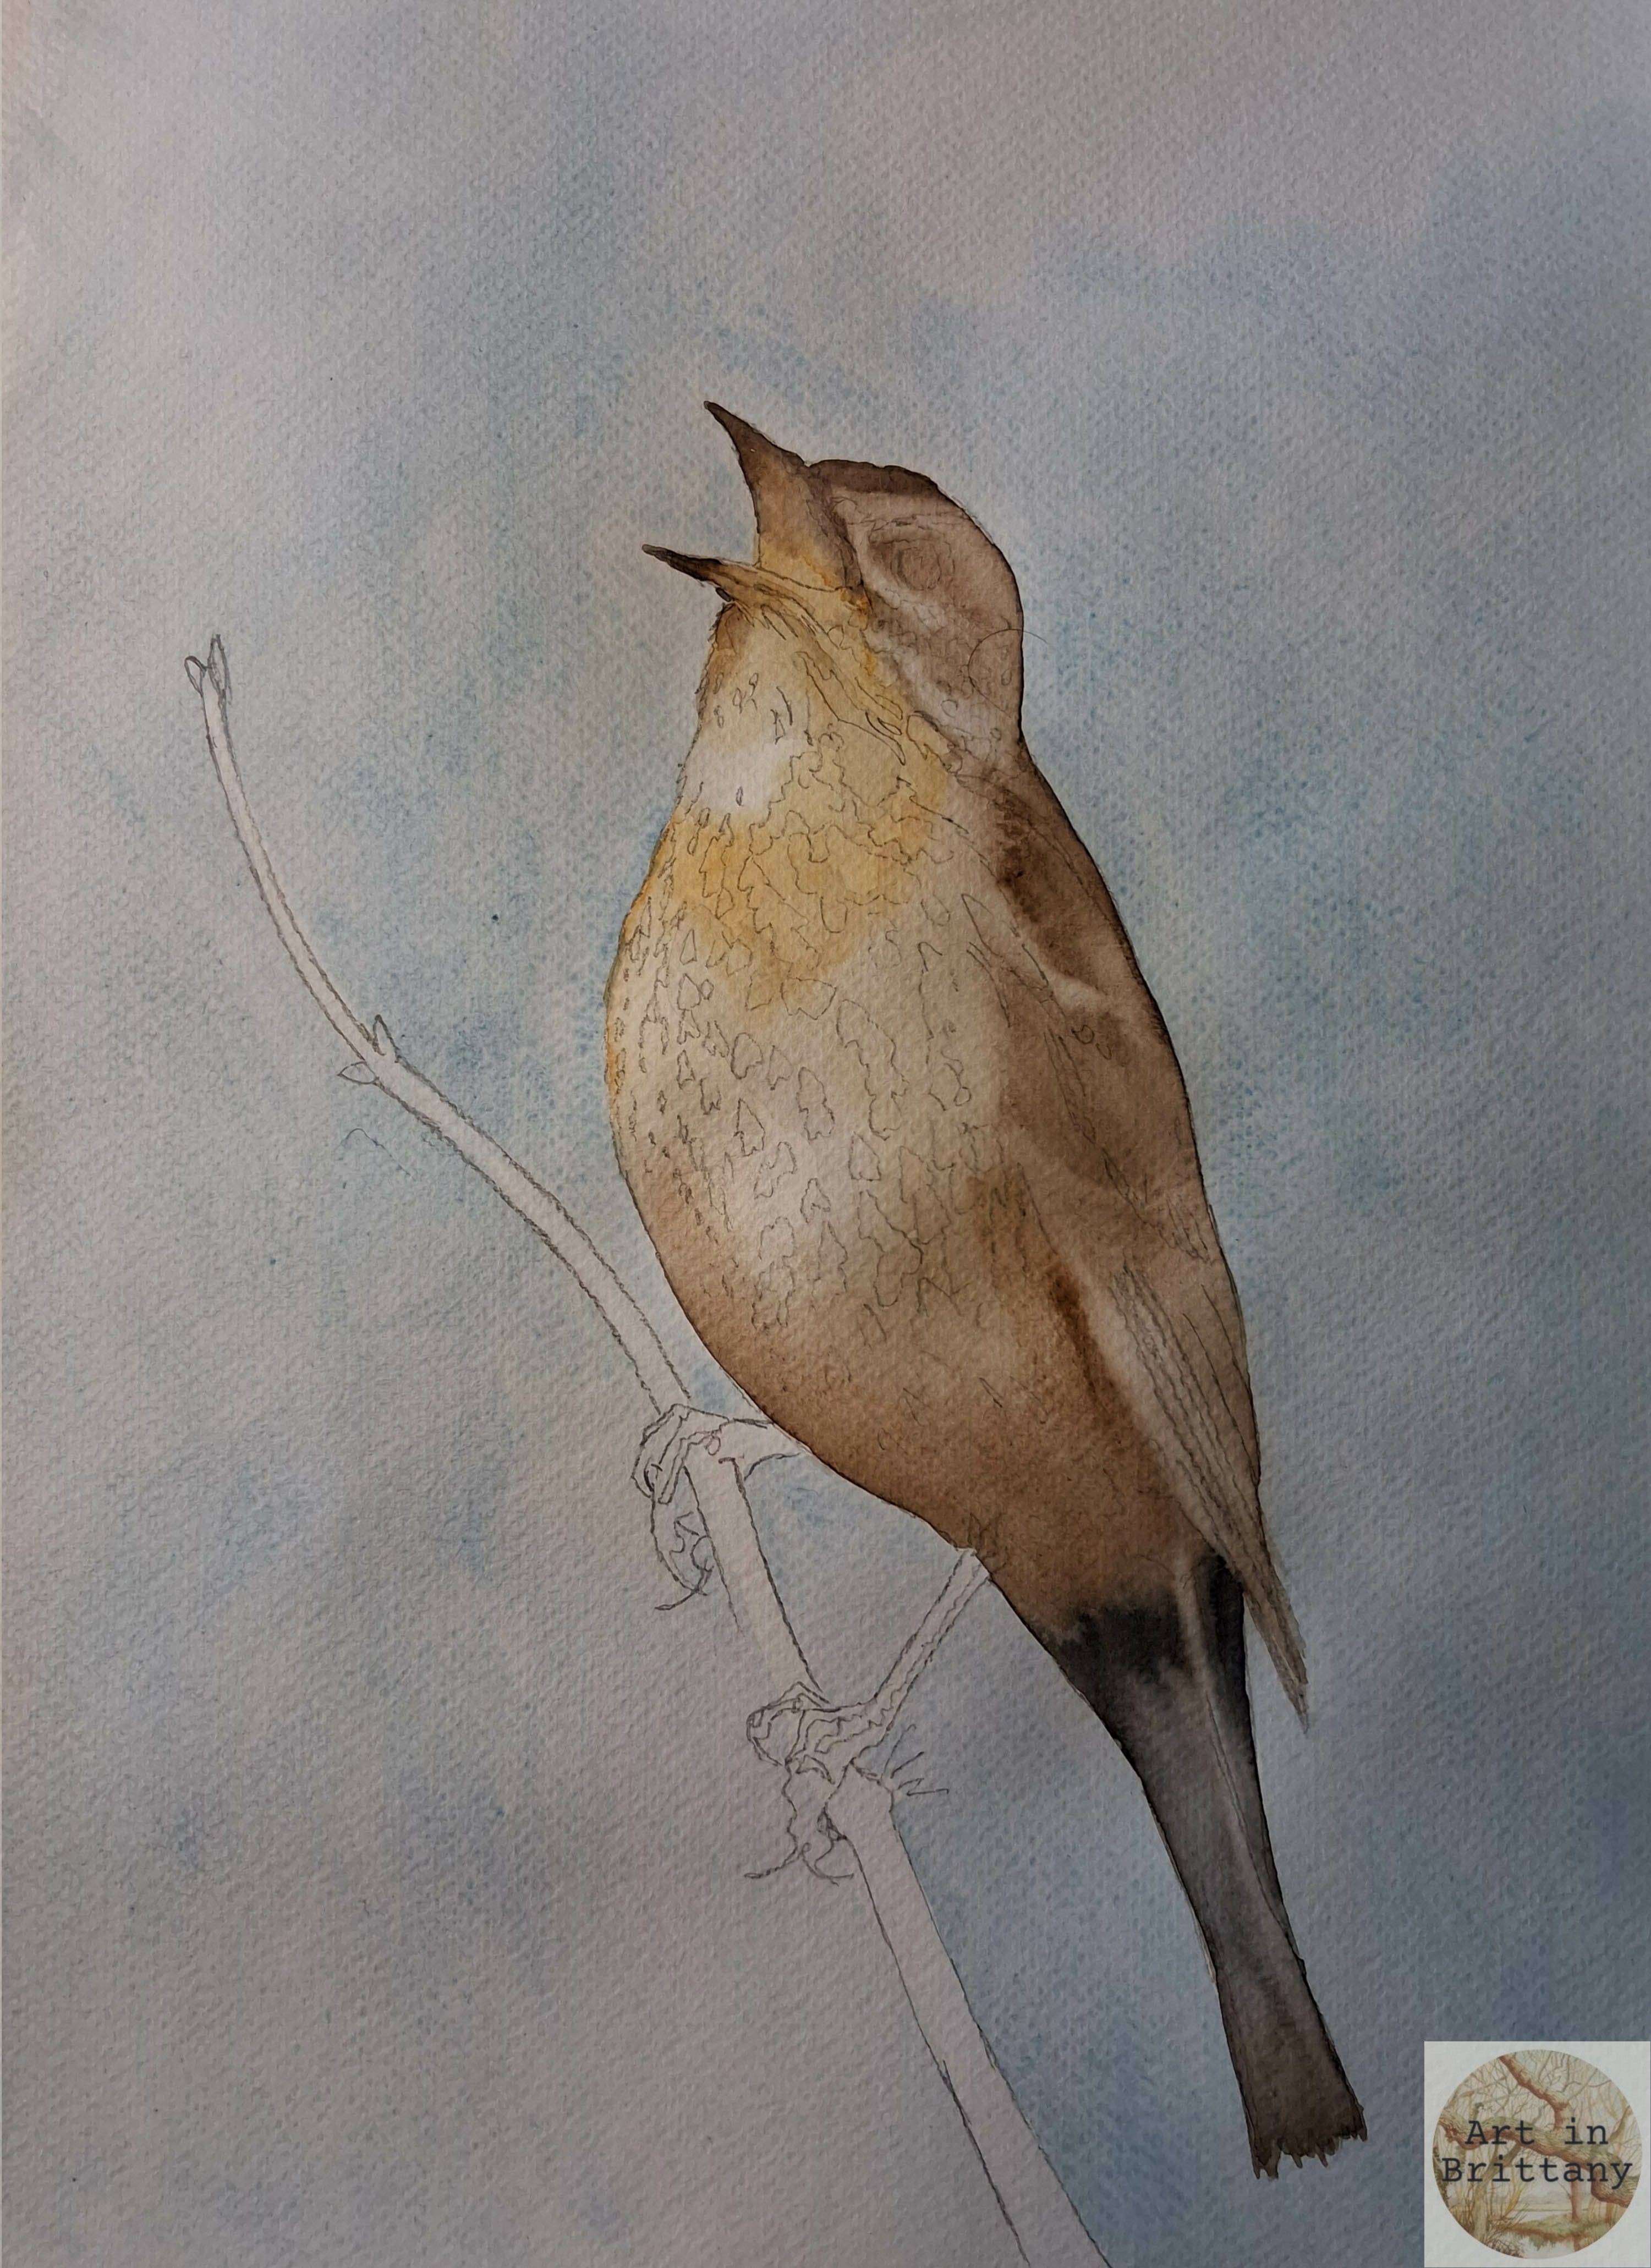
Step 4. When the ‘soft modelling’ of the bird is dry add some colour to the legs; I used very light wash of Yellow Ochre and then dropped in some Potter’s Pink and Sepia.
I used Sepia washes to add the darker areas to the bird’s body and eyes and for the speckles which were made with a fairly dry brush (round) in a dab stroke.
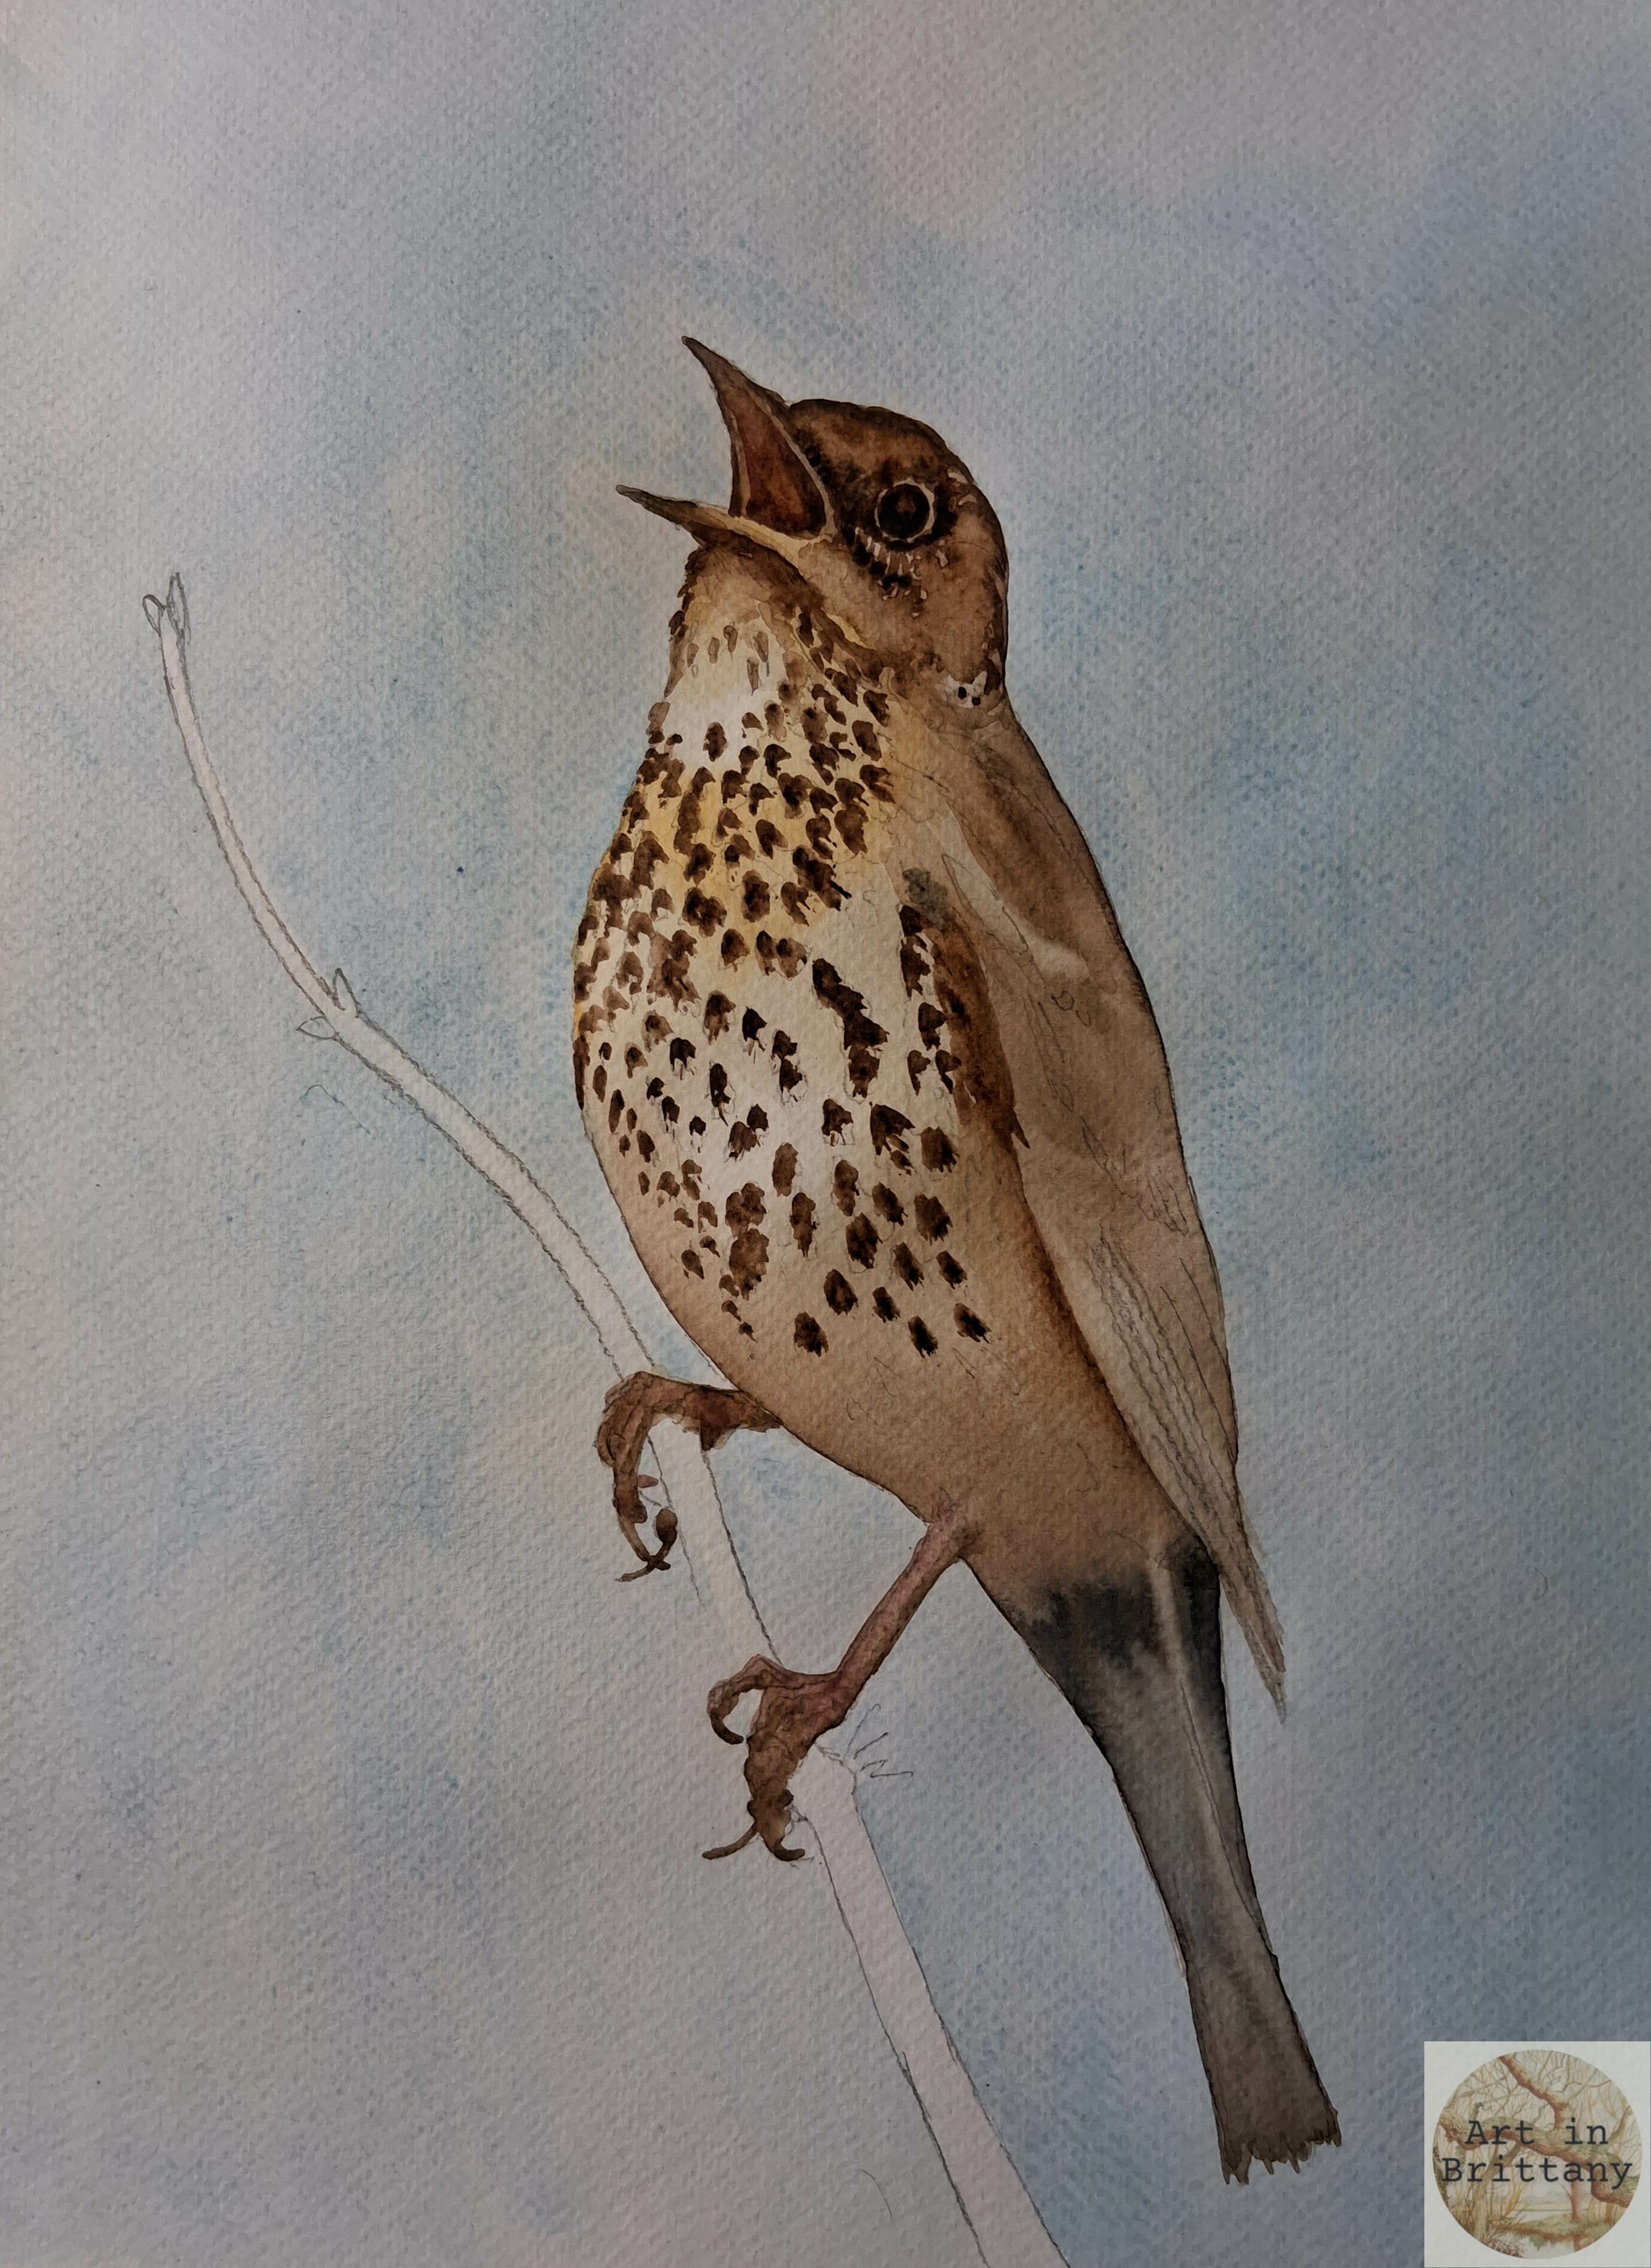
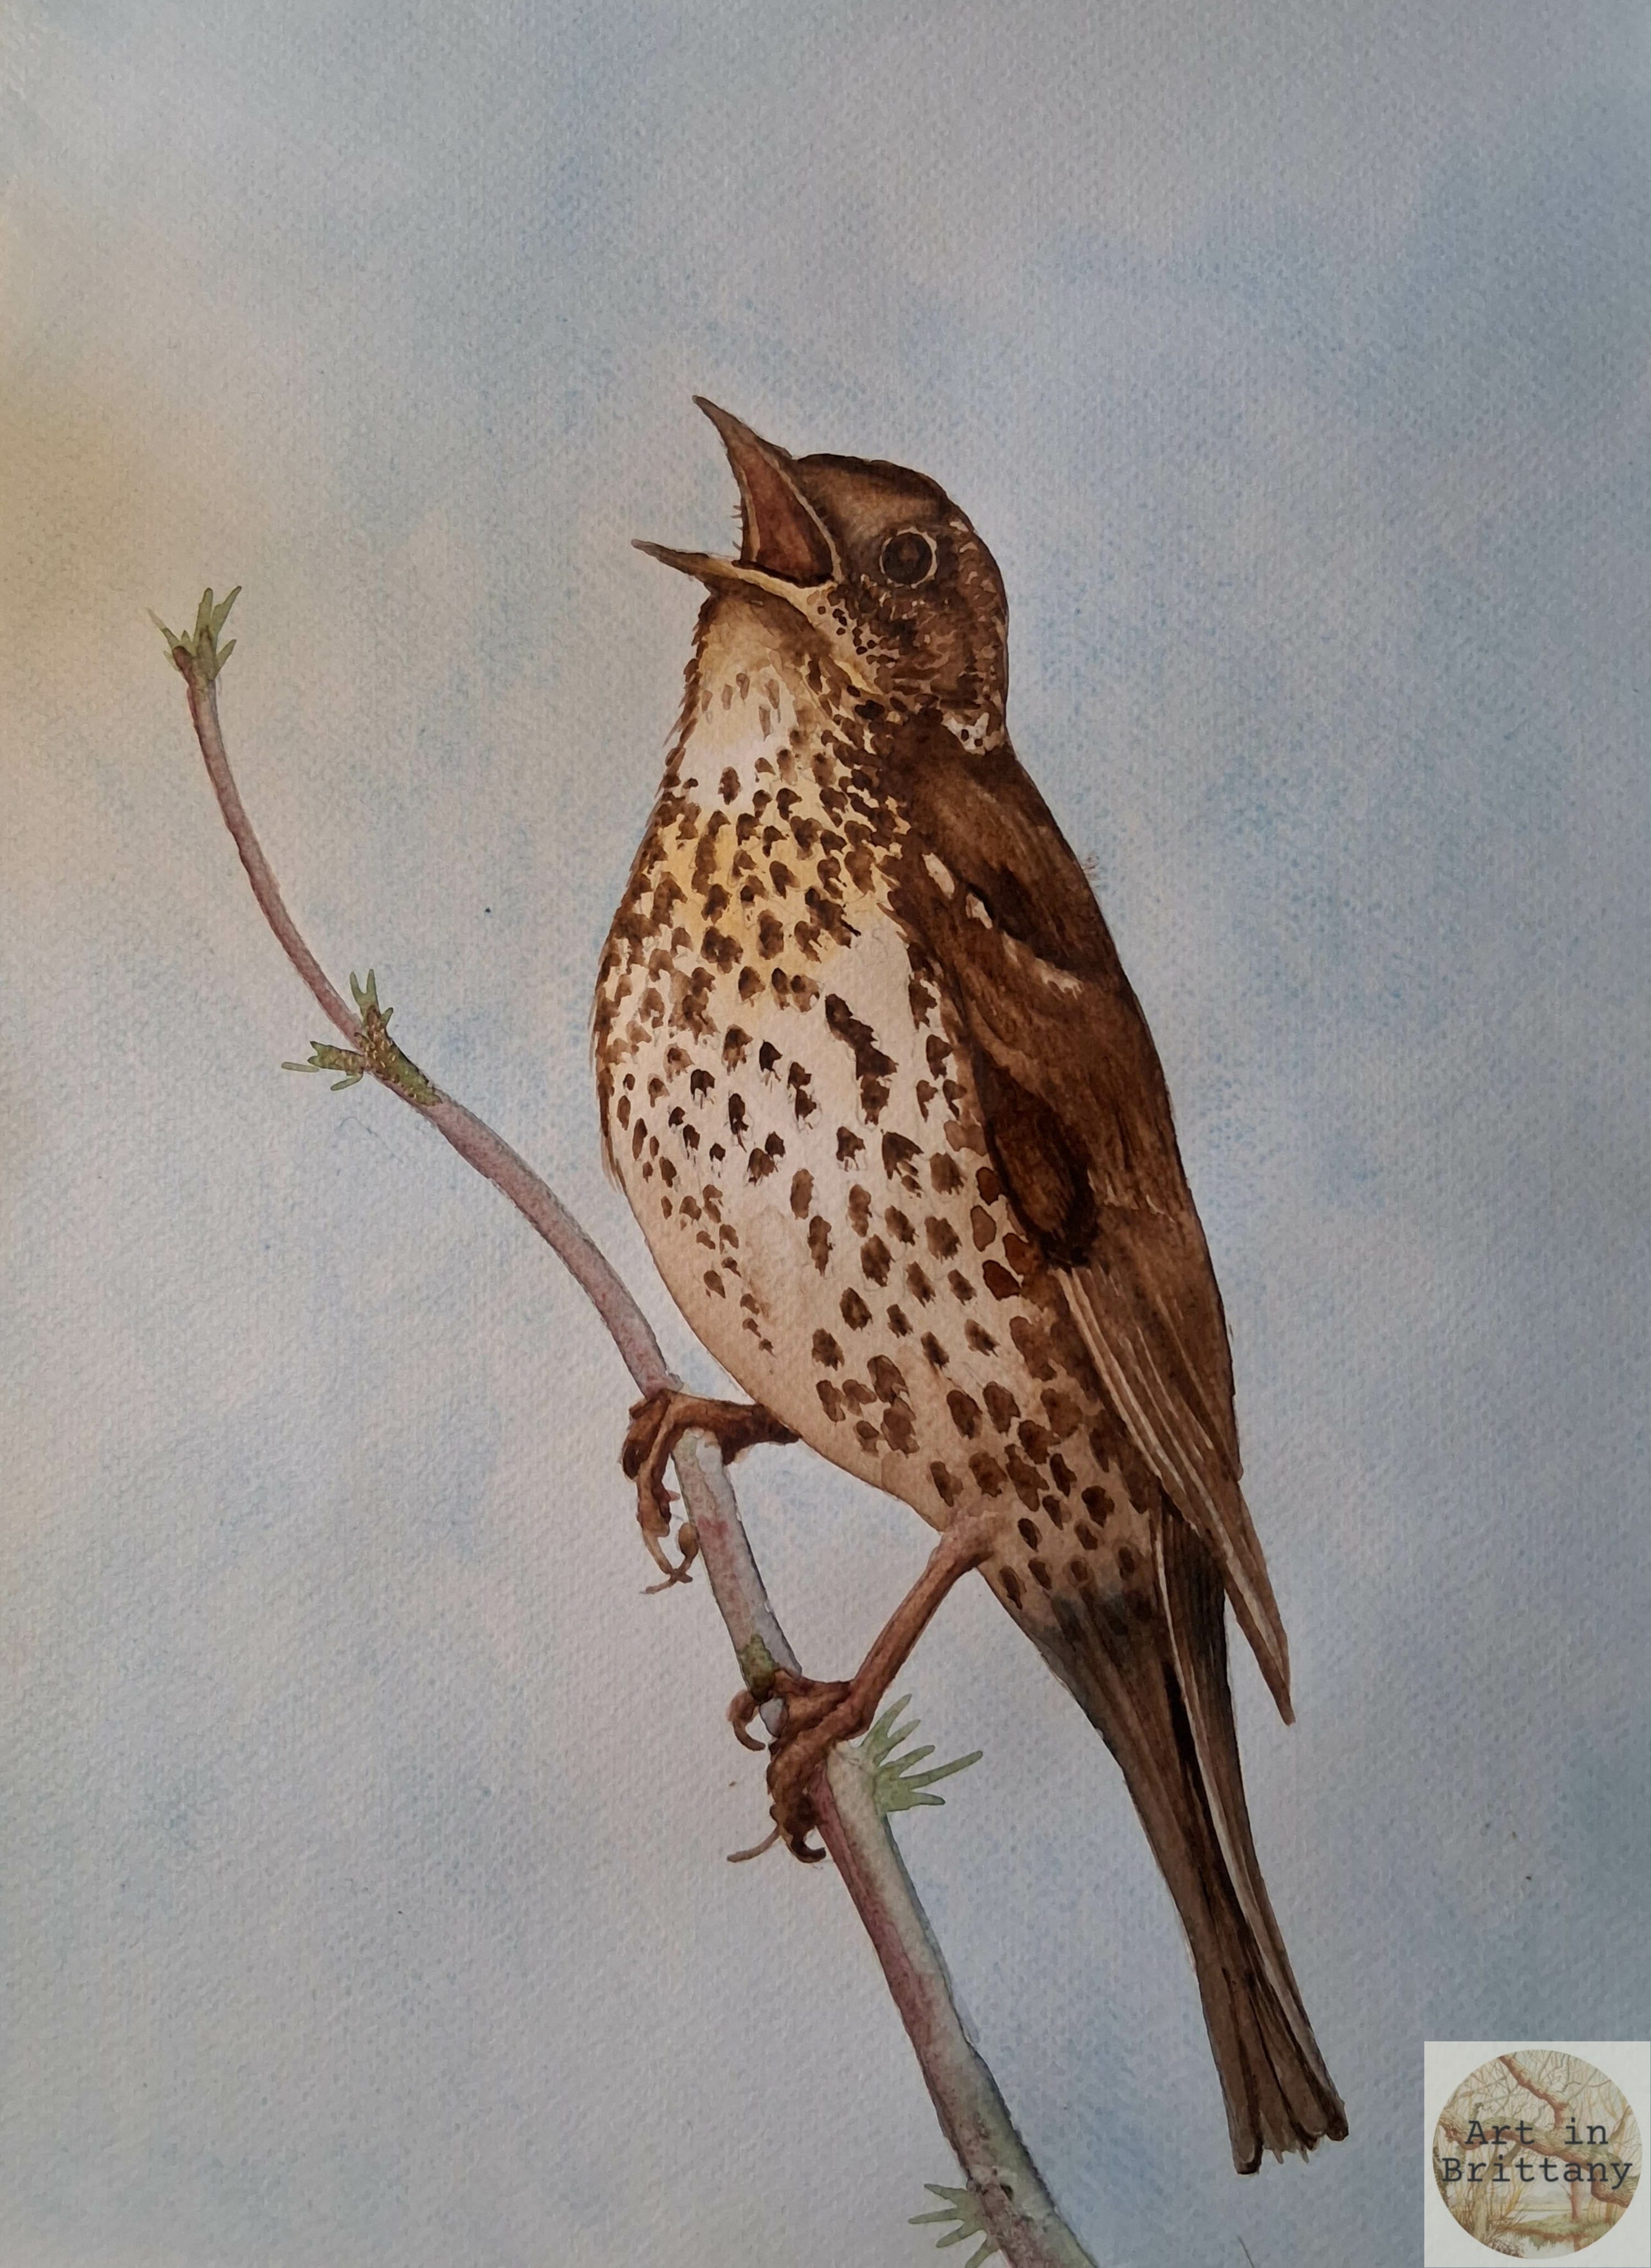
Step 5. As each layer dries, add more refined detail with Sepia – I added a little Potter’s Pink to the inside of the beak too.
Step 6. For the twigs I filled in the whole shape with a very light wash of Payne’s Grey into which I dropped a little Potter’s Pink. While still wet I added a drop of Sap Green here and there and pulled out some leaf shoots with a liner brush (rigger).
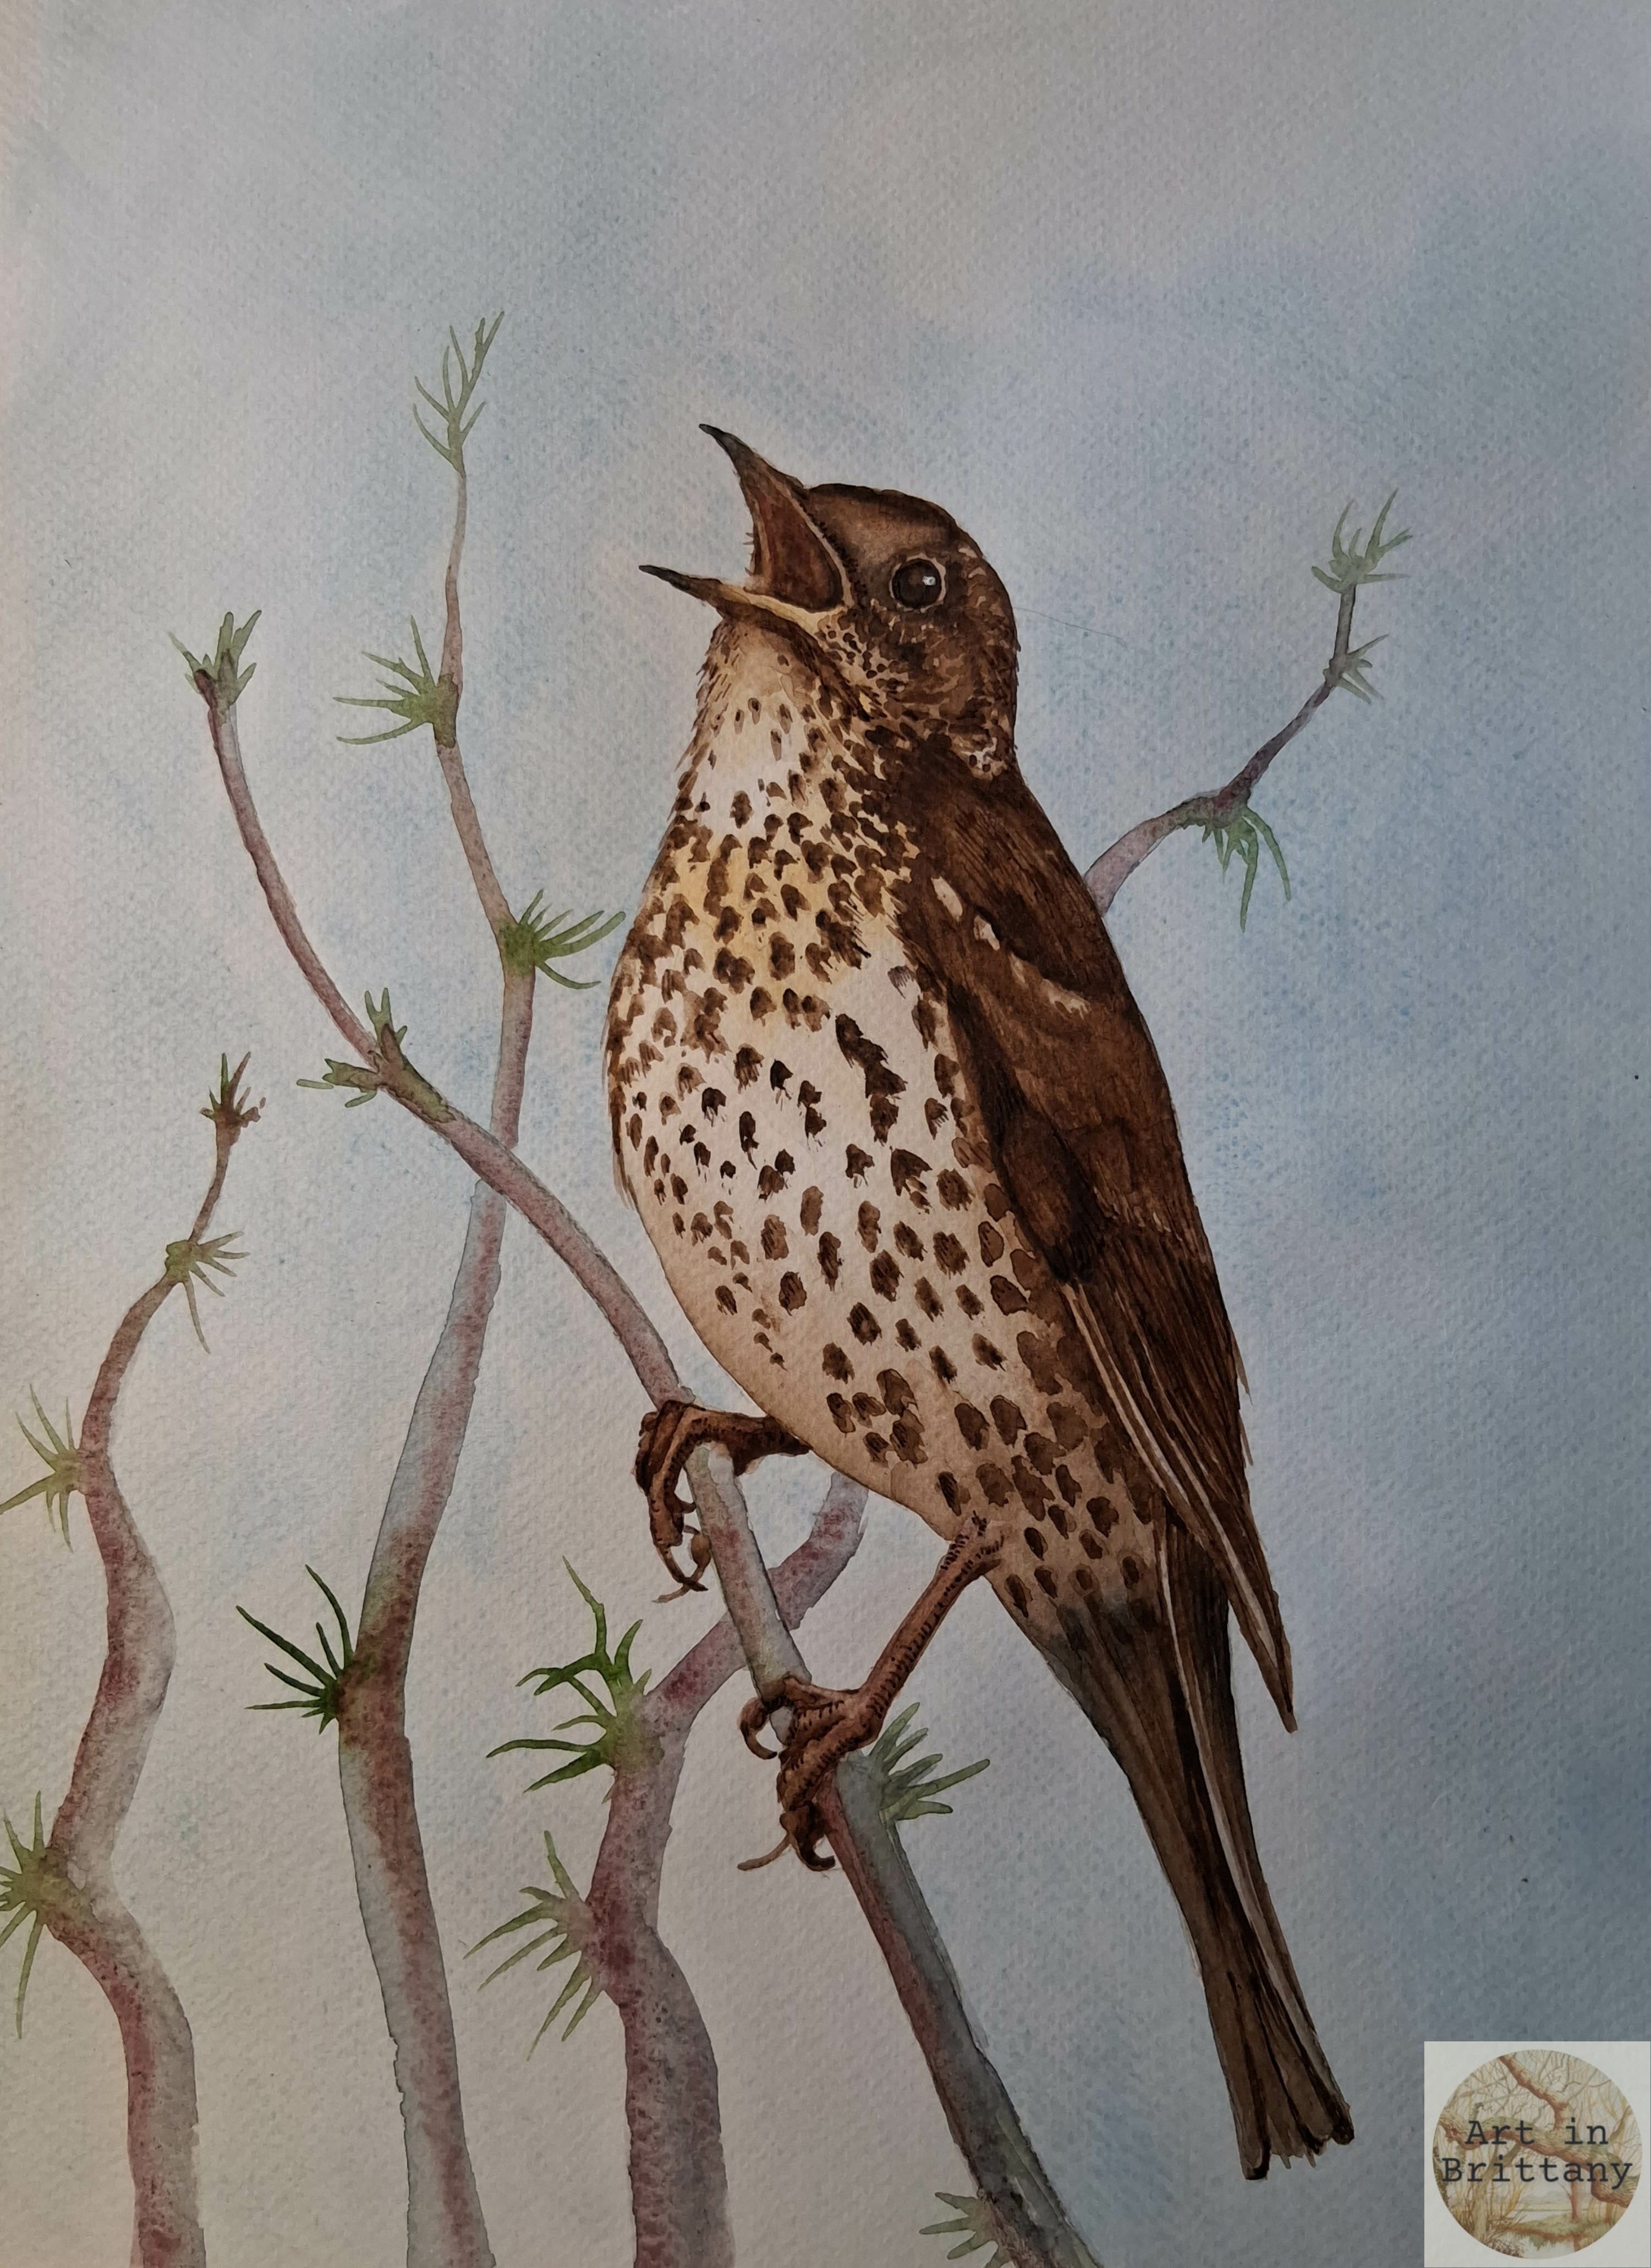
Step 7. Add more twigs using the same process, add a dot of Zinc White Gouache for the highlight in the bird’s eye and make any final tweaks. When completely dry erase any visible pencil marks.
* Lifting Out. This means using a clean, dry (hungry) brush to mop out small areas of still wet colour. To lift out dry colour use a clean damp brush to lift the colour.