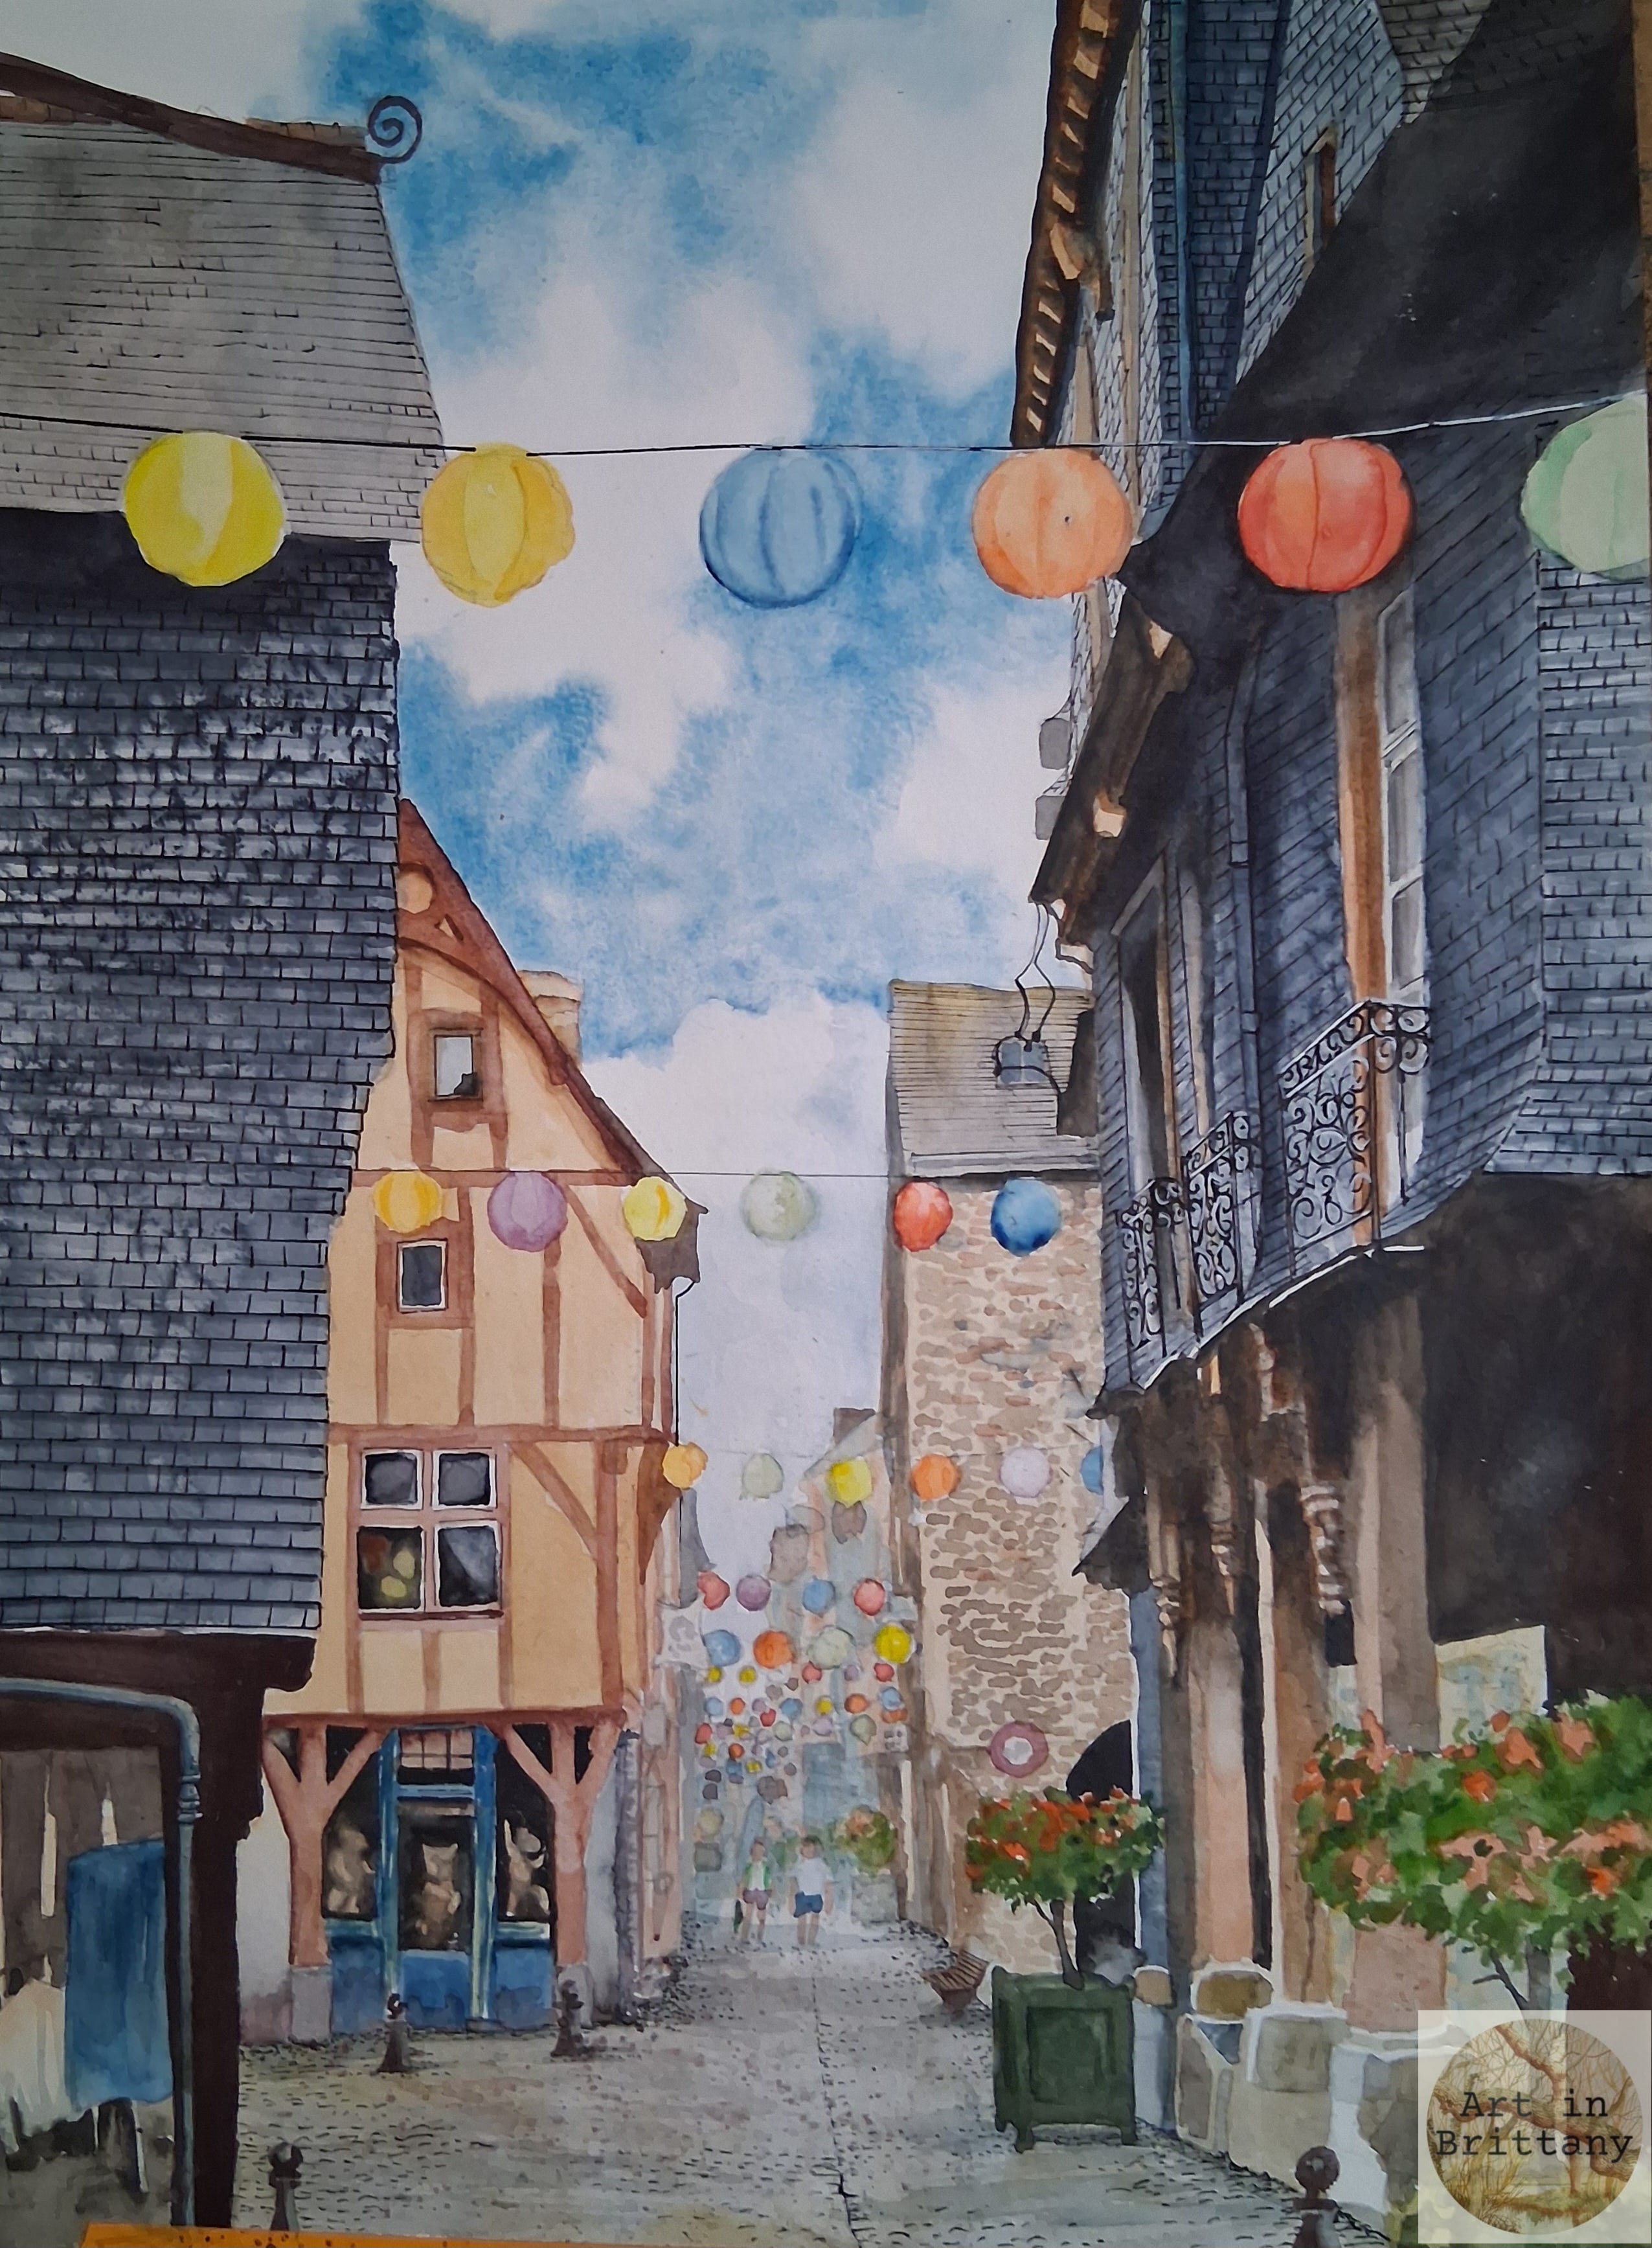

We recently discovered the city of Vitré, nestled on the edge of Brittany. This charming historic town boasts cobbled streets and a magnificent castle that rises proudly above the skyline. We visited on a warm, sunny day—ideal for a bit of streetside painting. I captured the scene with a watercolour impression of a typical street view, which you can follow step by step below.
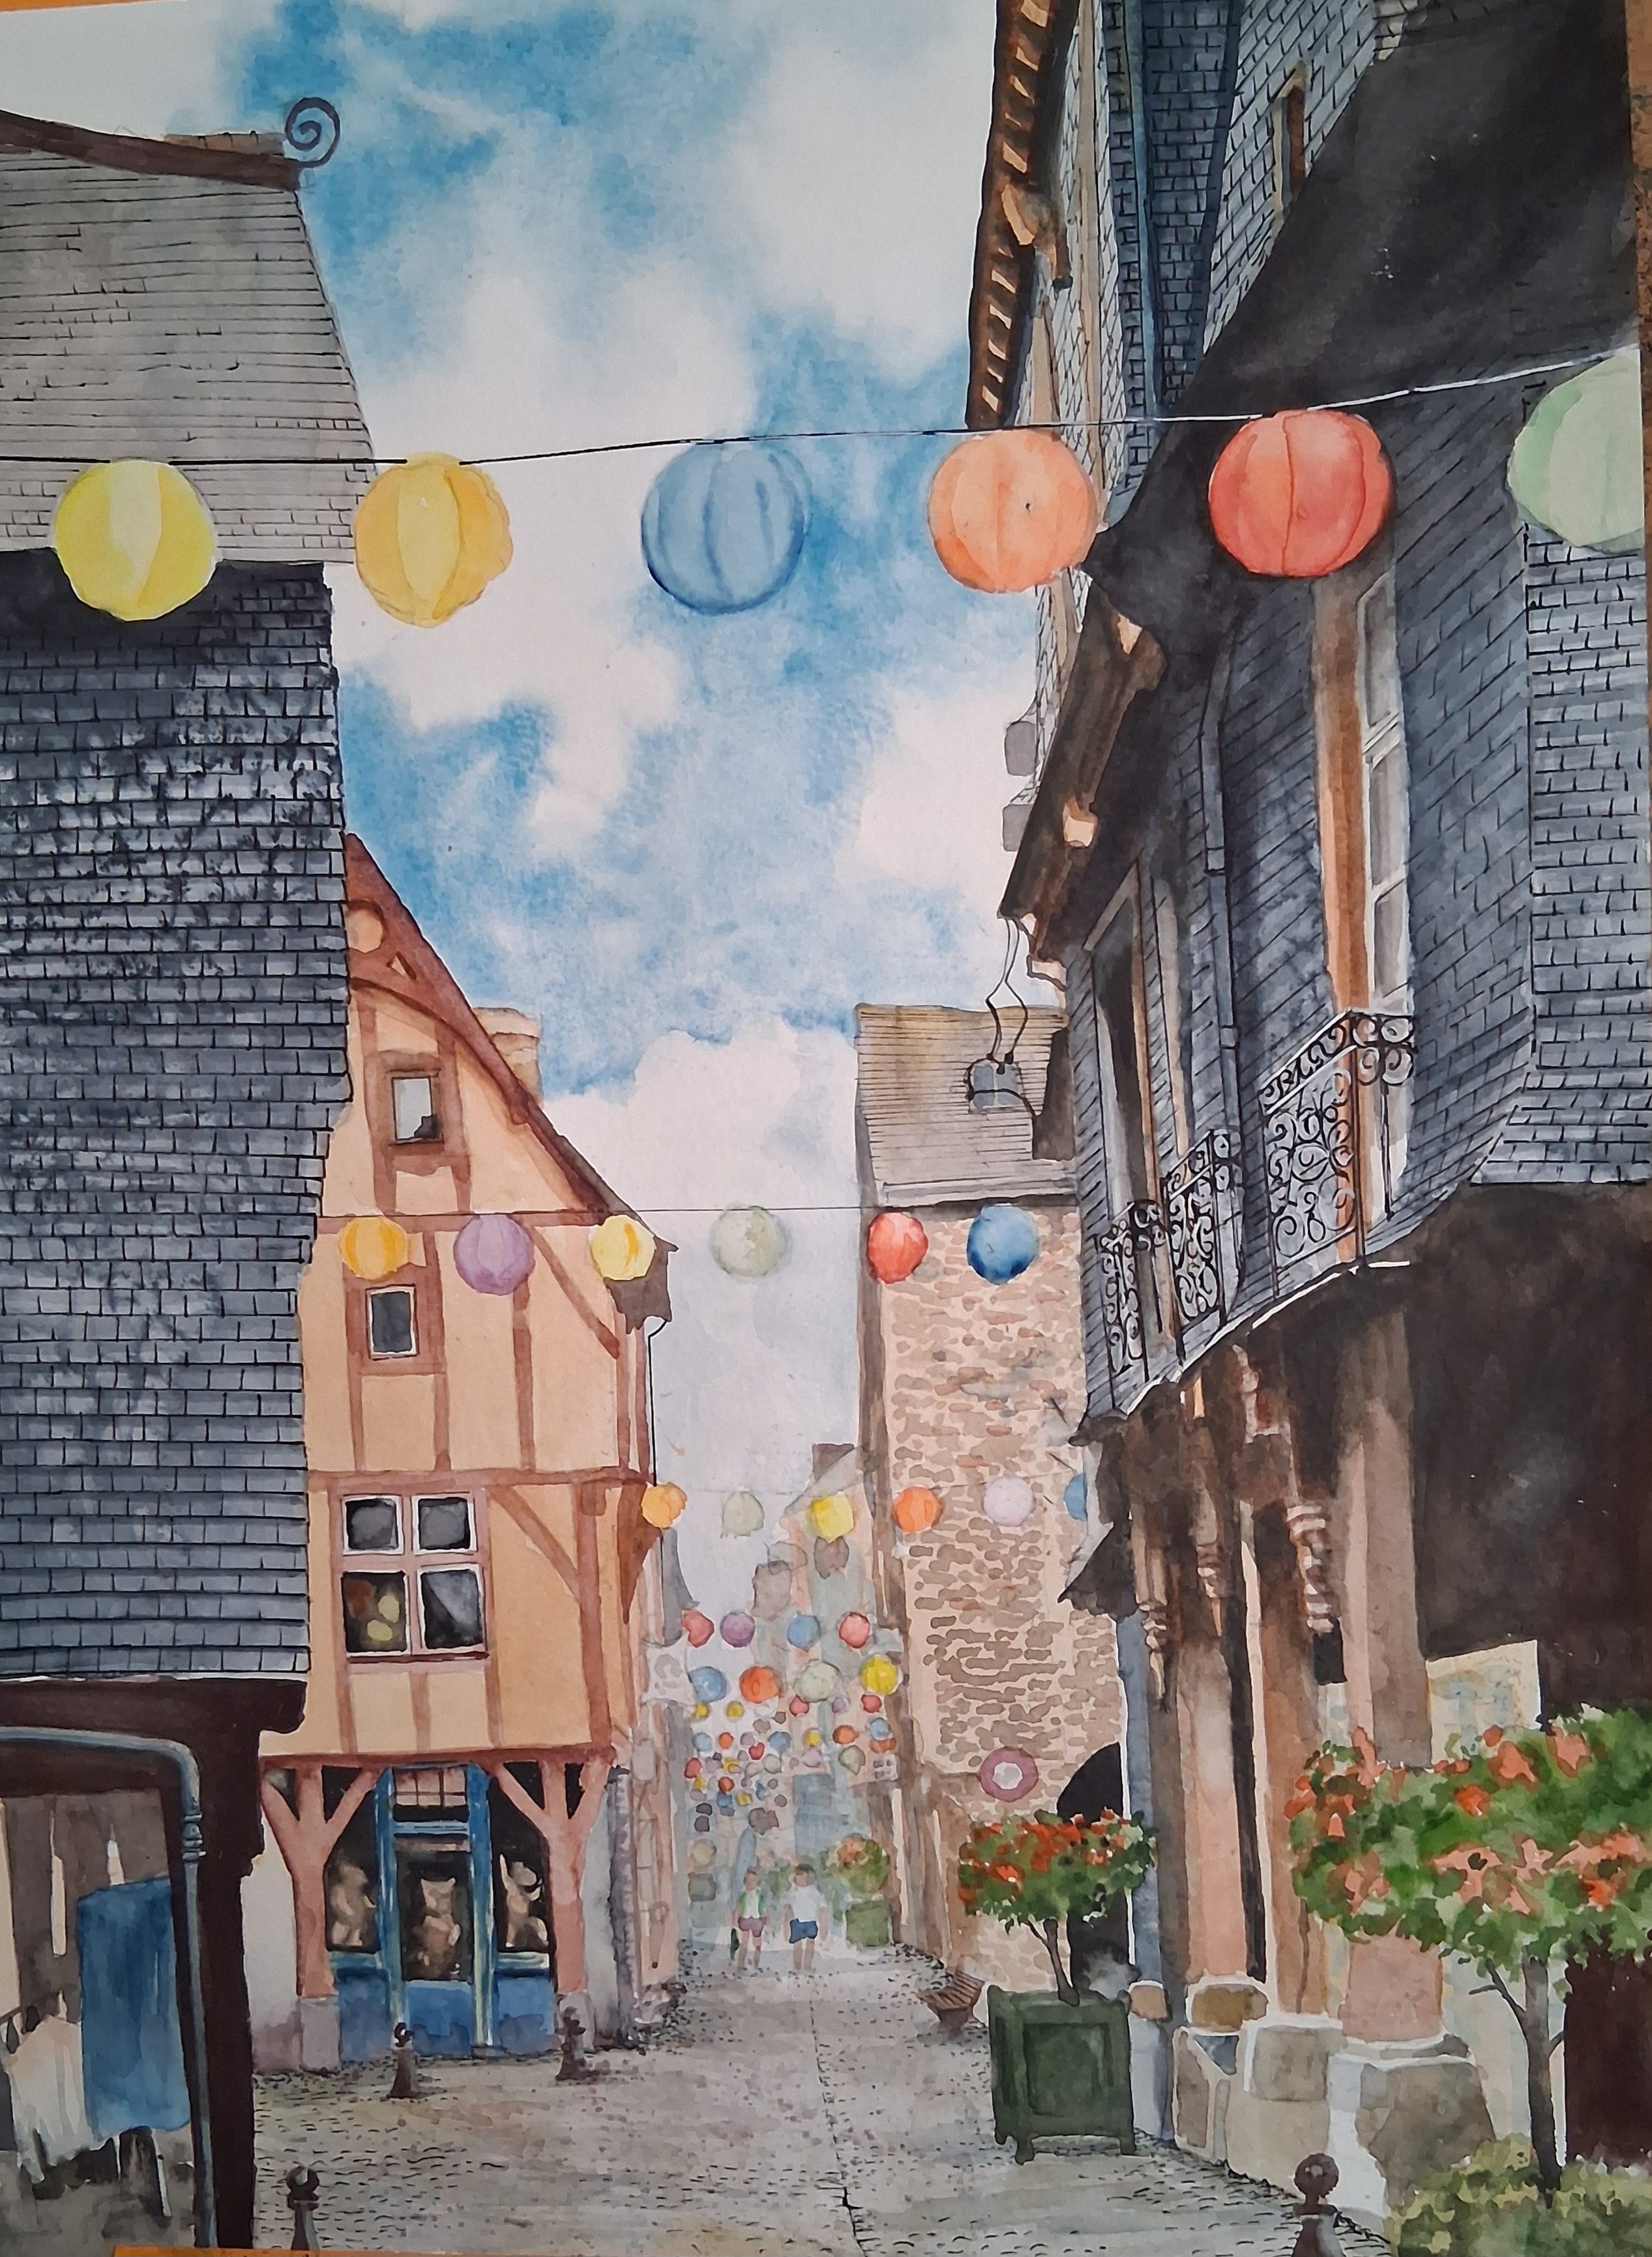
Materials I used -
Fabriano Acid free NOT surface 280gsm (130lb) watercolour paper 35 x 25 cms
Winsor & Newton pigments - Payne’s Grey, Yellow Ochre, Indian Red, Raw Umber, Burnt Umber, Sap Green, Alizarin Crimson, Fields Orange, Aureolin Hue, Caput Mortem, Cobalt Blue and Ostwald Grey.
Linel Gouache - Blanc Super Couvrant.
Blackliners 0.7 and 0.3
Rosemary’s Brushes - Golden Synthetic No 8 round, Shiraz Rigger.
Step 1. Sketch out the scene. When sketching for watercolour use HB or B pencils, anything softer than 2B will smudge and be lost. Be economic with your marks so that they can be easily removed when the painting is complete.
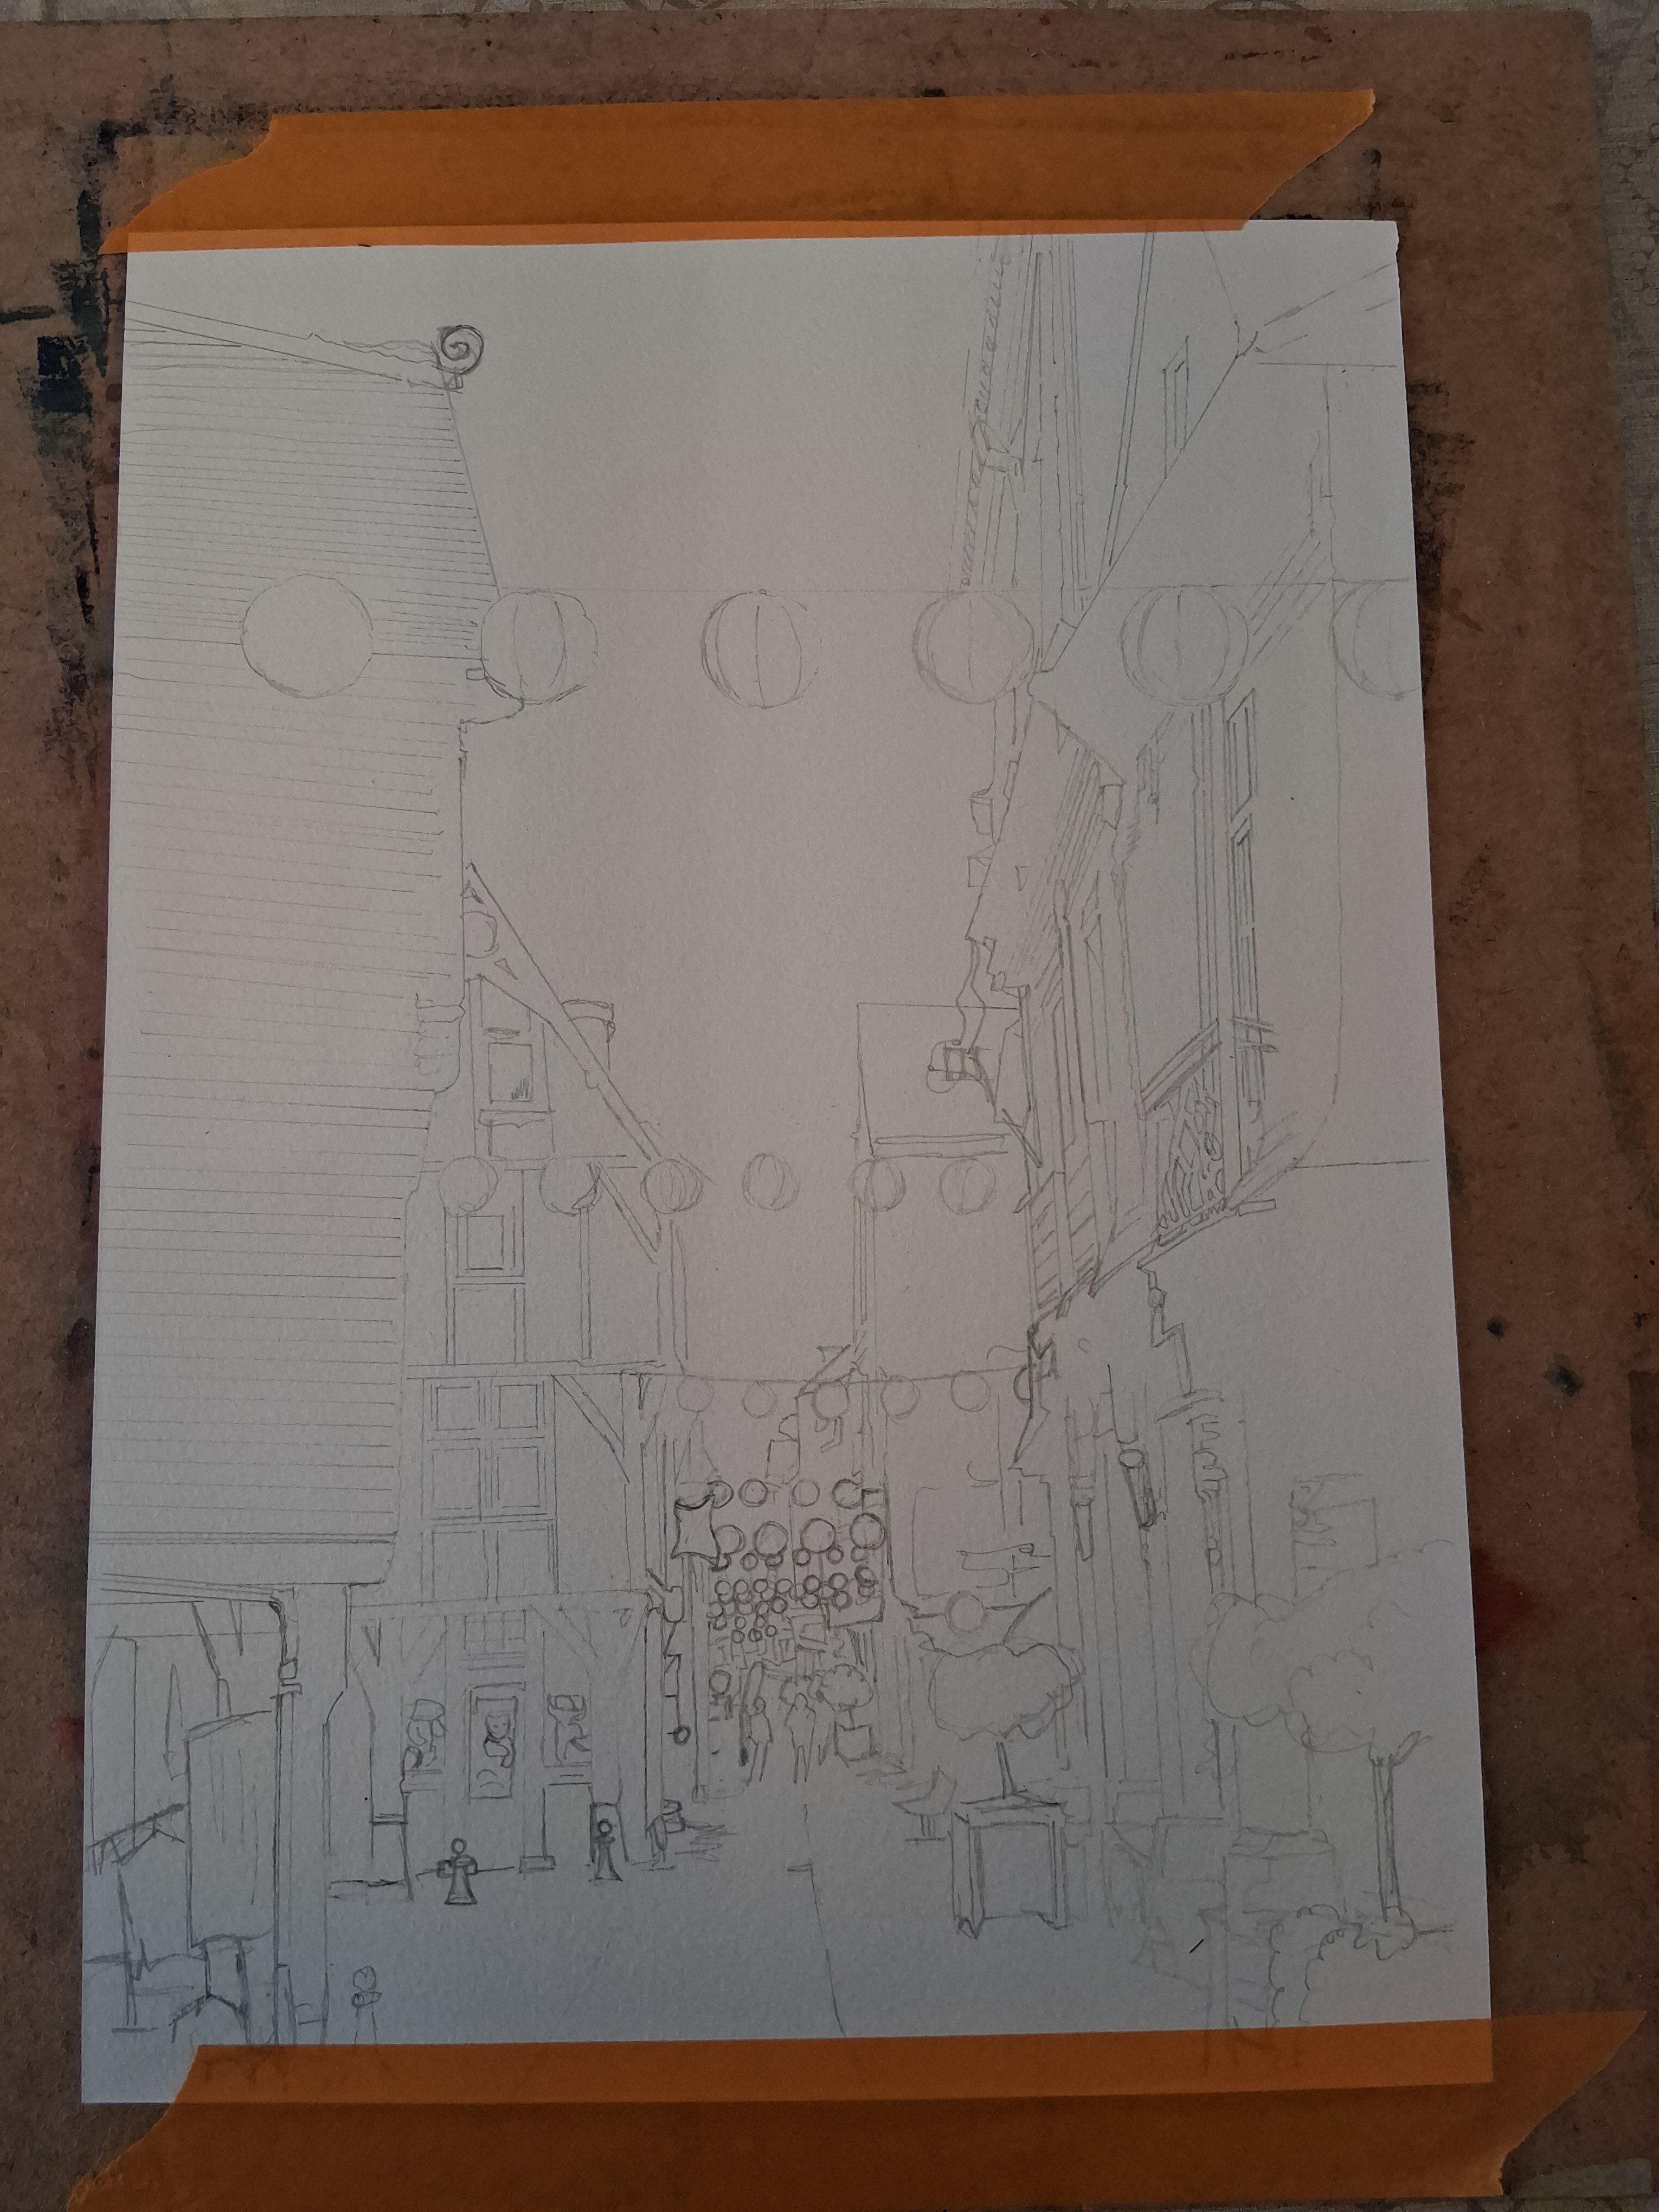
A view with this much detail takes quite a while to put together. Old buildings like these, that have shifted over time, are tricky as they do not strictly conform to the rules of perspective - there is a temptation to ‘tidy‘ them up. Try and edit out unnecessary features - simplify!
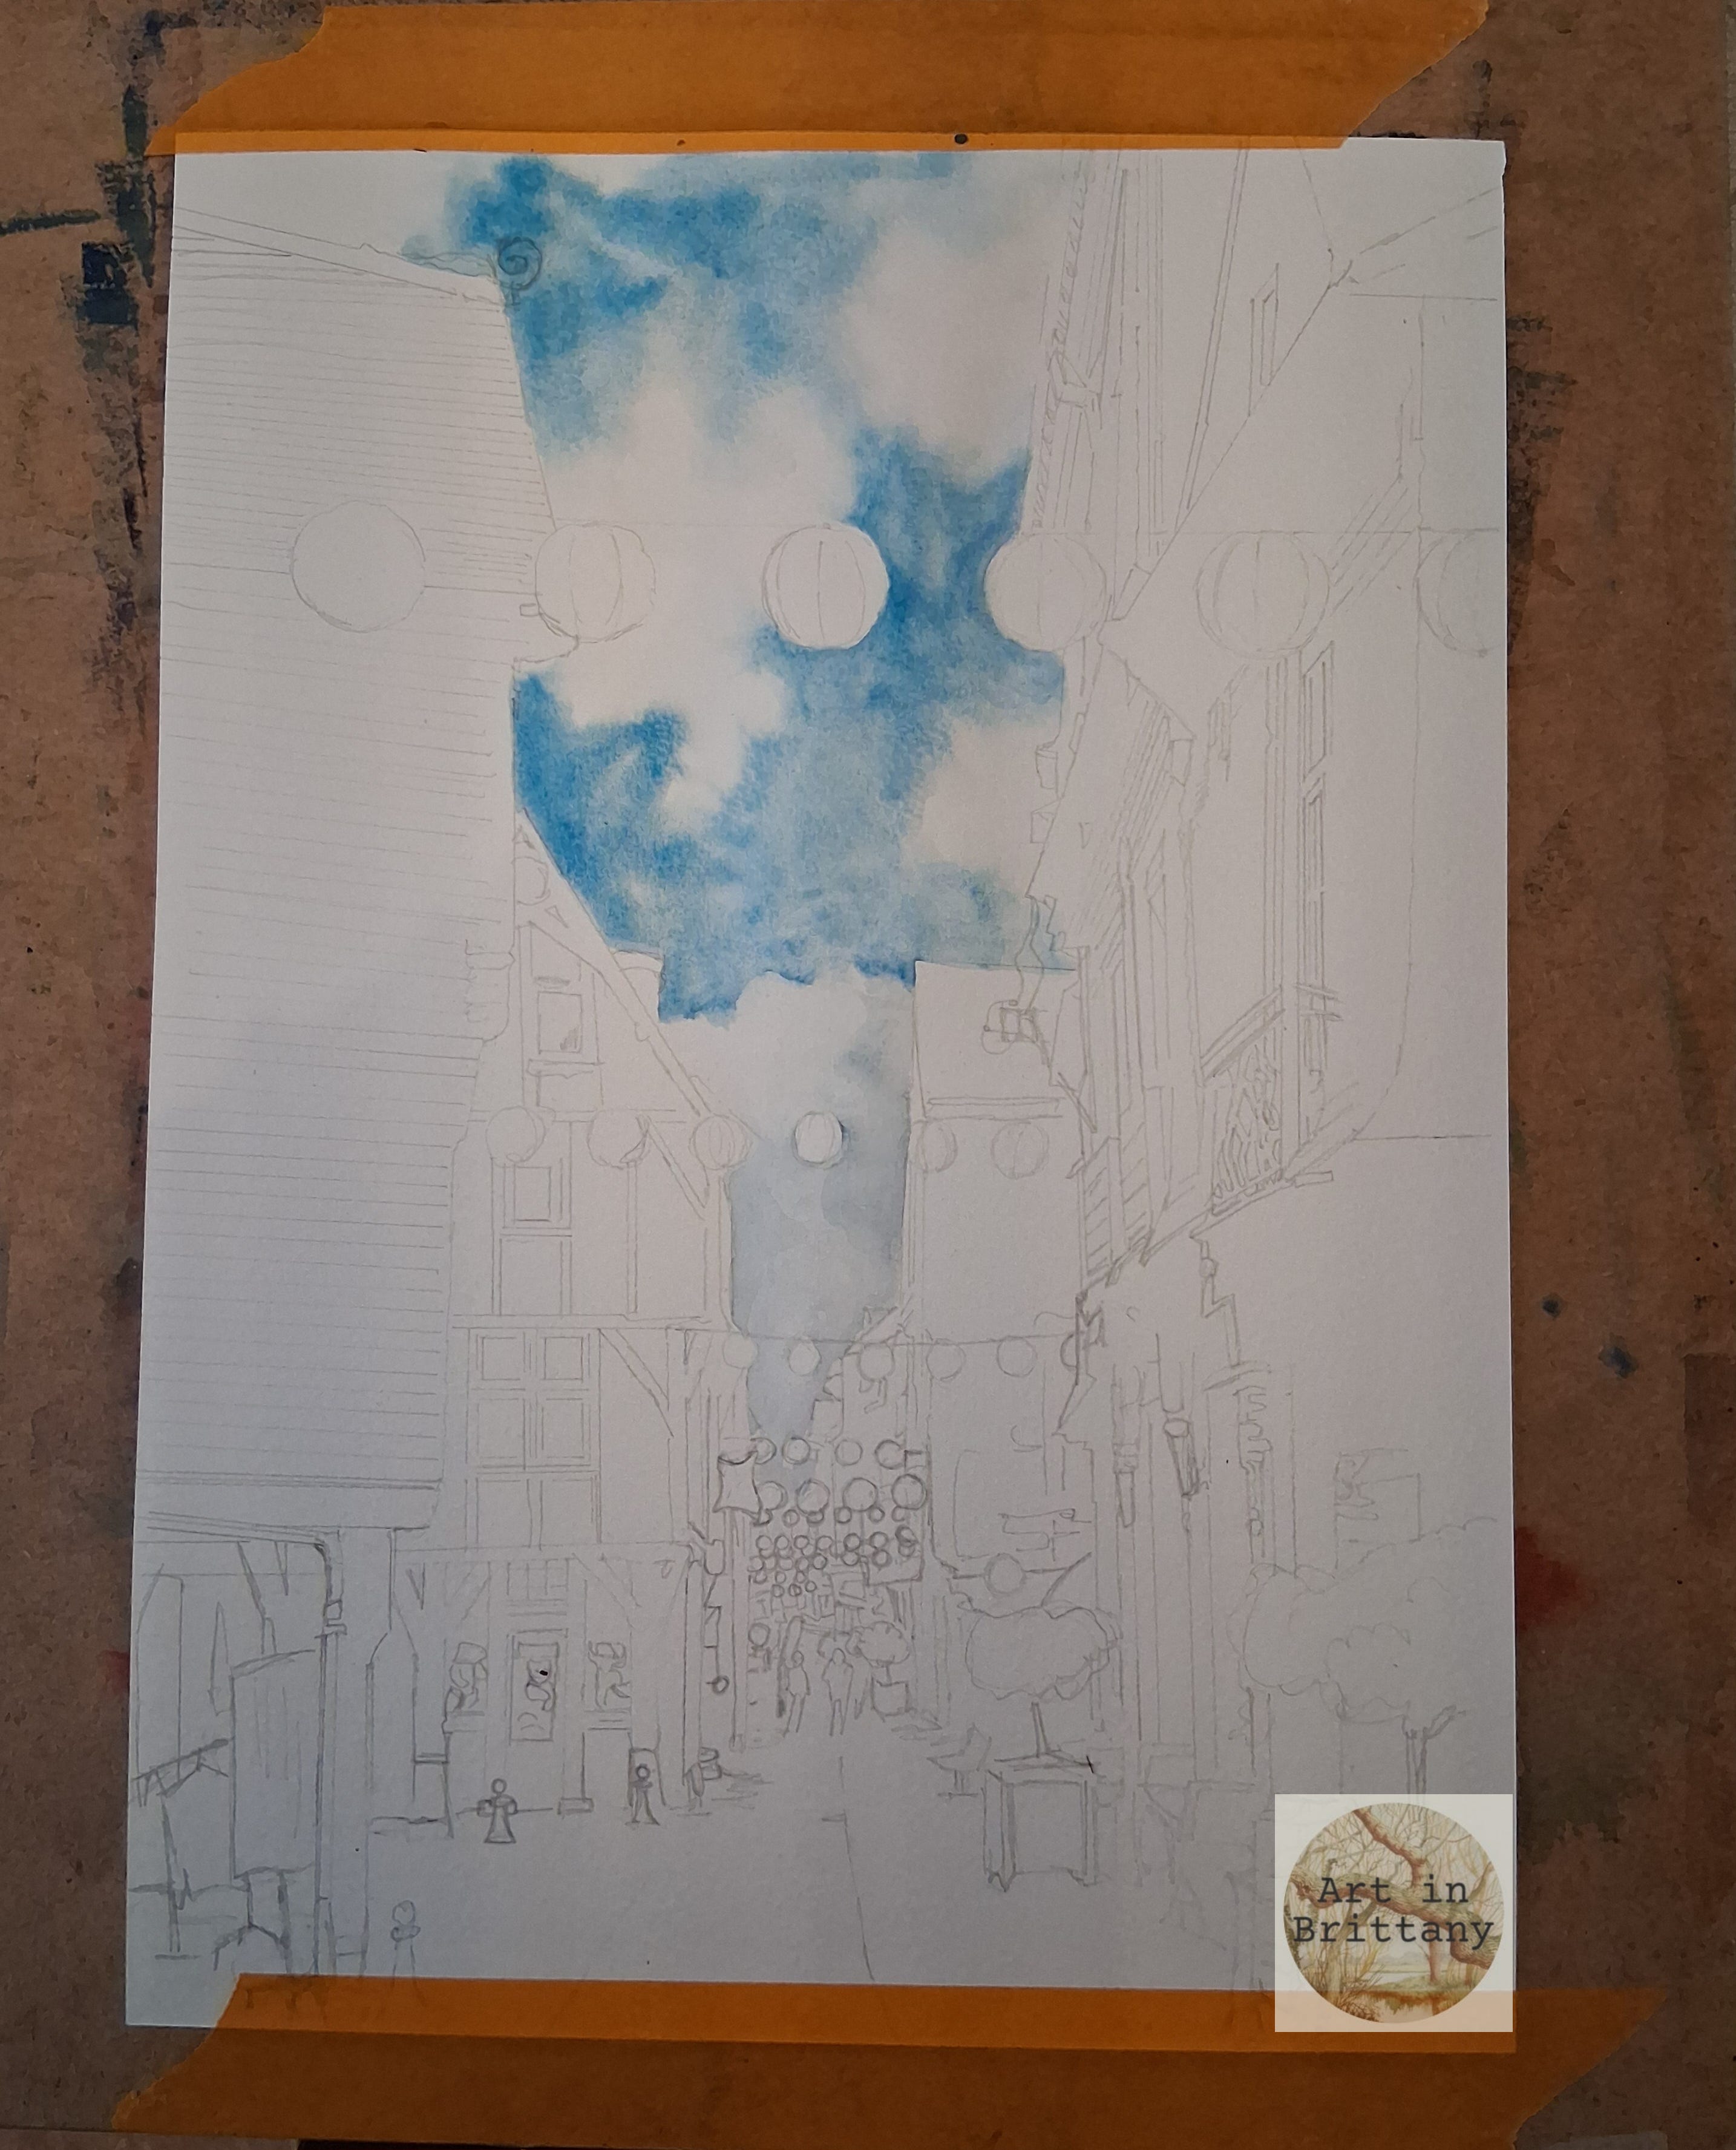
Step 2. Paint the sky. I wet the sky area then using scrunched up paper towel, I gently* dabbed out some dry areas where the clouds are, this stops the pigment from invading lighter areas. Then drop pigment, I’ve used Cobalt Blue, into the sky and add some grey accents to the clouds, I added a little Alizarin Crimson to the Cobalt to create a neutral grey.
*care must always be taken to protect the surface of watercolour paper so any dabbing must be very gently done.
Step 3. Add washes to the larger blocks of colour - pay attention to tone. I’ve used salt* sprinkled onto the foreground slate walls to create surface interest. At this stage it can look a little overpowering but trust the process, it will work just fine when all the other tones are complete. I’ve tried to add some imperfections to the two roof tops by ‘dribbling’ a weak yellow ochre wash from the roof ridge.
*See Salt and Other Foreign Bodies in Top Tips.
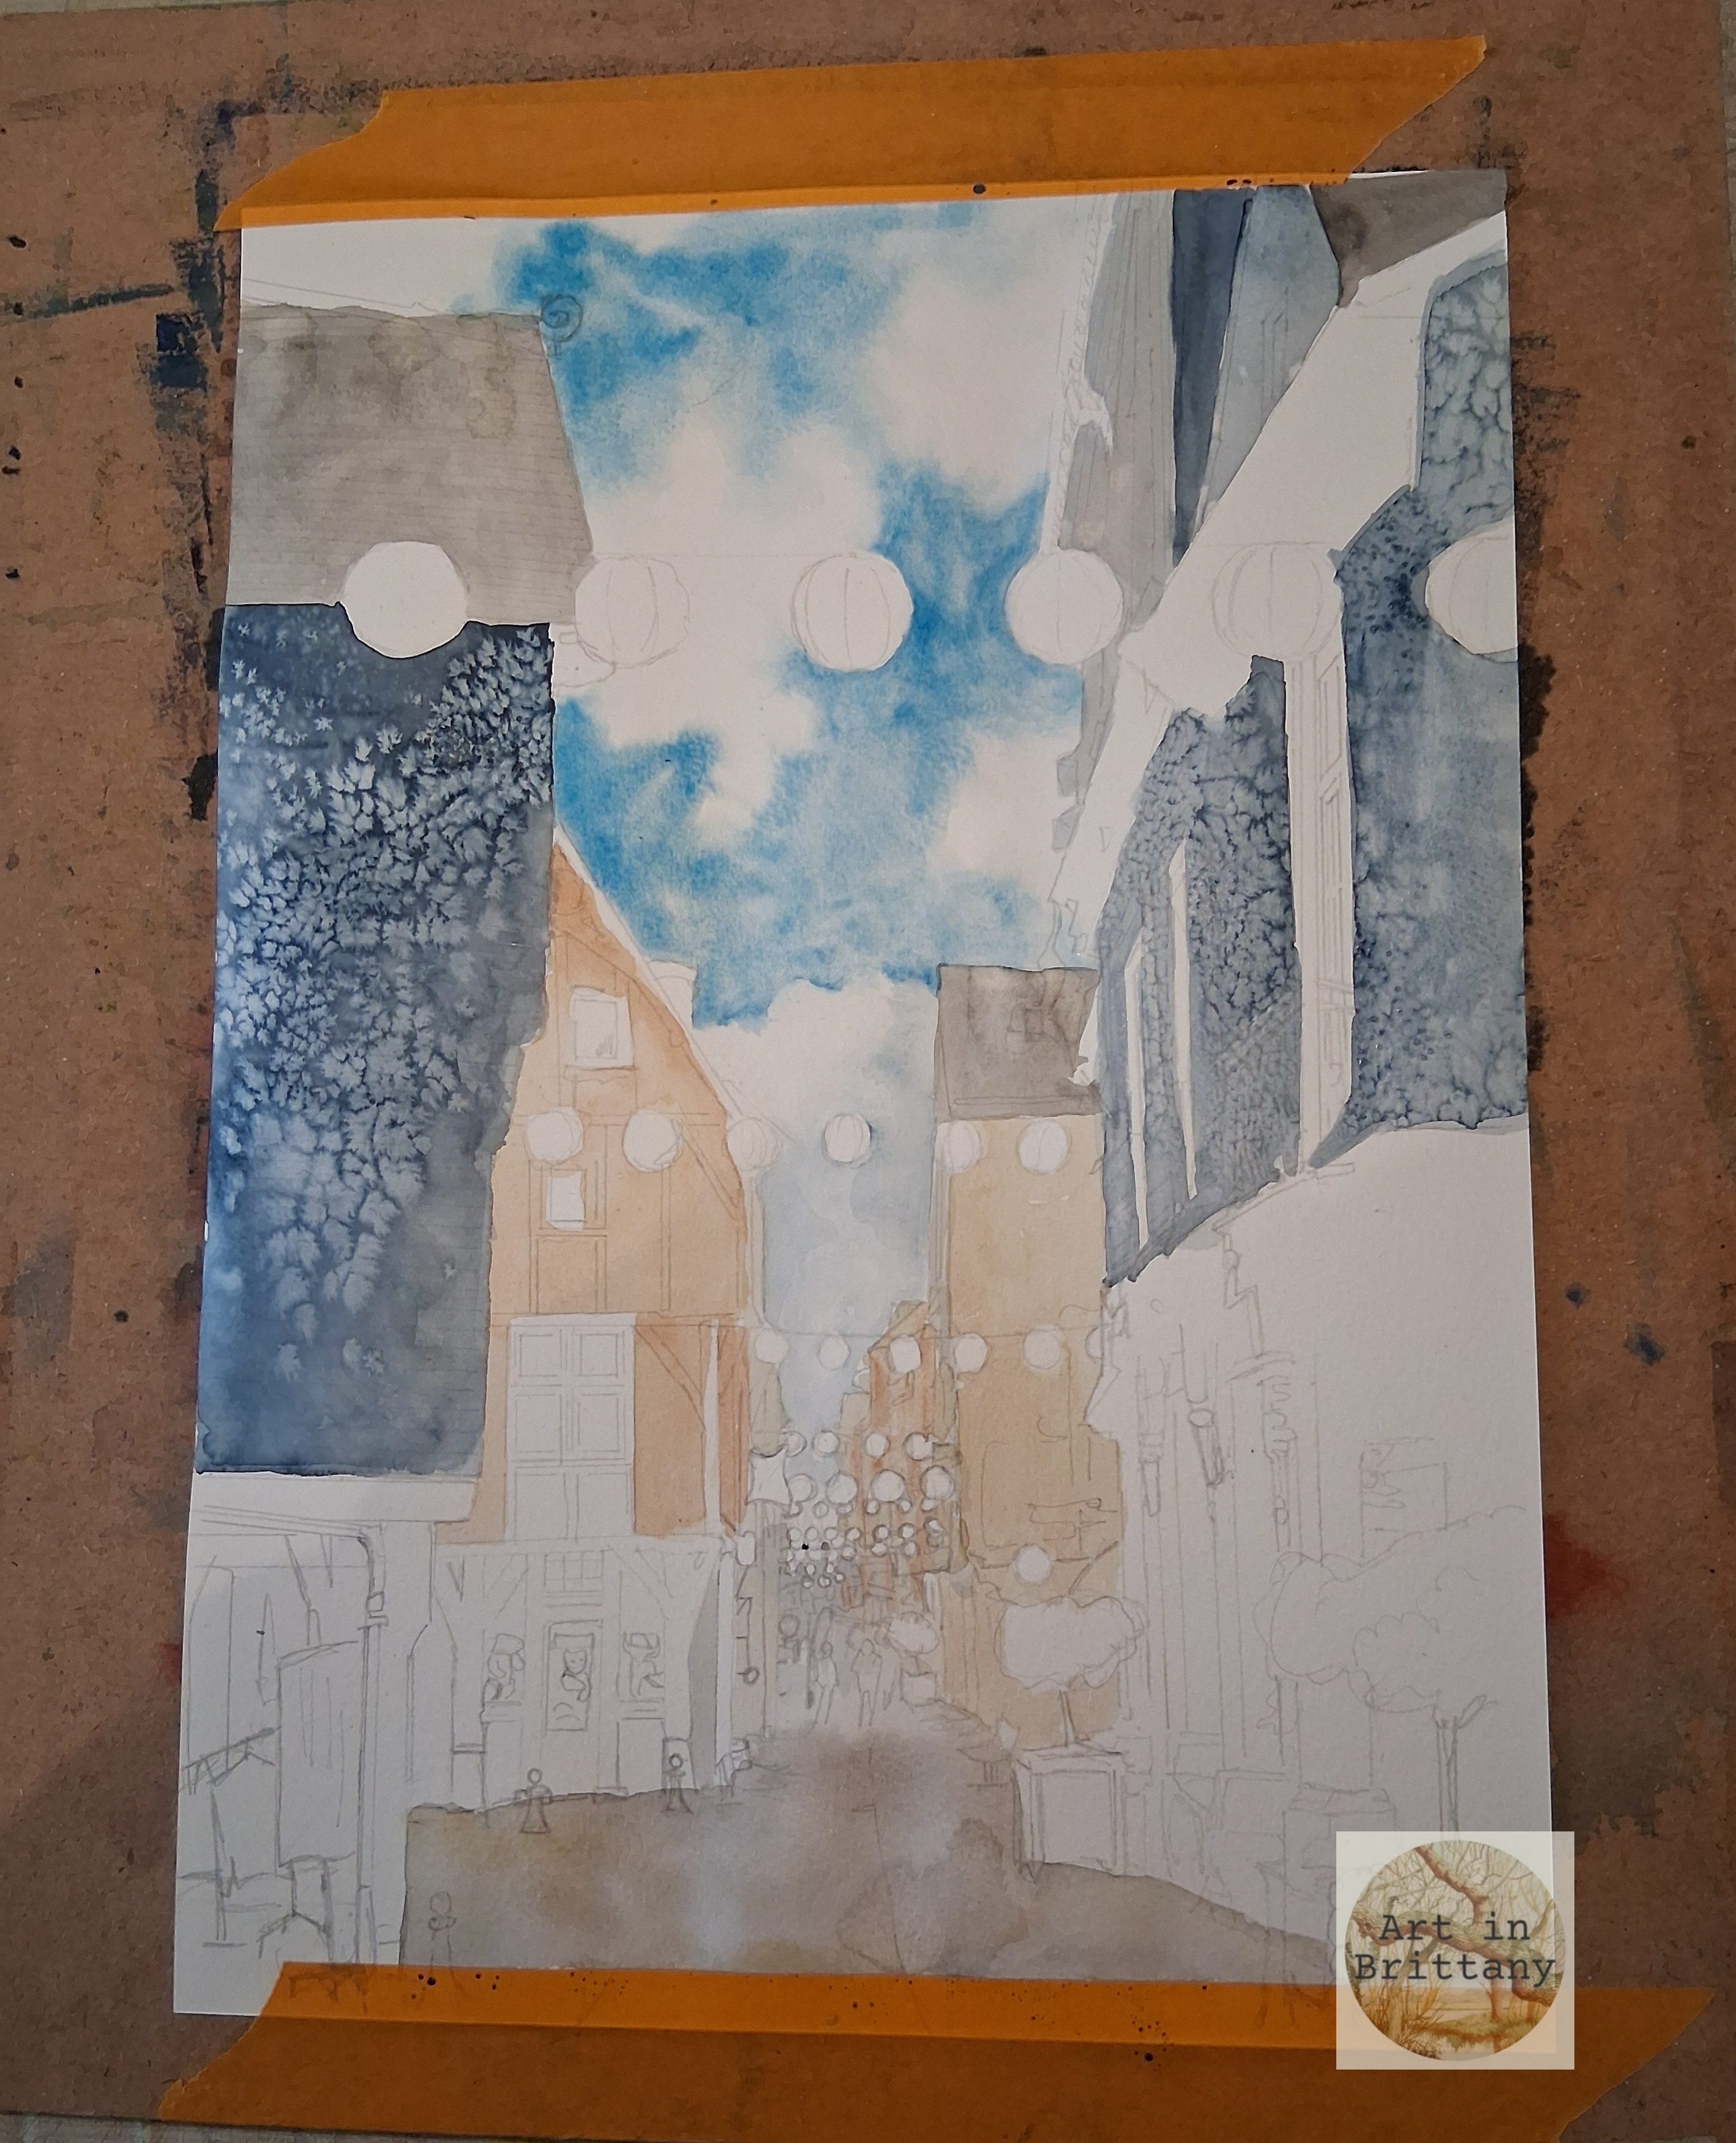
Step 4. Build tone and texture, adding larger details to buildings. With the windows and timbers in place I can now see that I have missed a section of wall! I have not used masking fluid so care must be taken to avoid the lanterns.
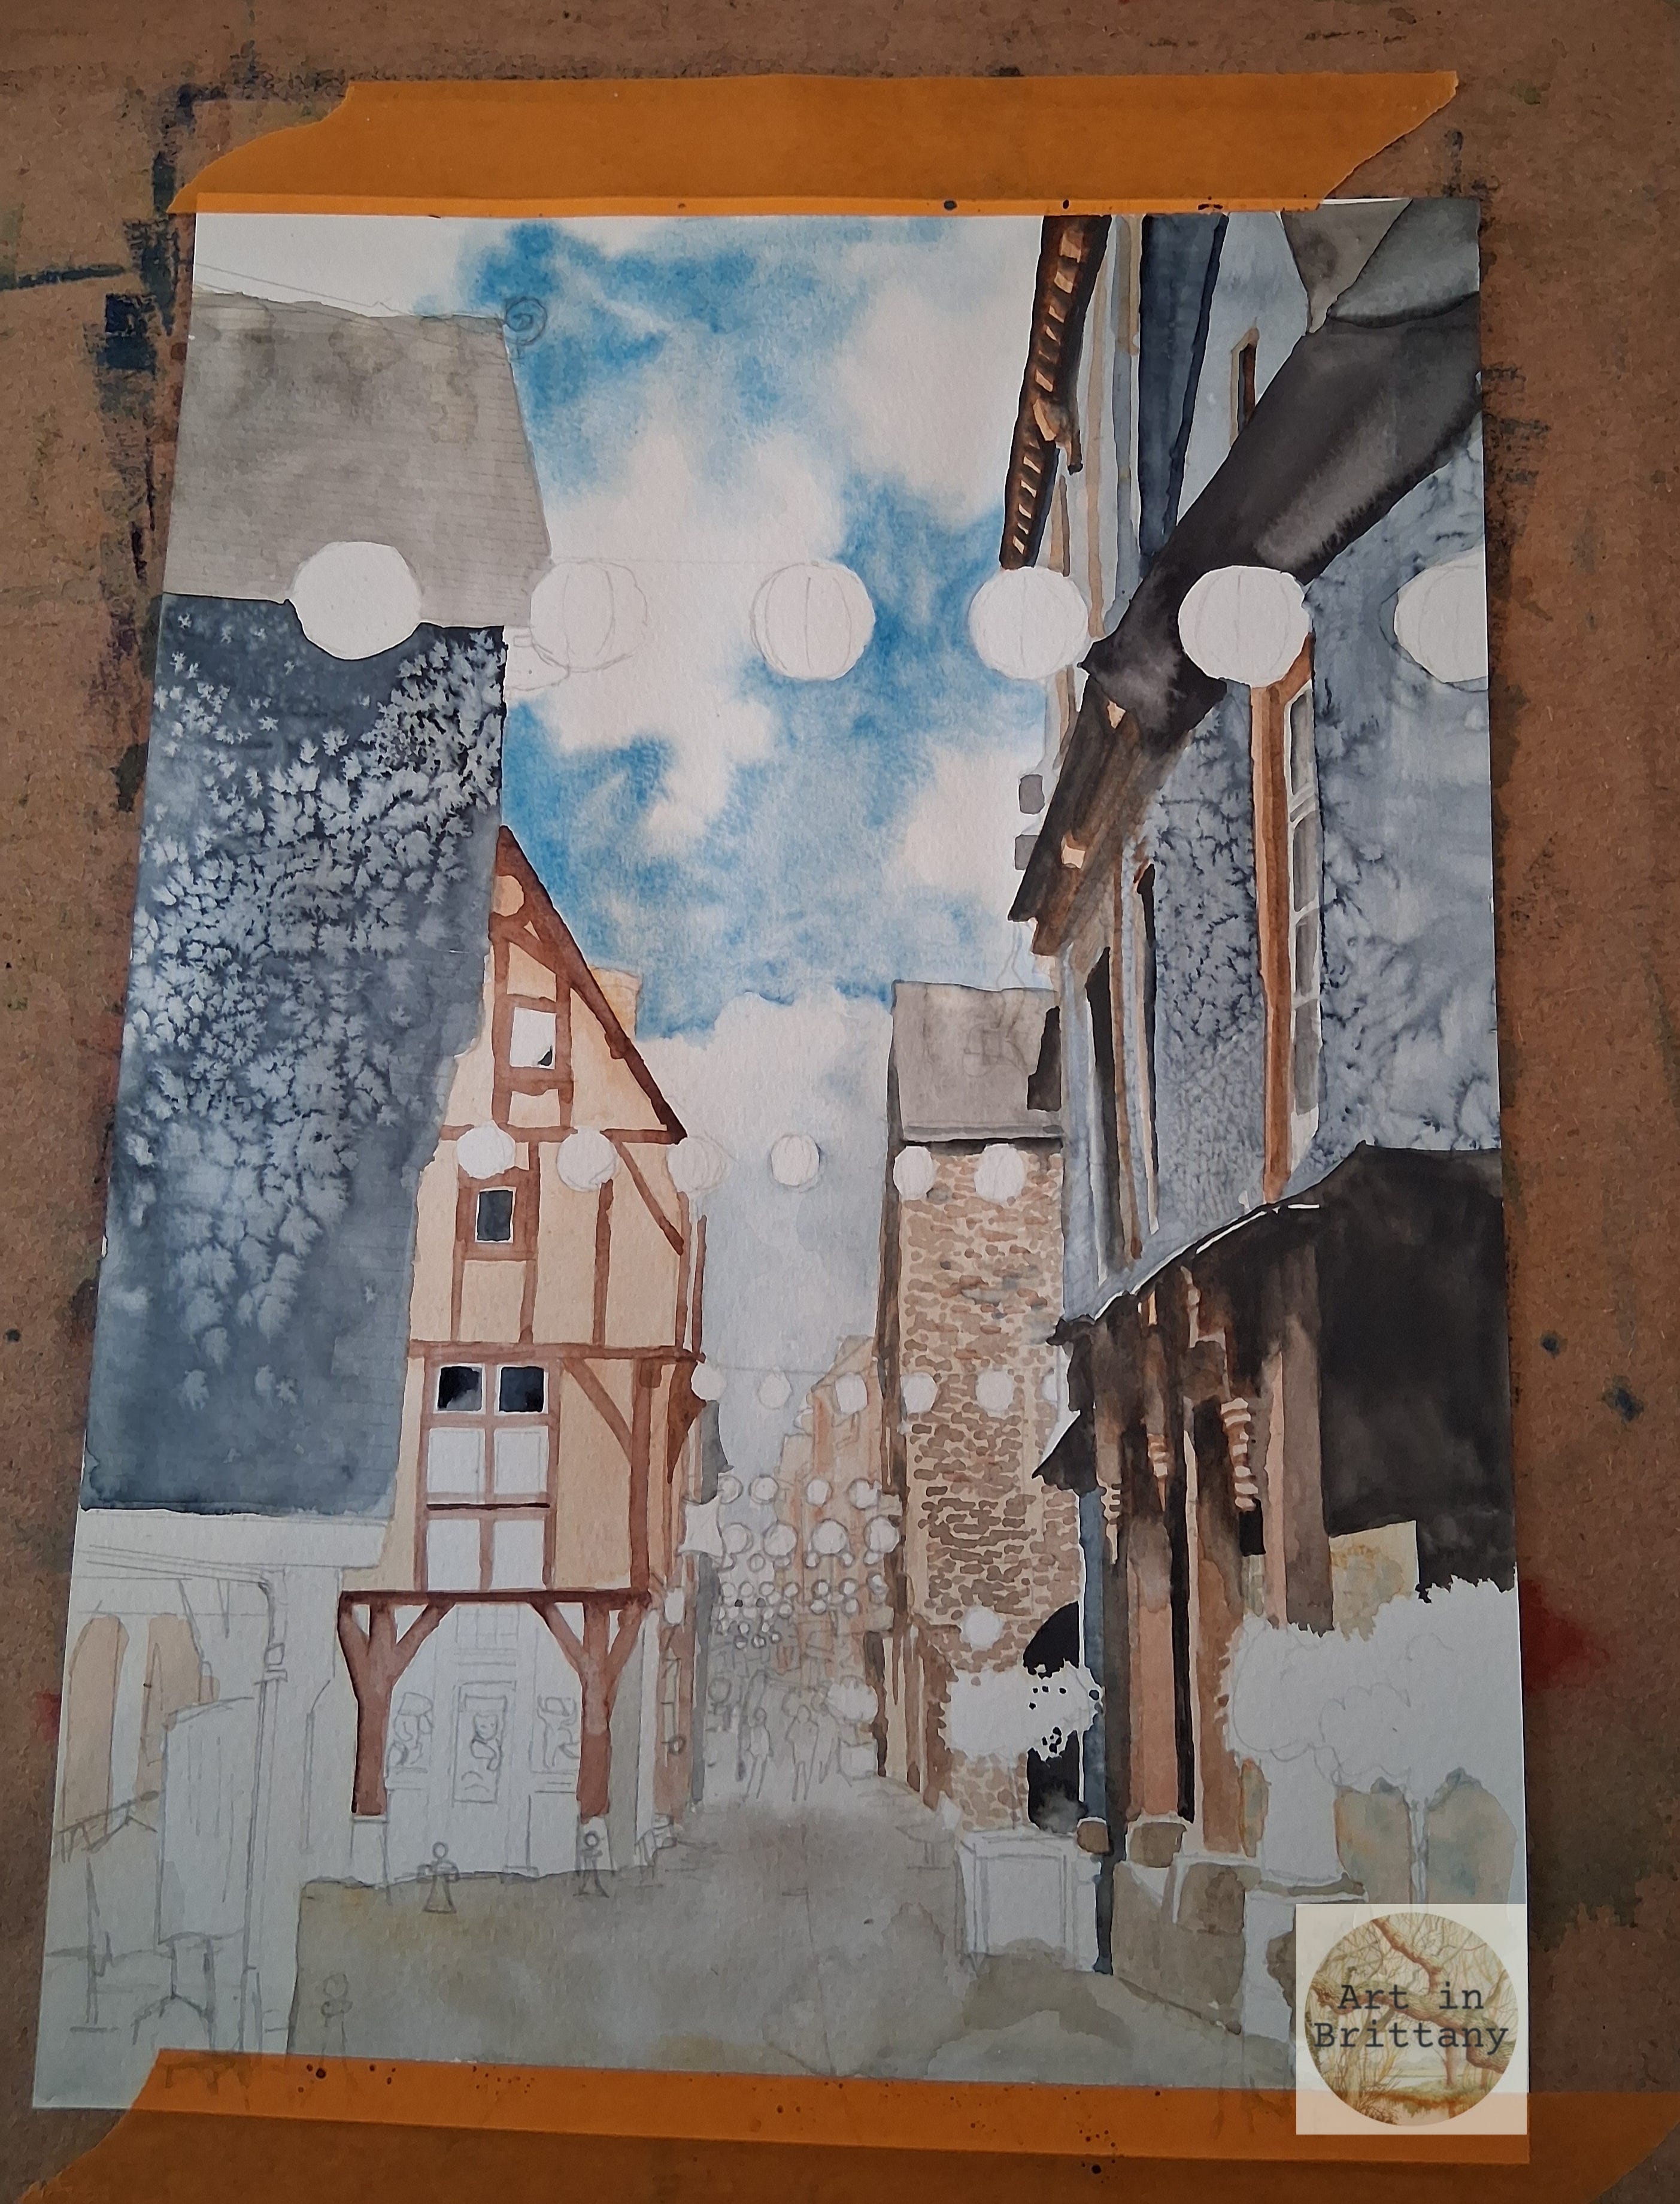
Step 5. Continue building tone and detail, add colour to the lanterns and flower planters. Pay attention to shadows.
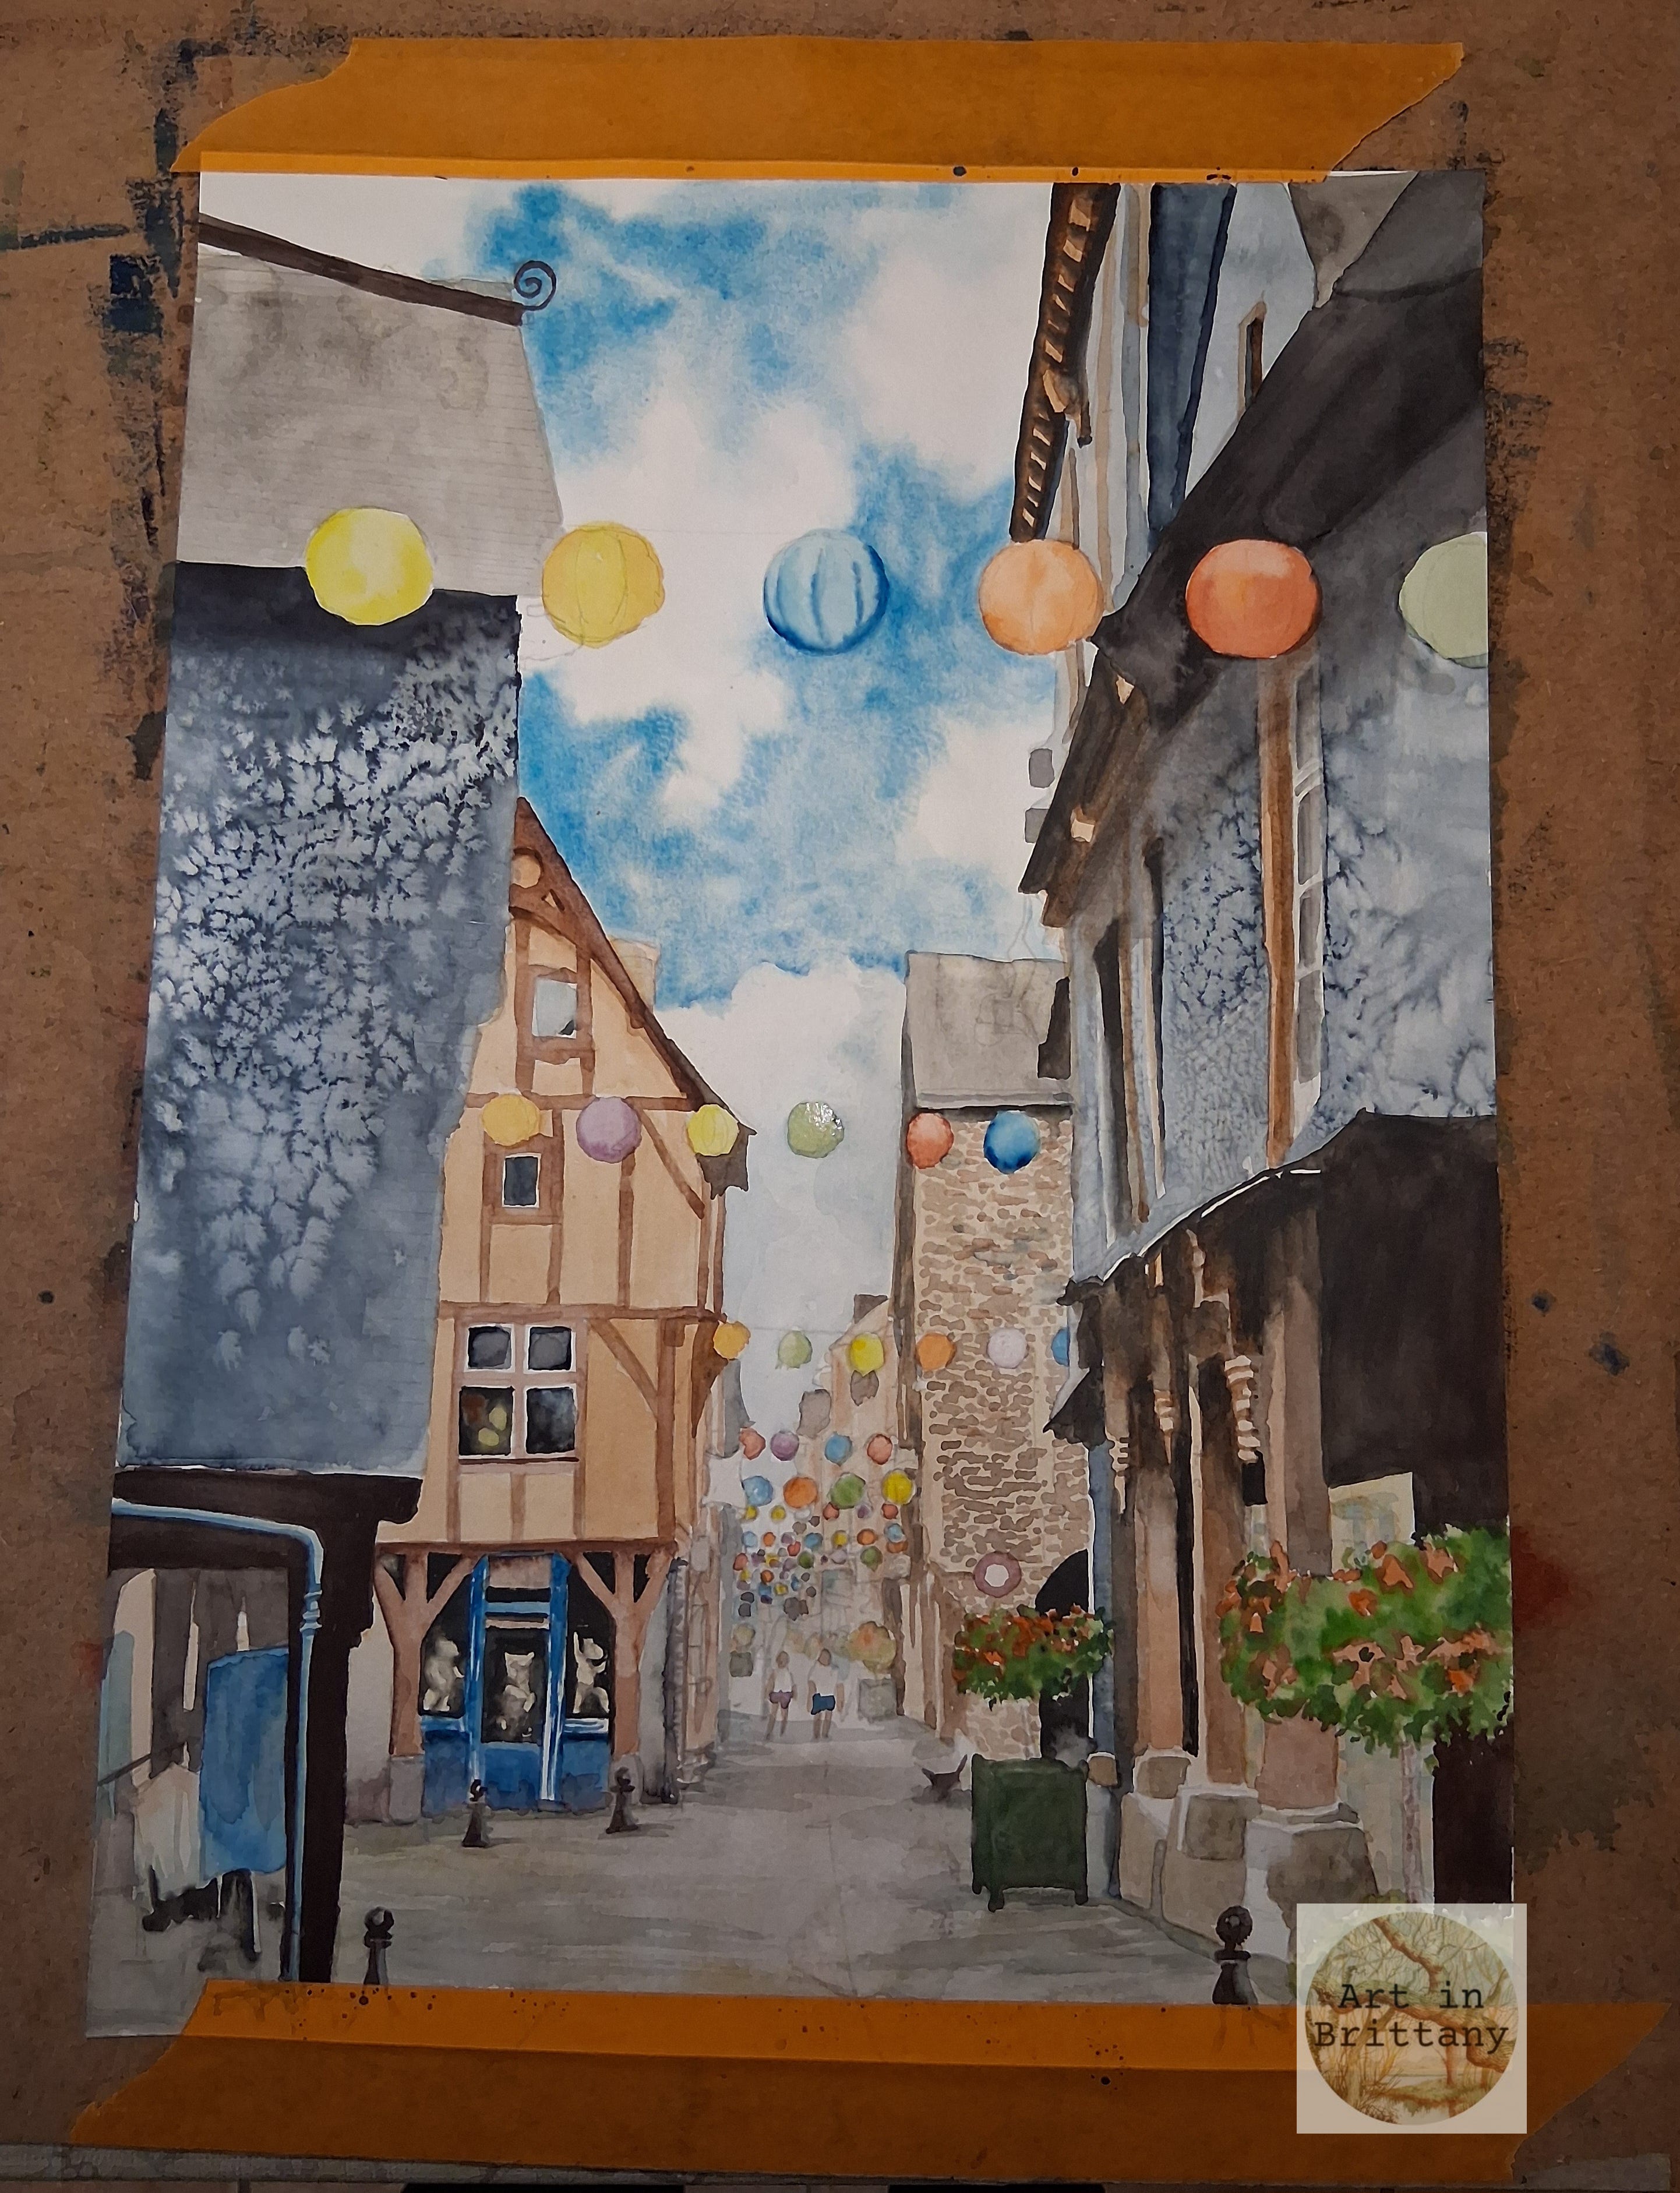
Step 6. When all the colour and tonal work is done, add the finer details. I have used black-liners for the fine lines of the slates, cobbles and balconies etc. A fine line of shadow can be painted below the each slate line to create dimension - use a fine liner /rigger brush for this. Finally, add fine highlights to the balcony railings and lantern wires using white gouache.