
Harvest isn’t just for farmers.
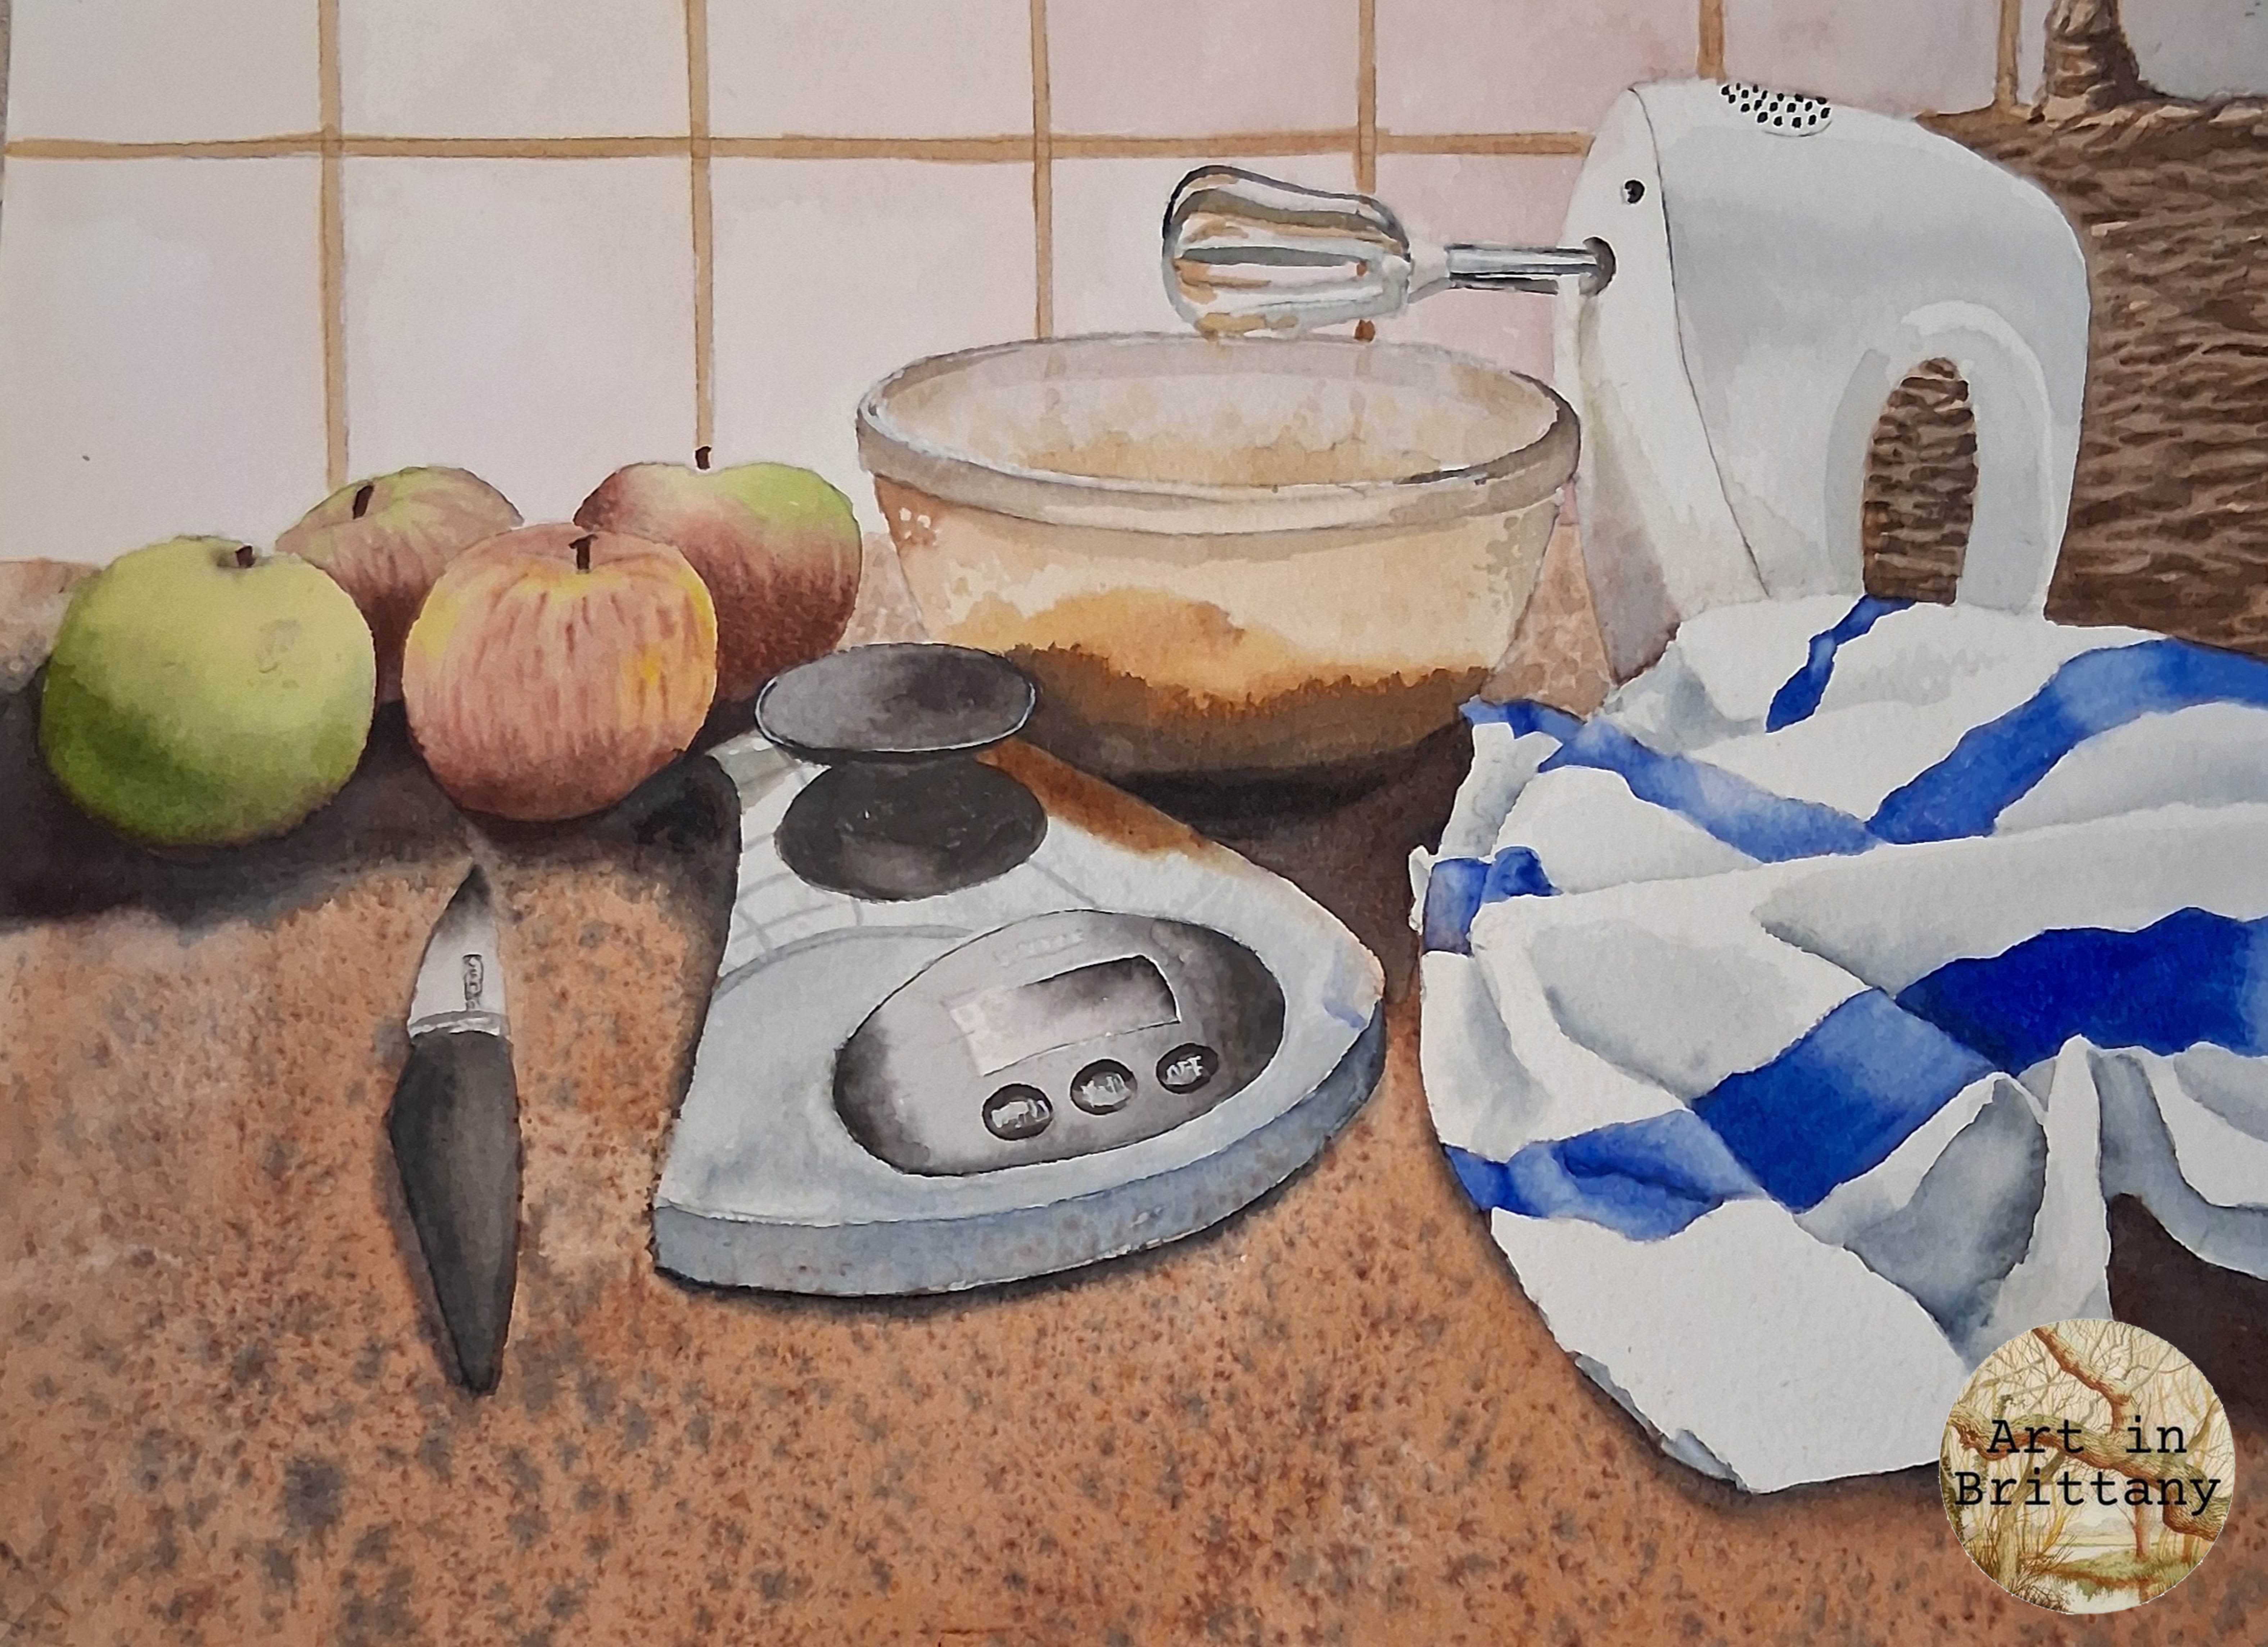
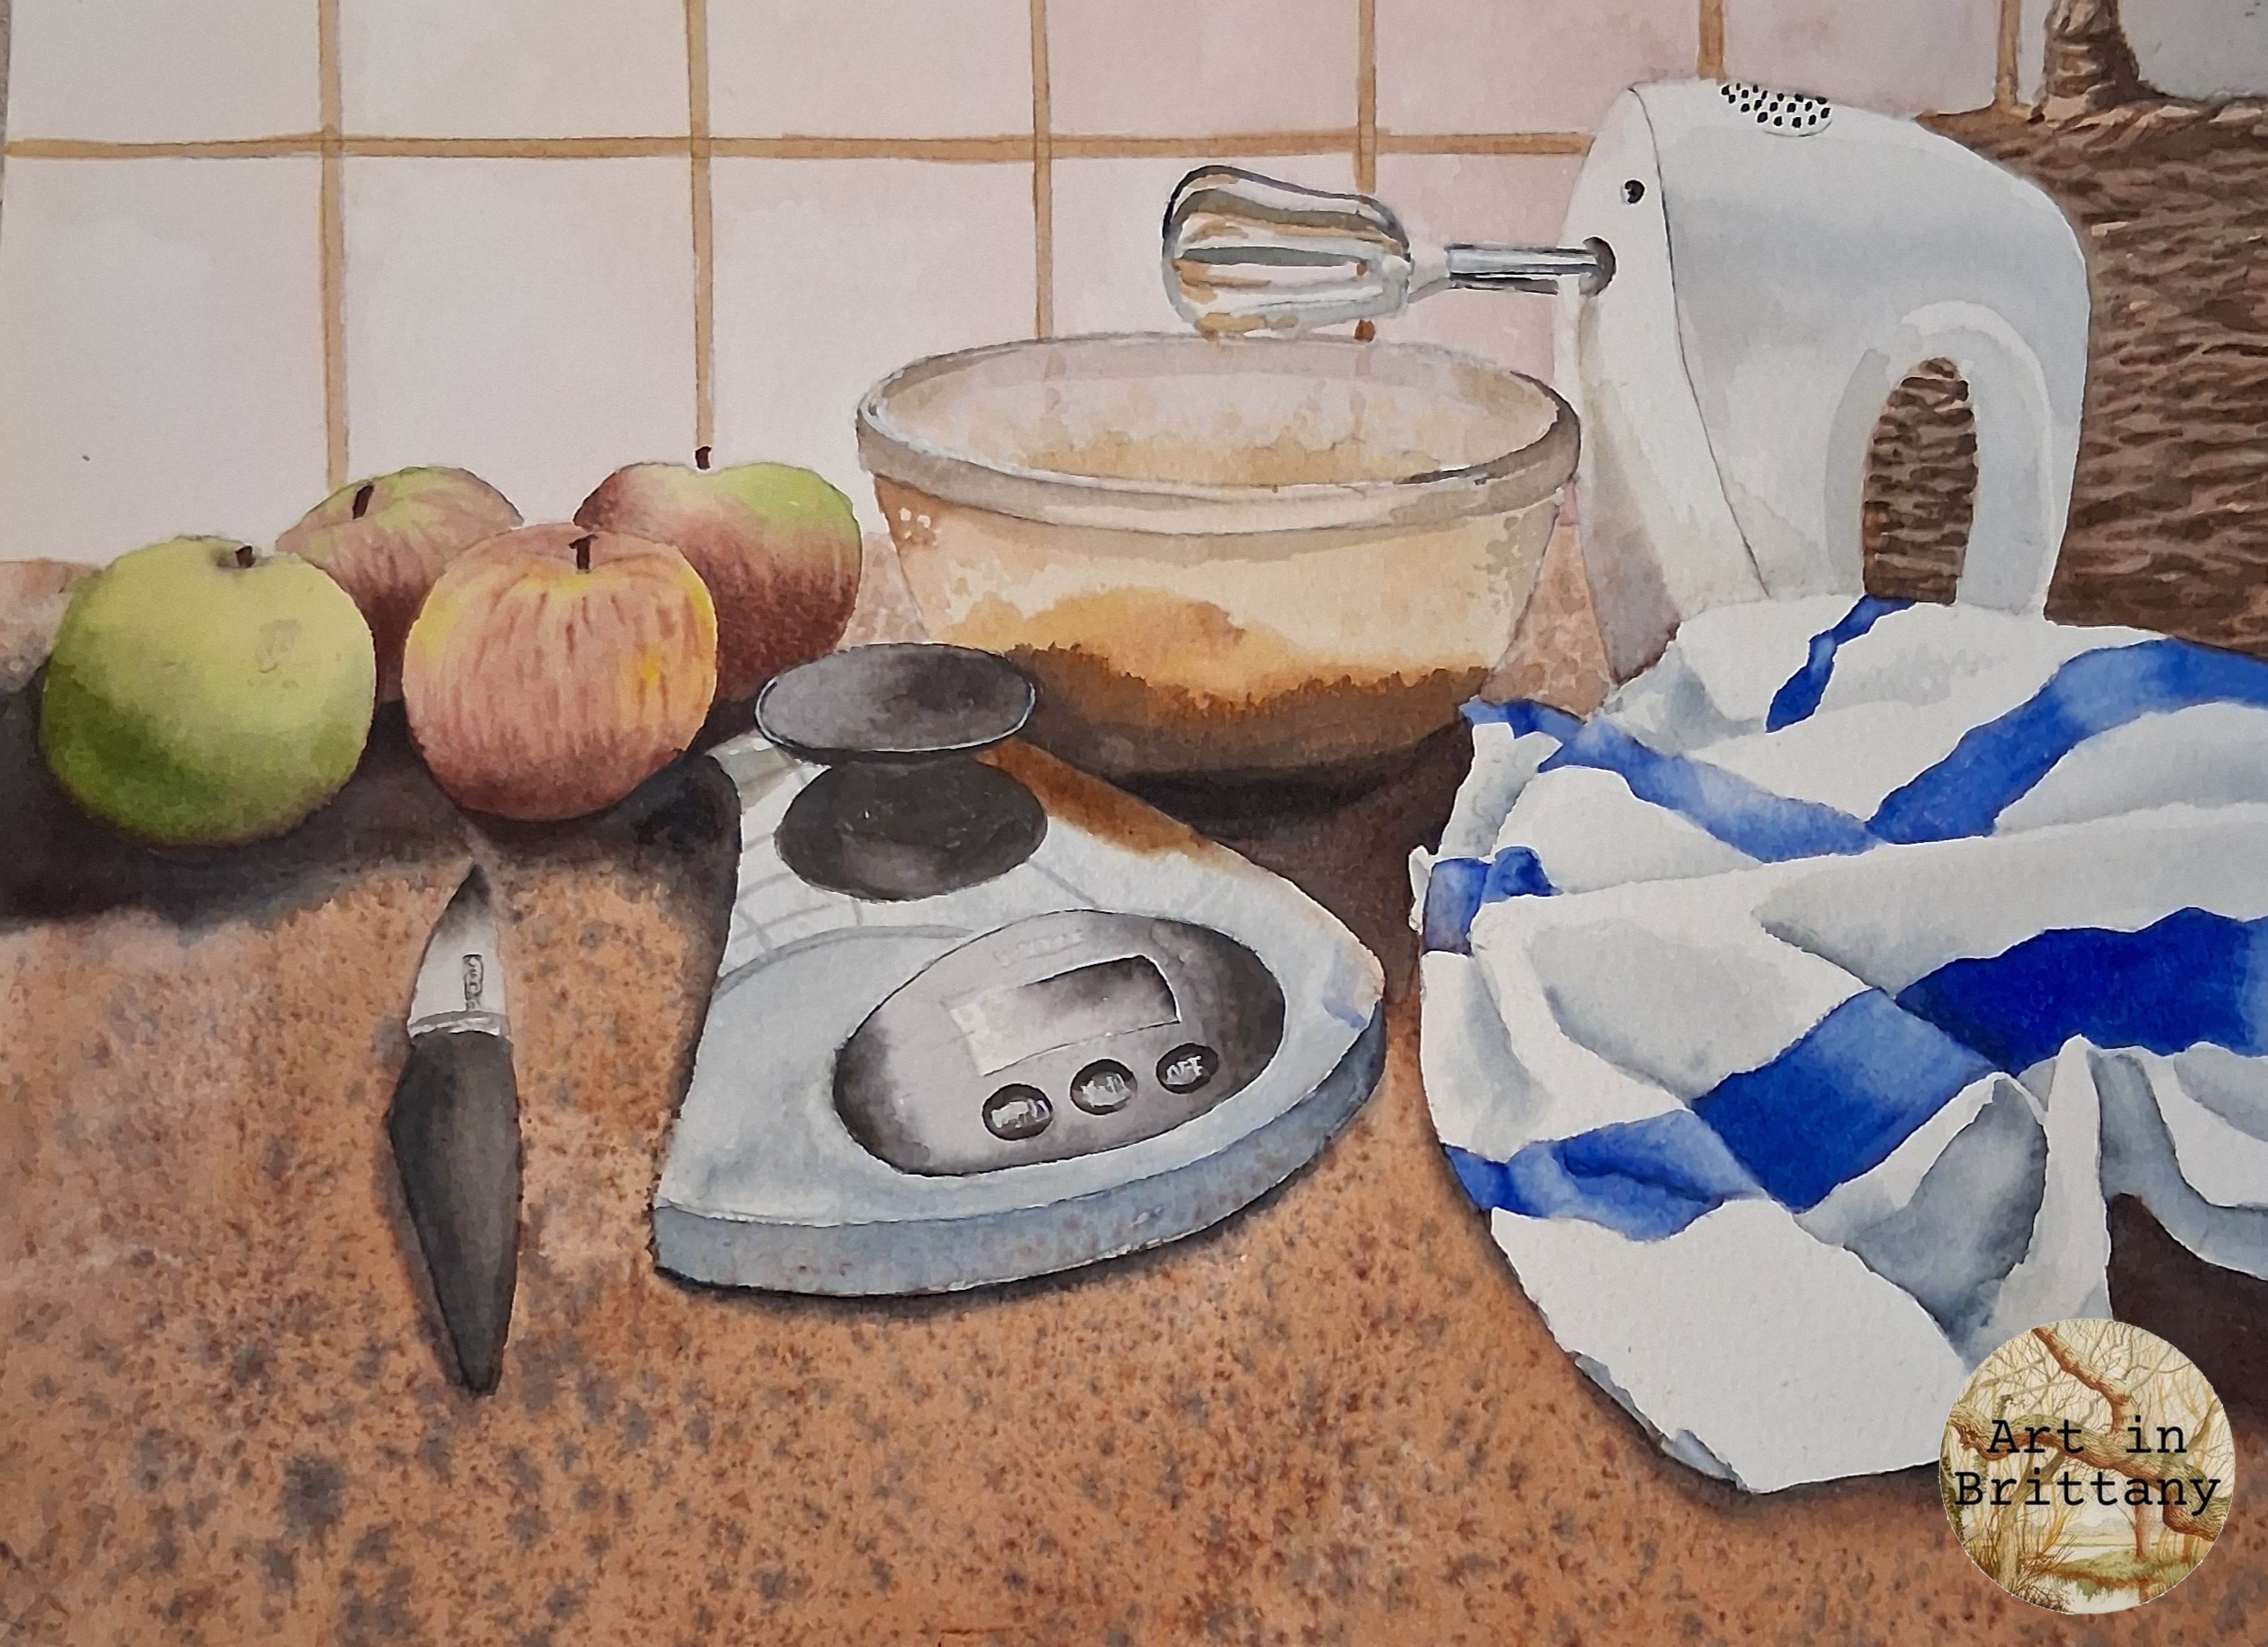
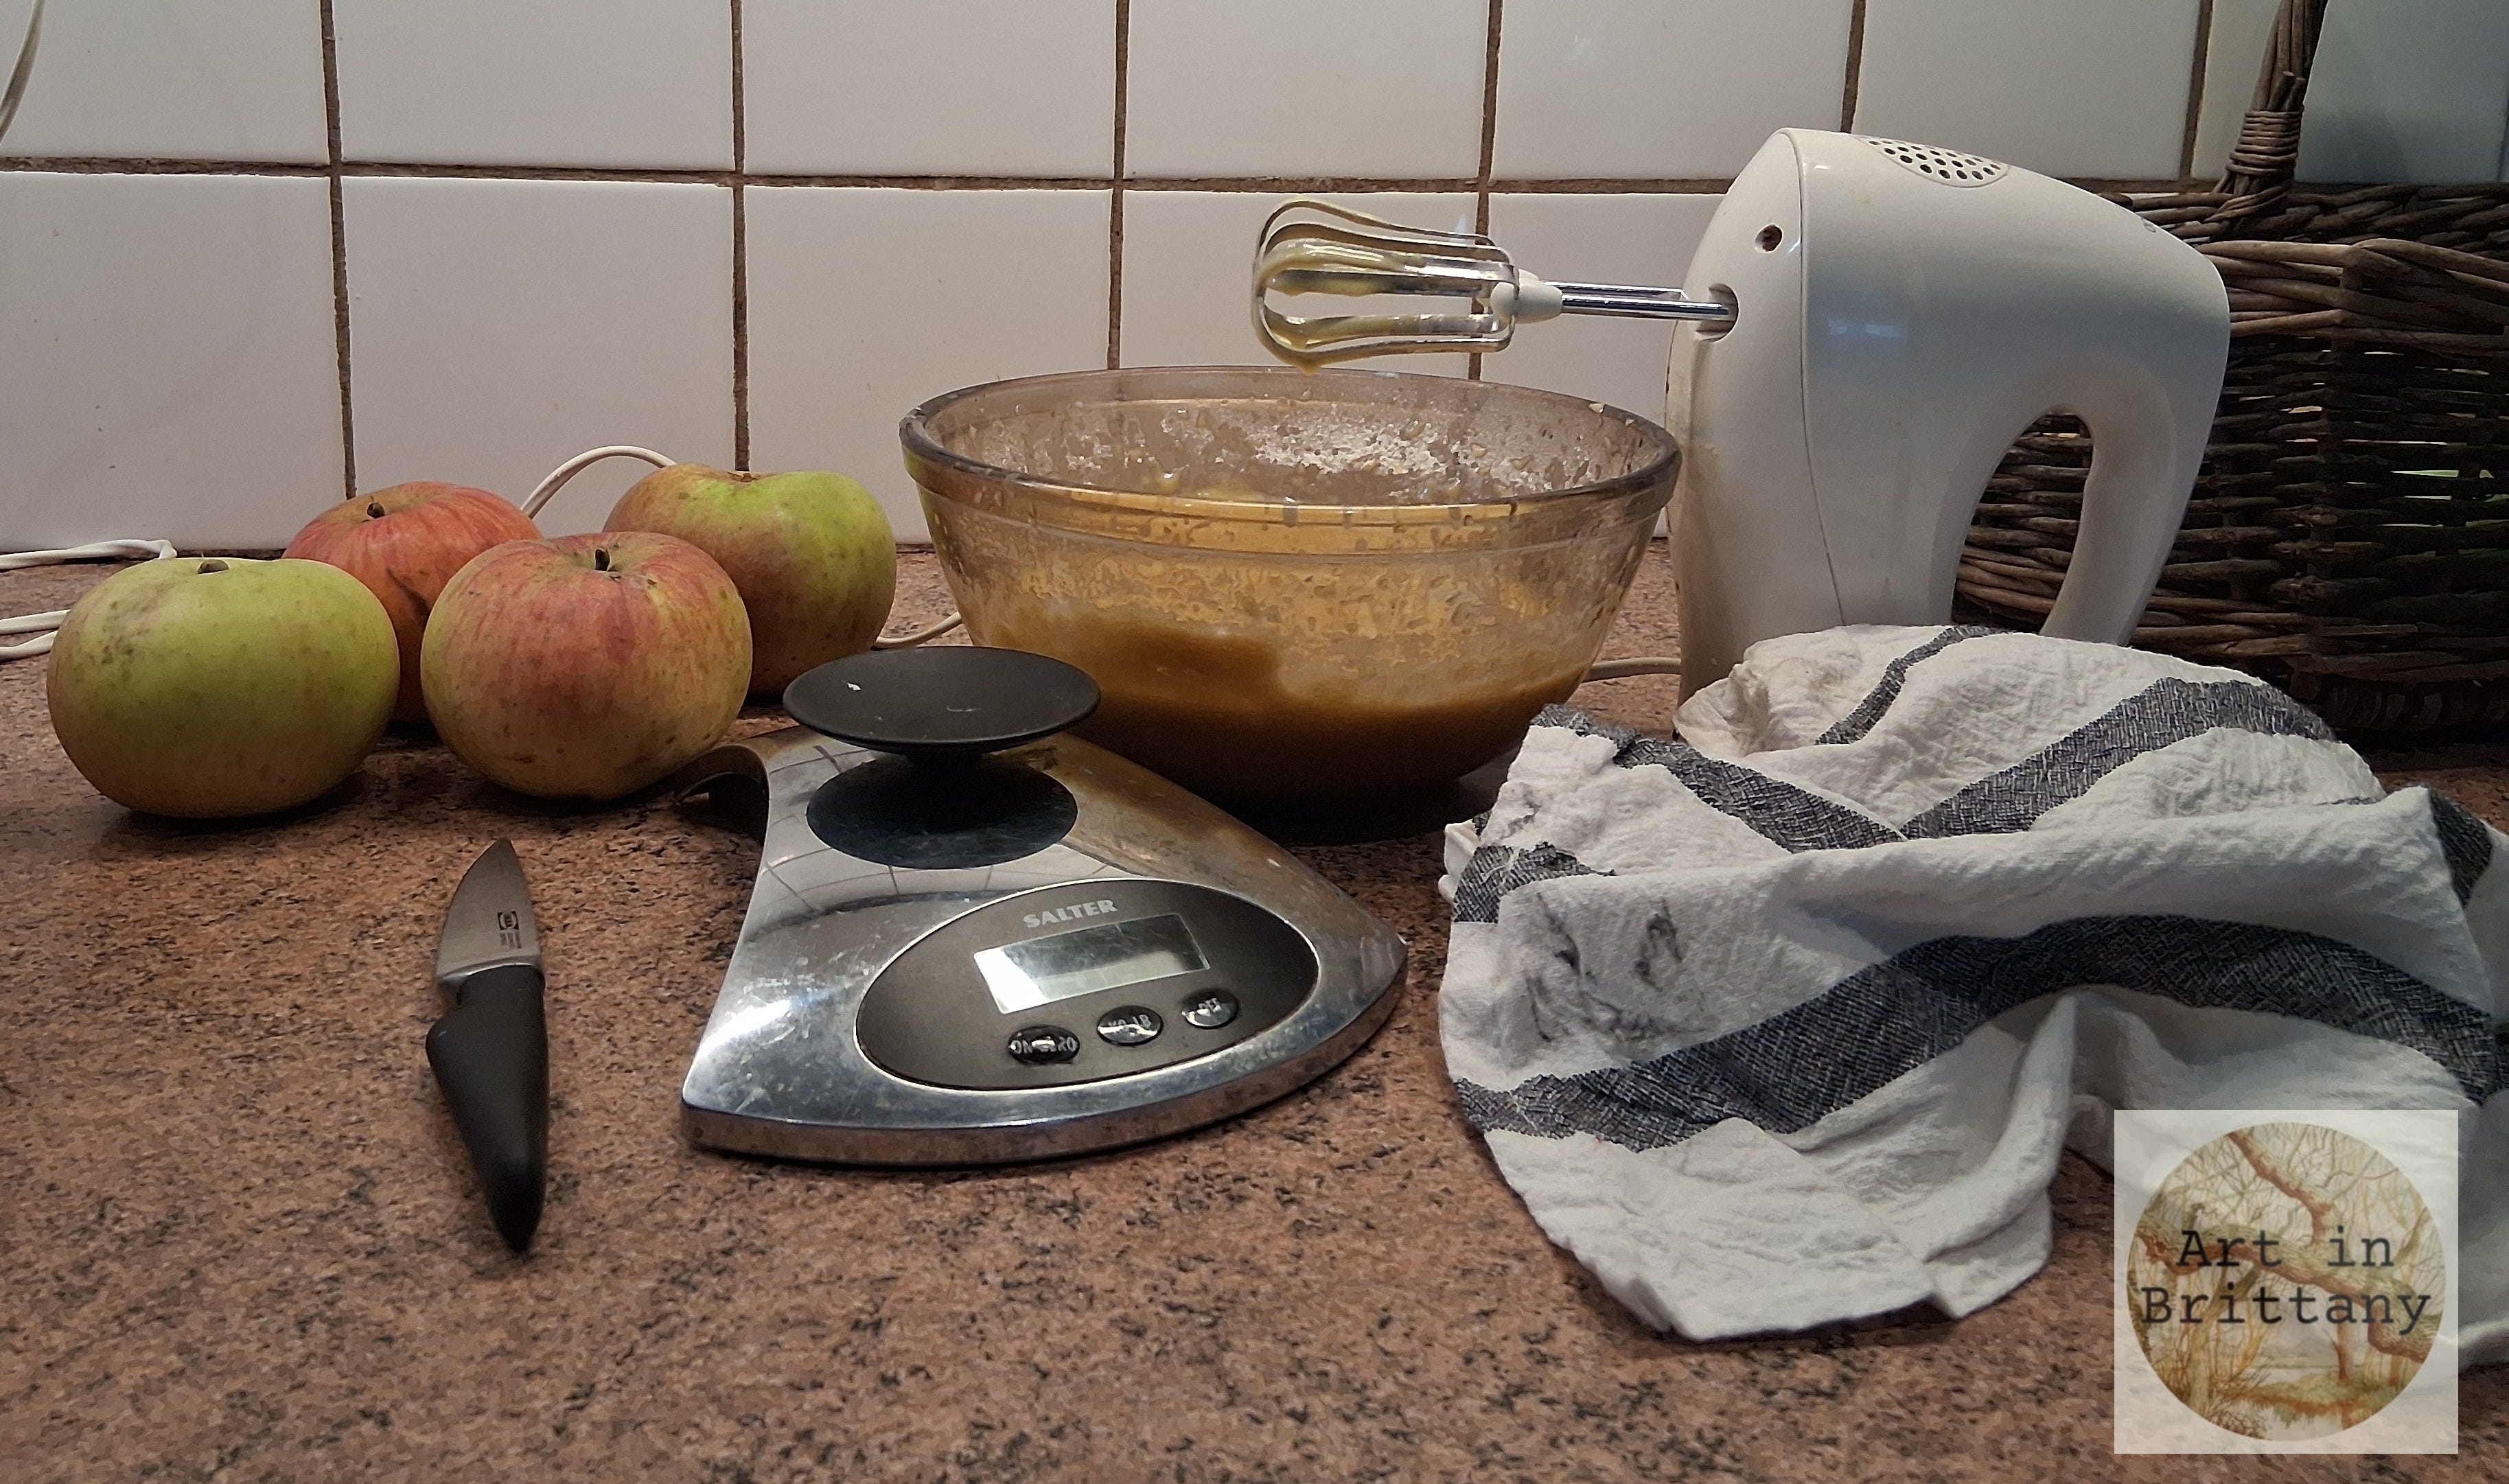
At this time of year, gardeners and smallholders are busy gathering and preserving produce for their winter stores. I recently collected a generous haul of windfall apples and used a few of them to bake a Dorset Apple Cake, (always popular in our house!). The contrast of colours and textures struck me as a compelling subject for a painting. Here's how I approached the challenge…
The Project
Reference Image.
Materials I used -
Fabriano Acid free NOT surface 280gsm (130lb) watercolour paper 35 x 25 cms
Winsor & Newton pigments - Aureolin Hue, Yellow Ochre, Alizarin Crimson, Sap Green, French Ultramarine, Raw Umber, Caput Mortem, Payne’s Grey and Ostwald Grey.
Rosemary’s Brushes - Golden Synthetic No 8 round, Short Flat Shader, fine liner/rigger.
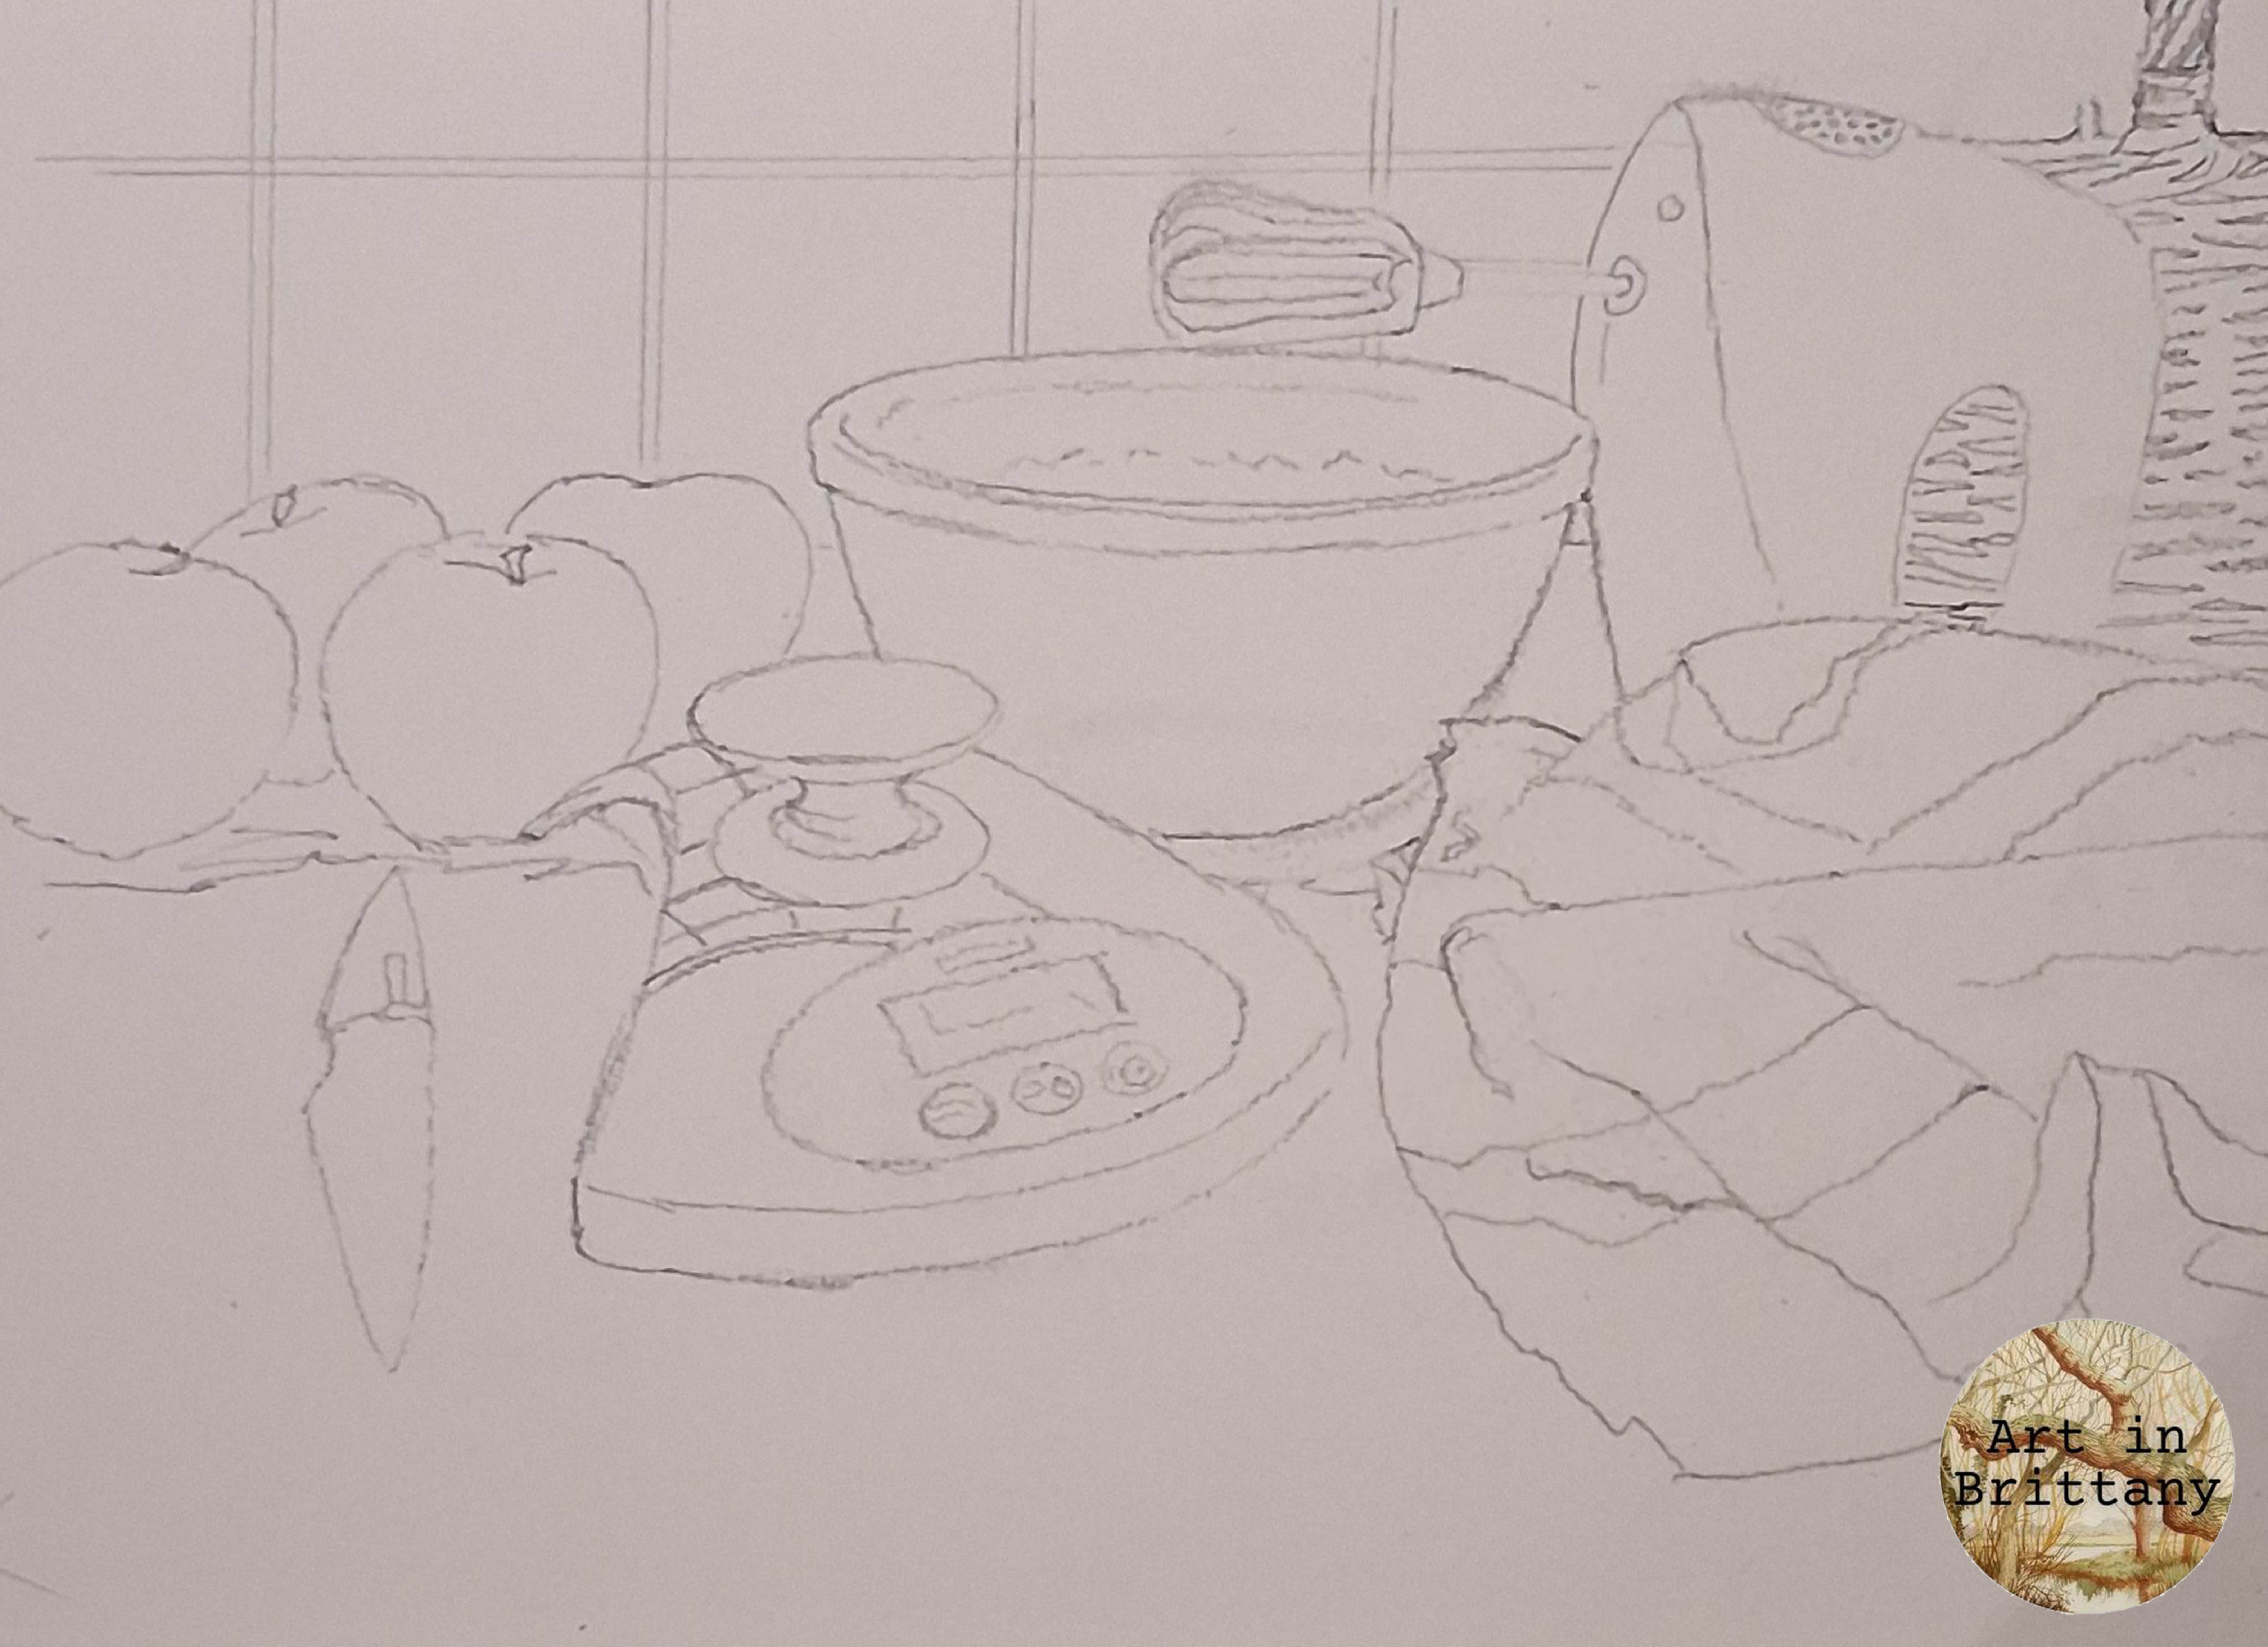
Step 1. Sketch out the scene. As always, edit out unnecessary detail ( I’ve left out the flex to the mixer for example)
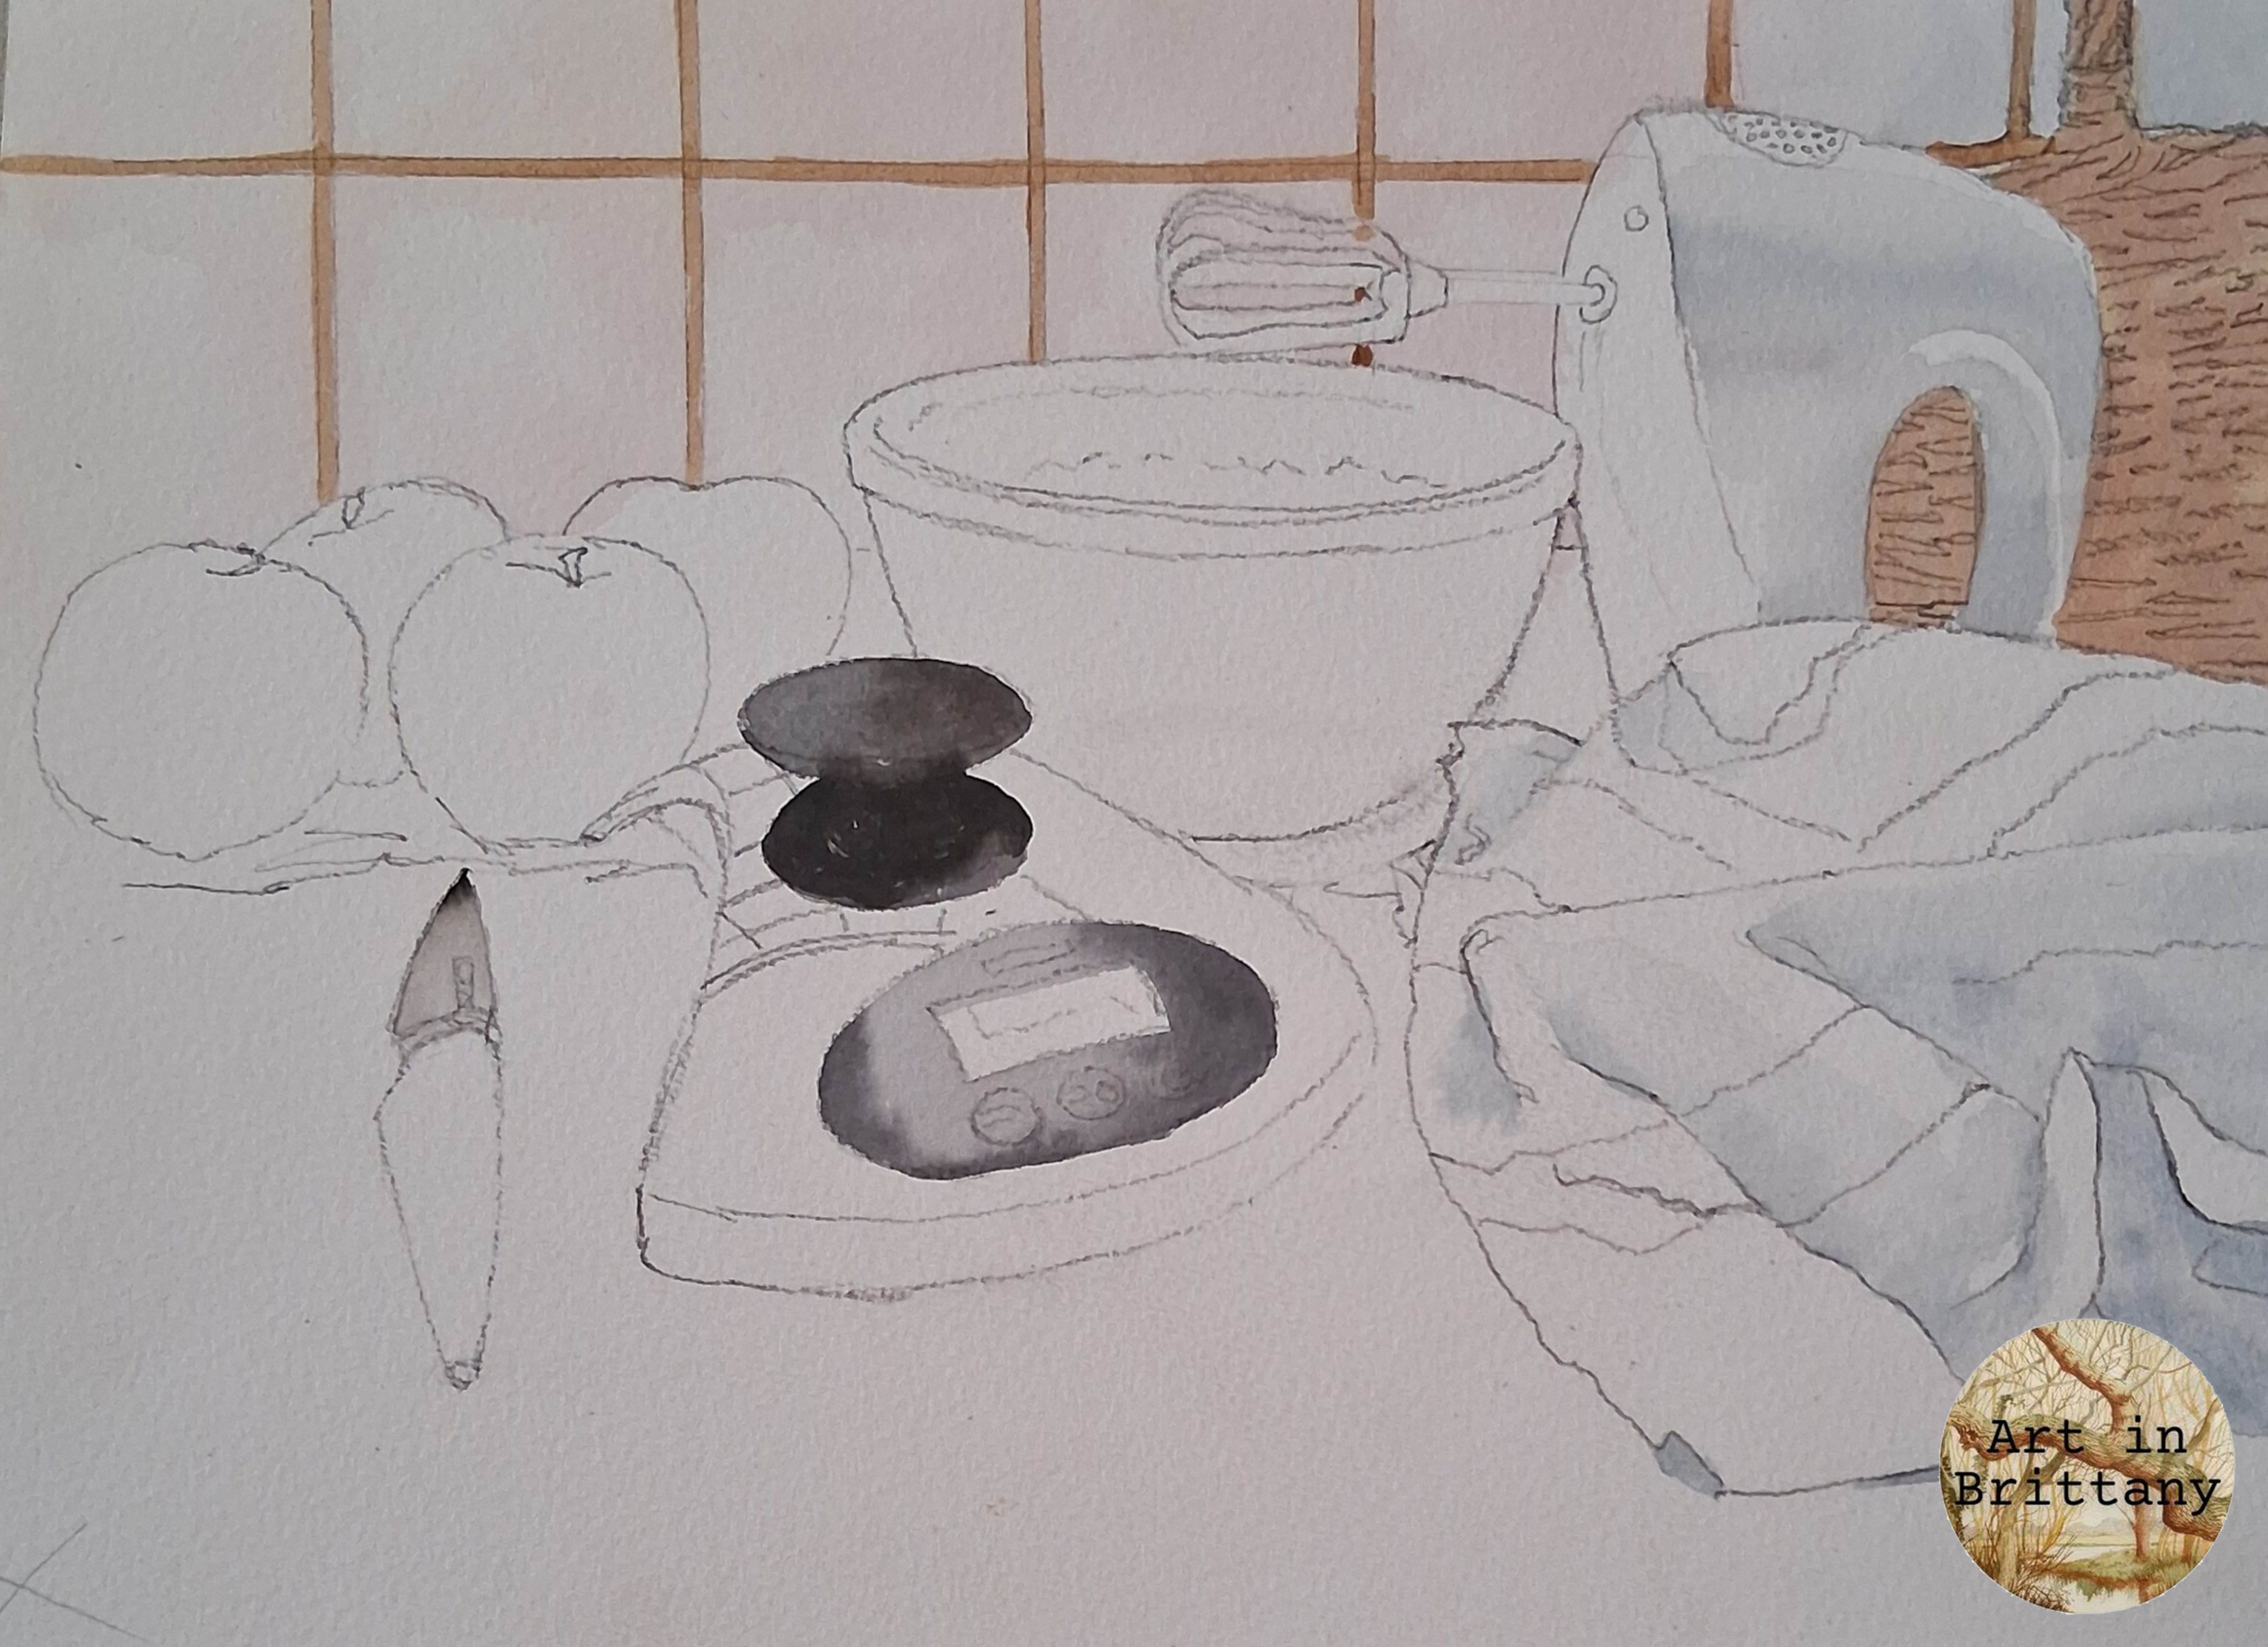
Step 2. I’ve applied a light wash or Alizarin Crimson, blending into Payne’s Grey for the tiles in order for the white of the mixer to stand out. The grouting is Yellow Ochre painted over the dried tile washes and Raw Umber is used to block in the basket. The shadows in the tea cloth and on the mixer are painted in Payne’s Grey, and the warmer darks, on the scales and knife handle are Ostwald Grey.
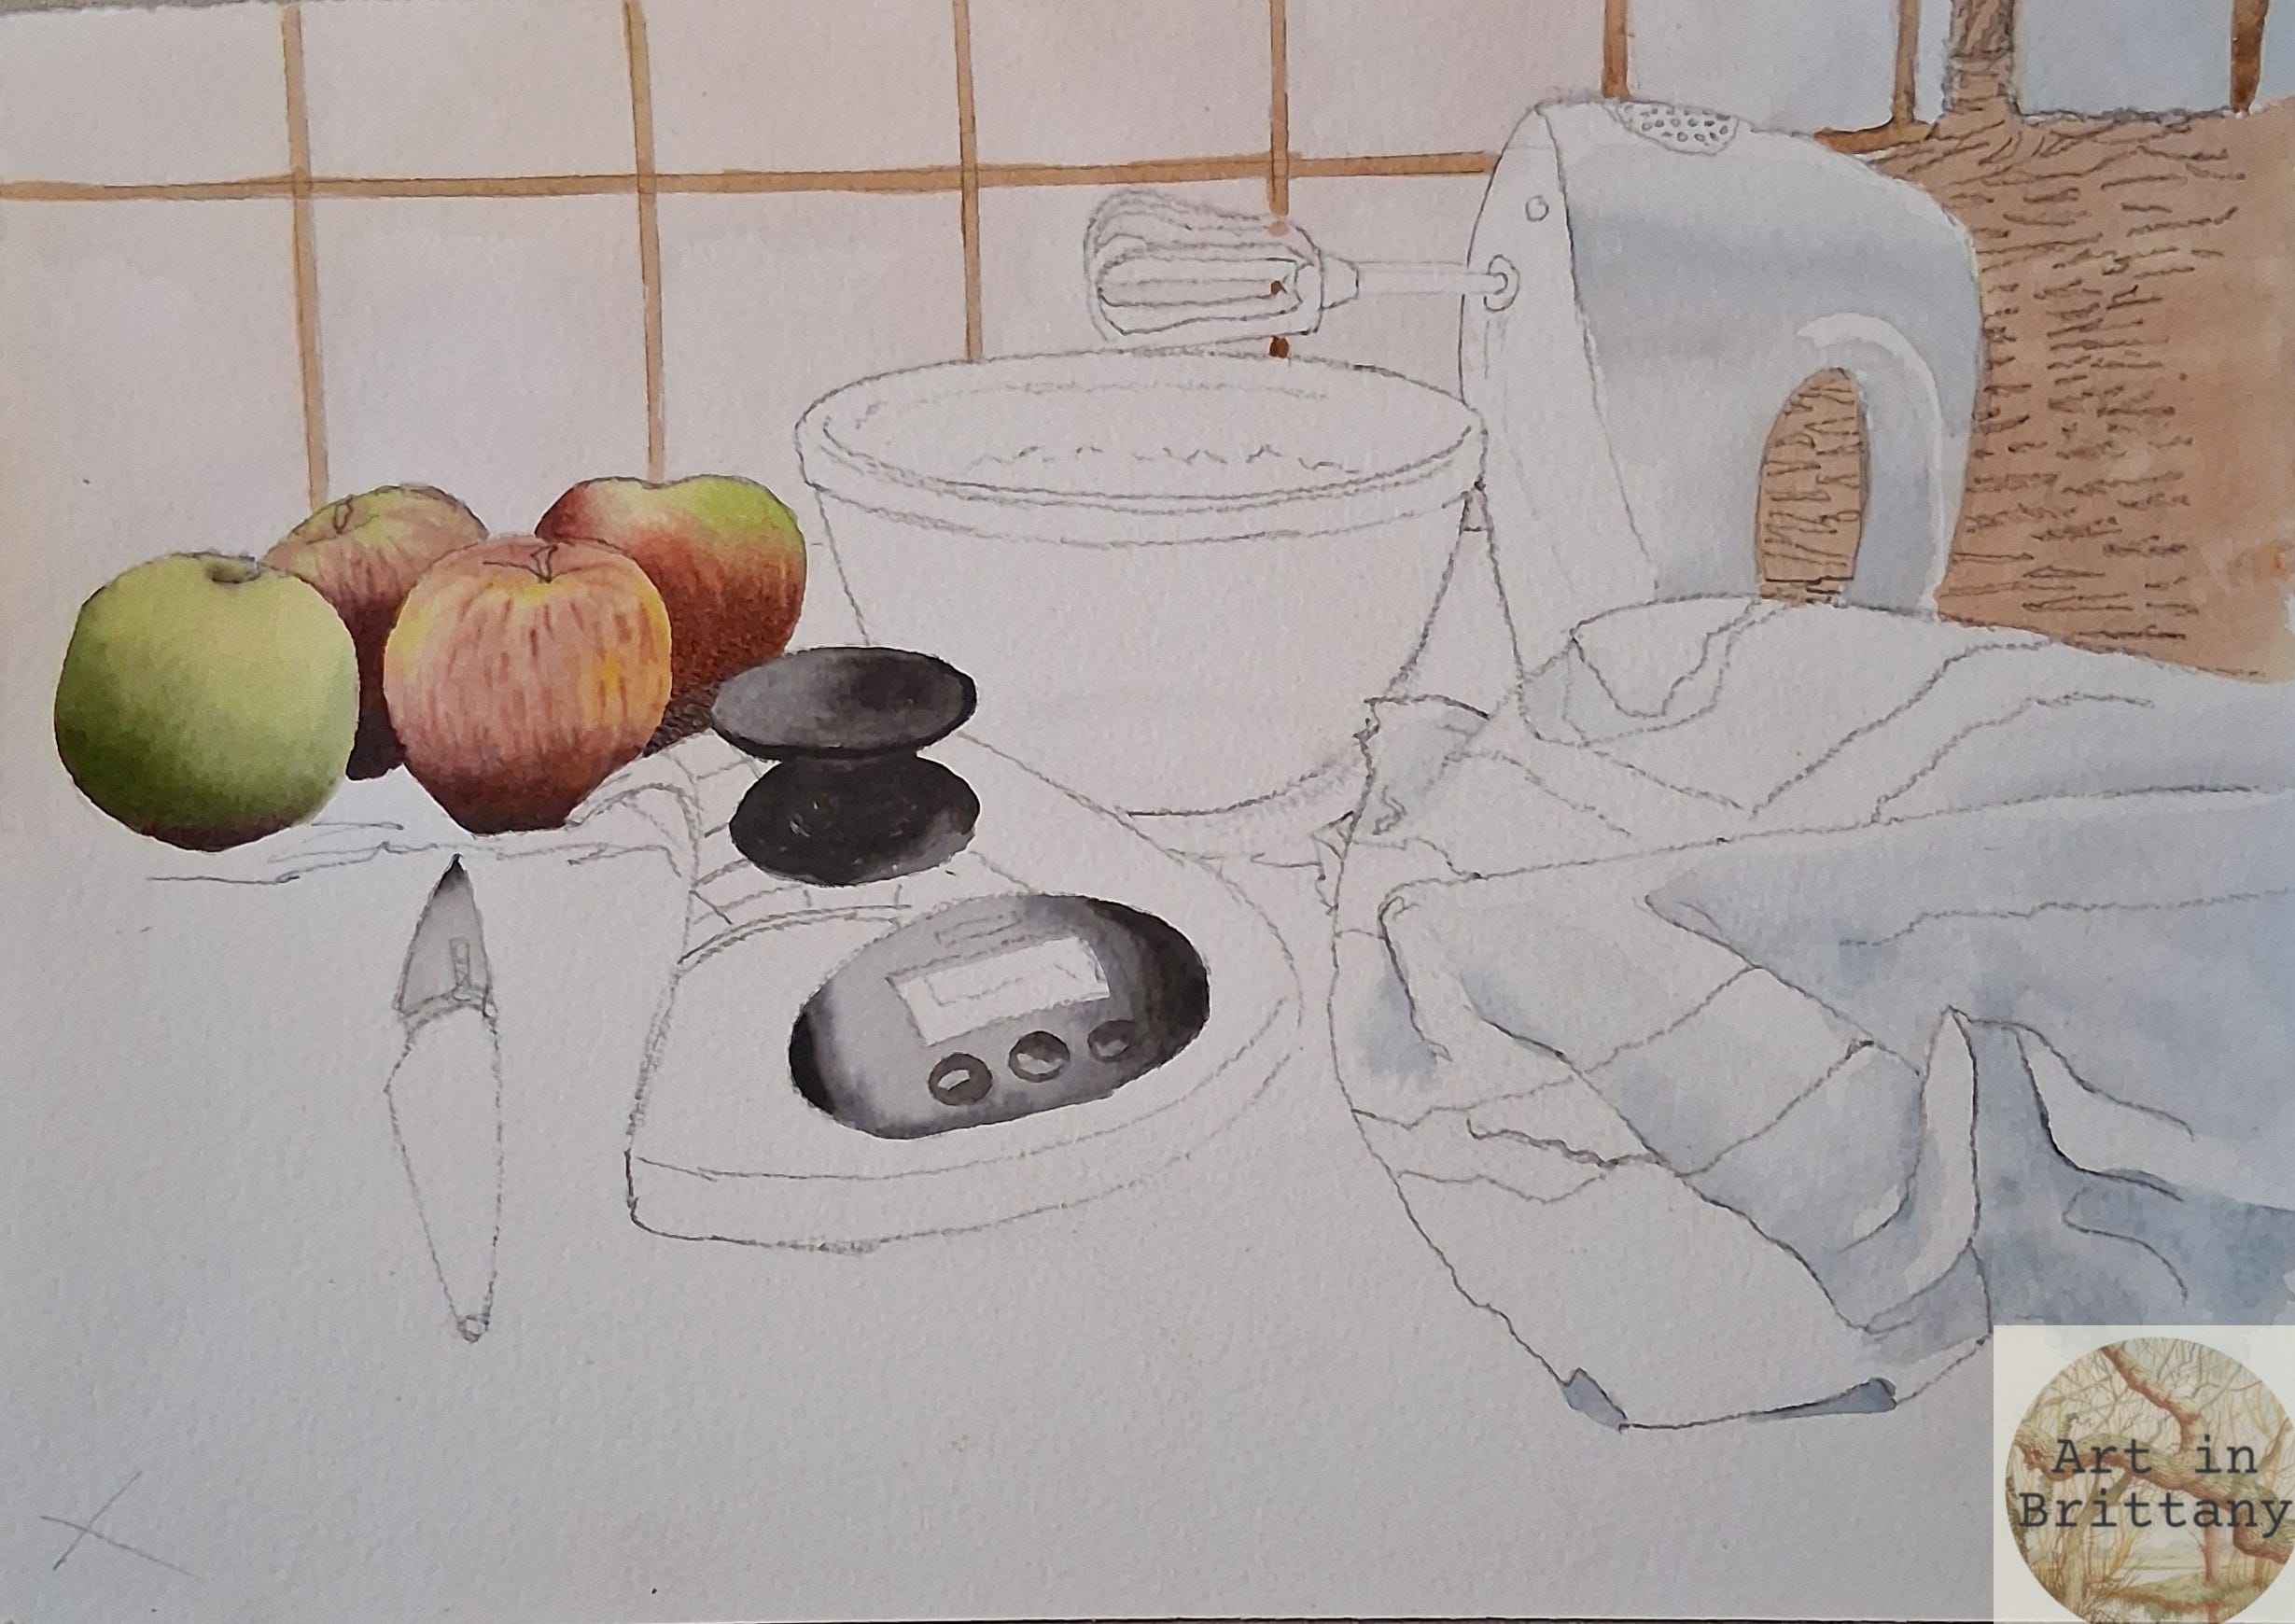
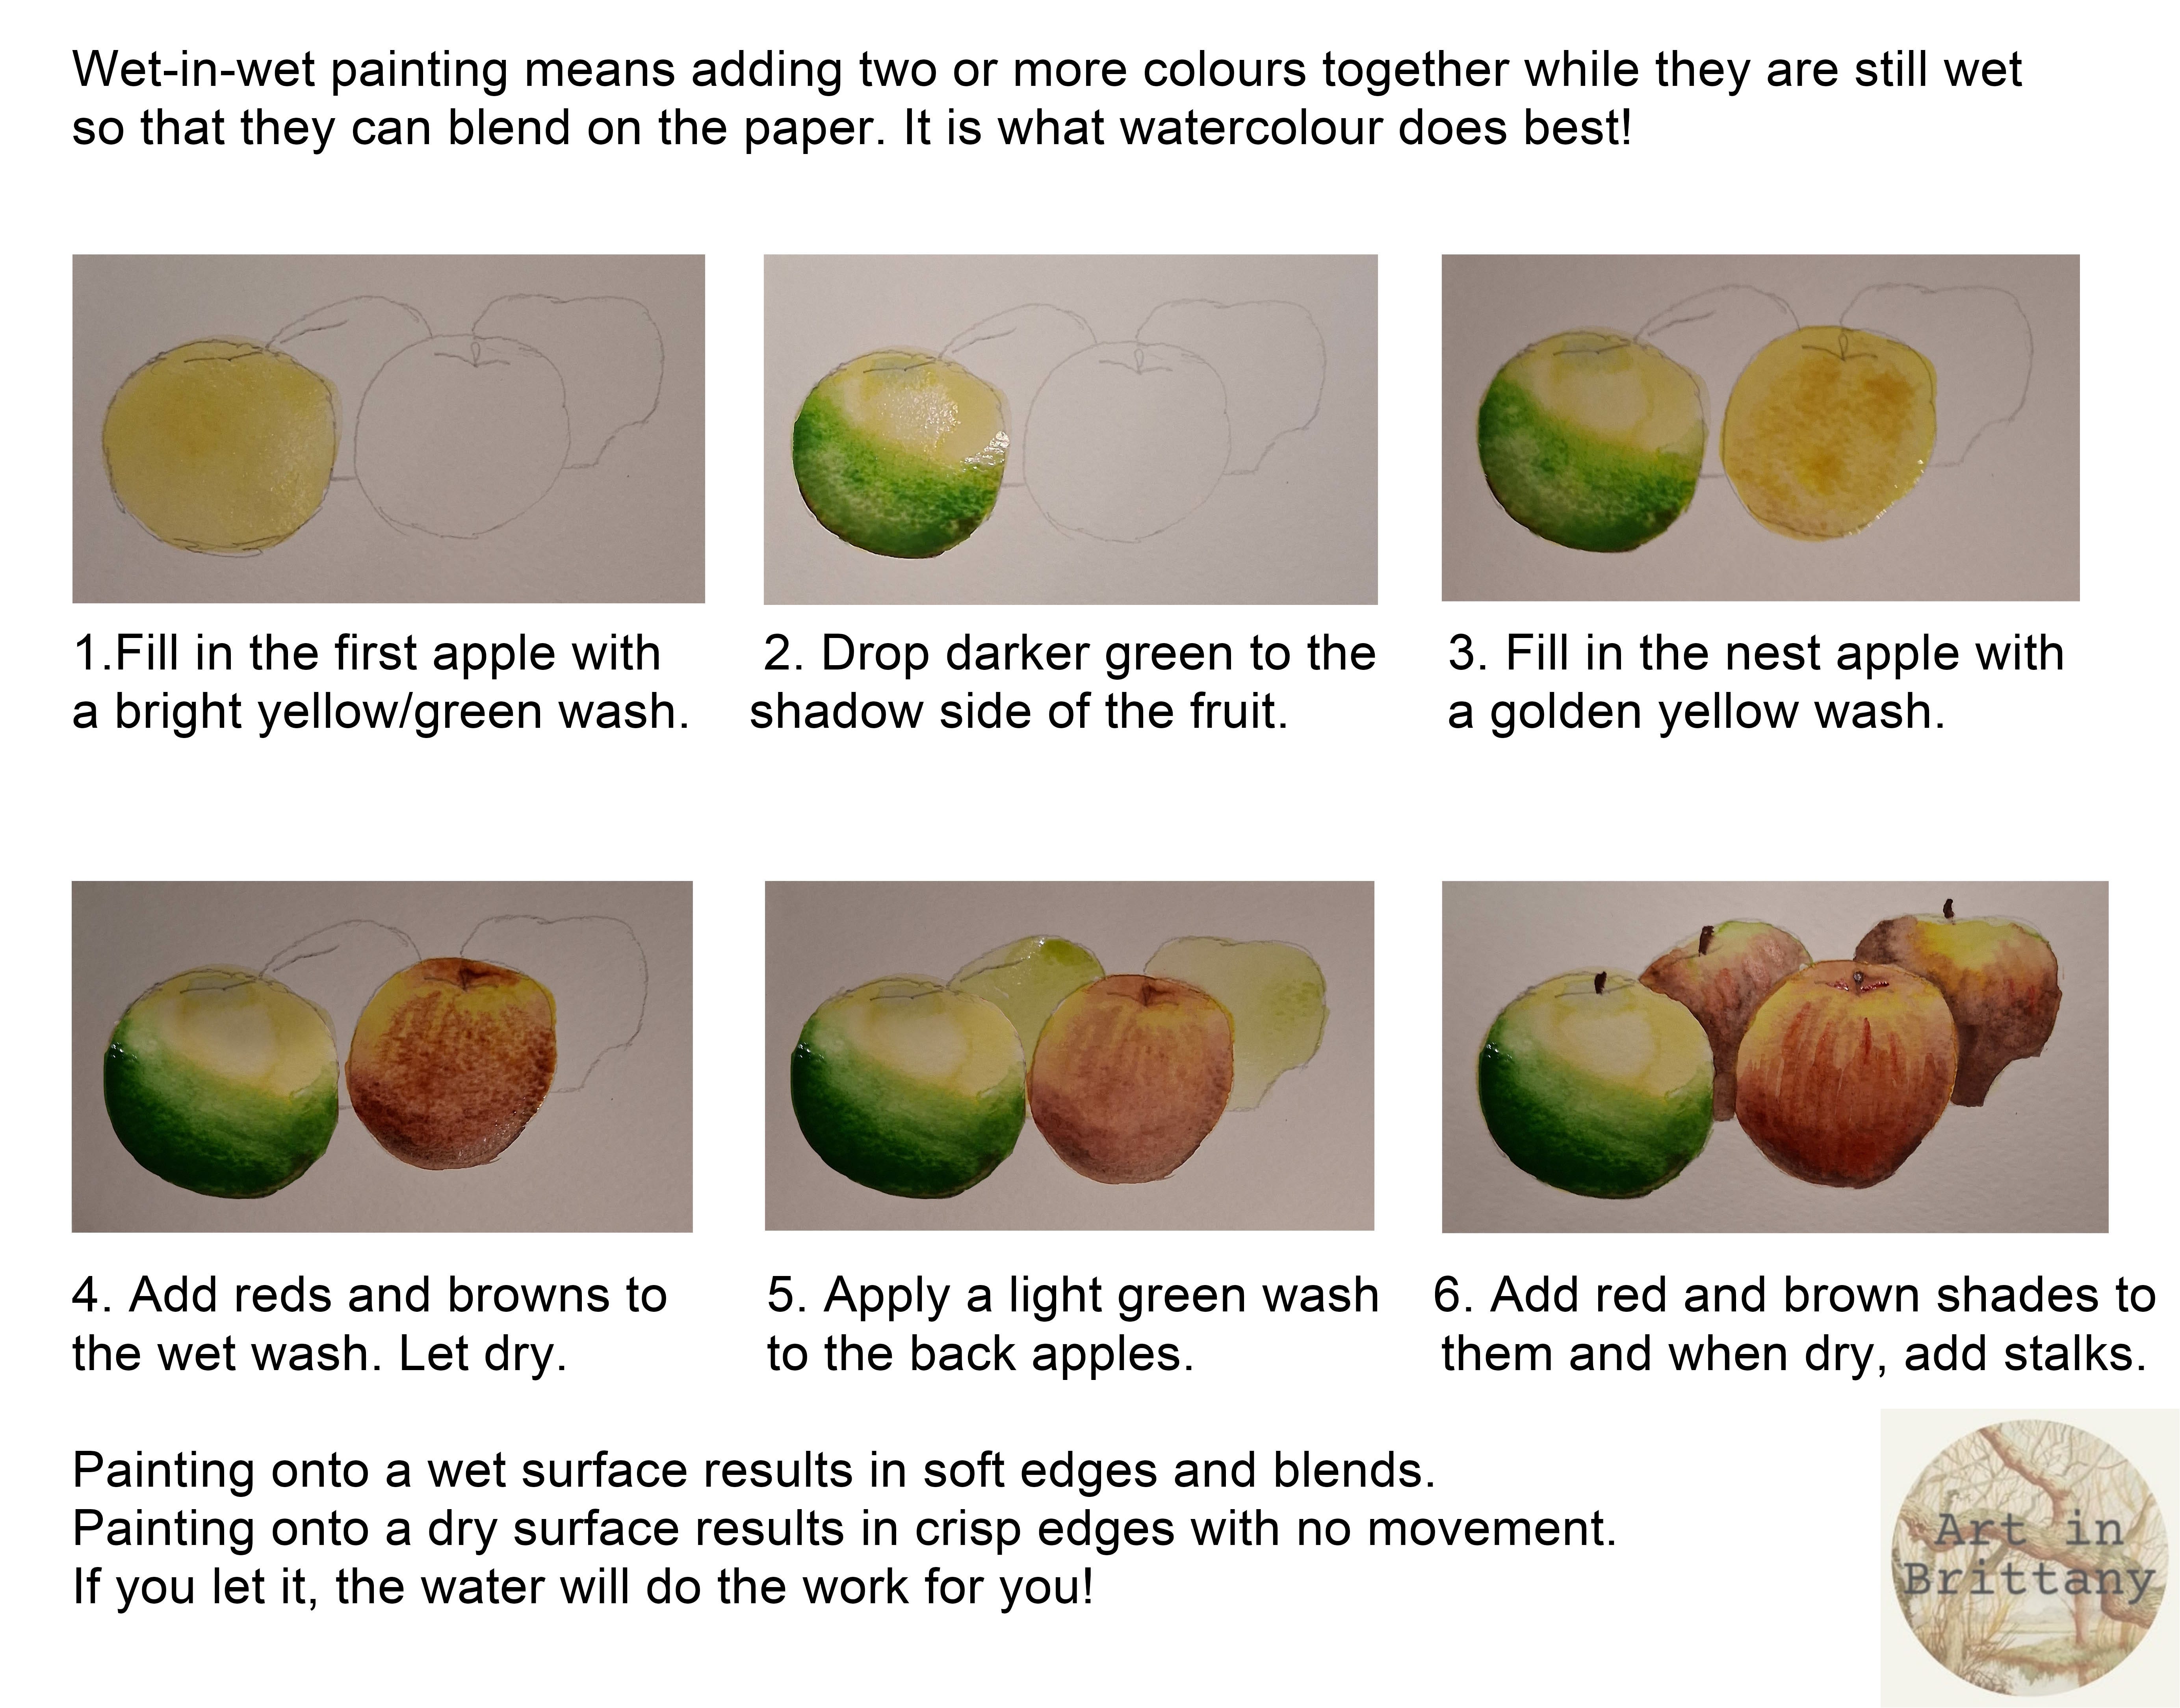
Step 2. Here, I’ve painted the apples wet-in-wet with Aureolin Hue, Sap Green and Alizarin Crimson, the deeper shadows are in Caput Mortem. To maintain crisp edges, paint the apples separately,, make sure each apple is dry before proceeding to the next. I have also deepened the darks on the scales.
Step 3. Next, I add shadows, reflections, and tone to the scale and mixer, using mostly Payne’s Grey with a touch of Yellow Ochre and Caput Mortum.
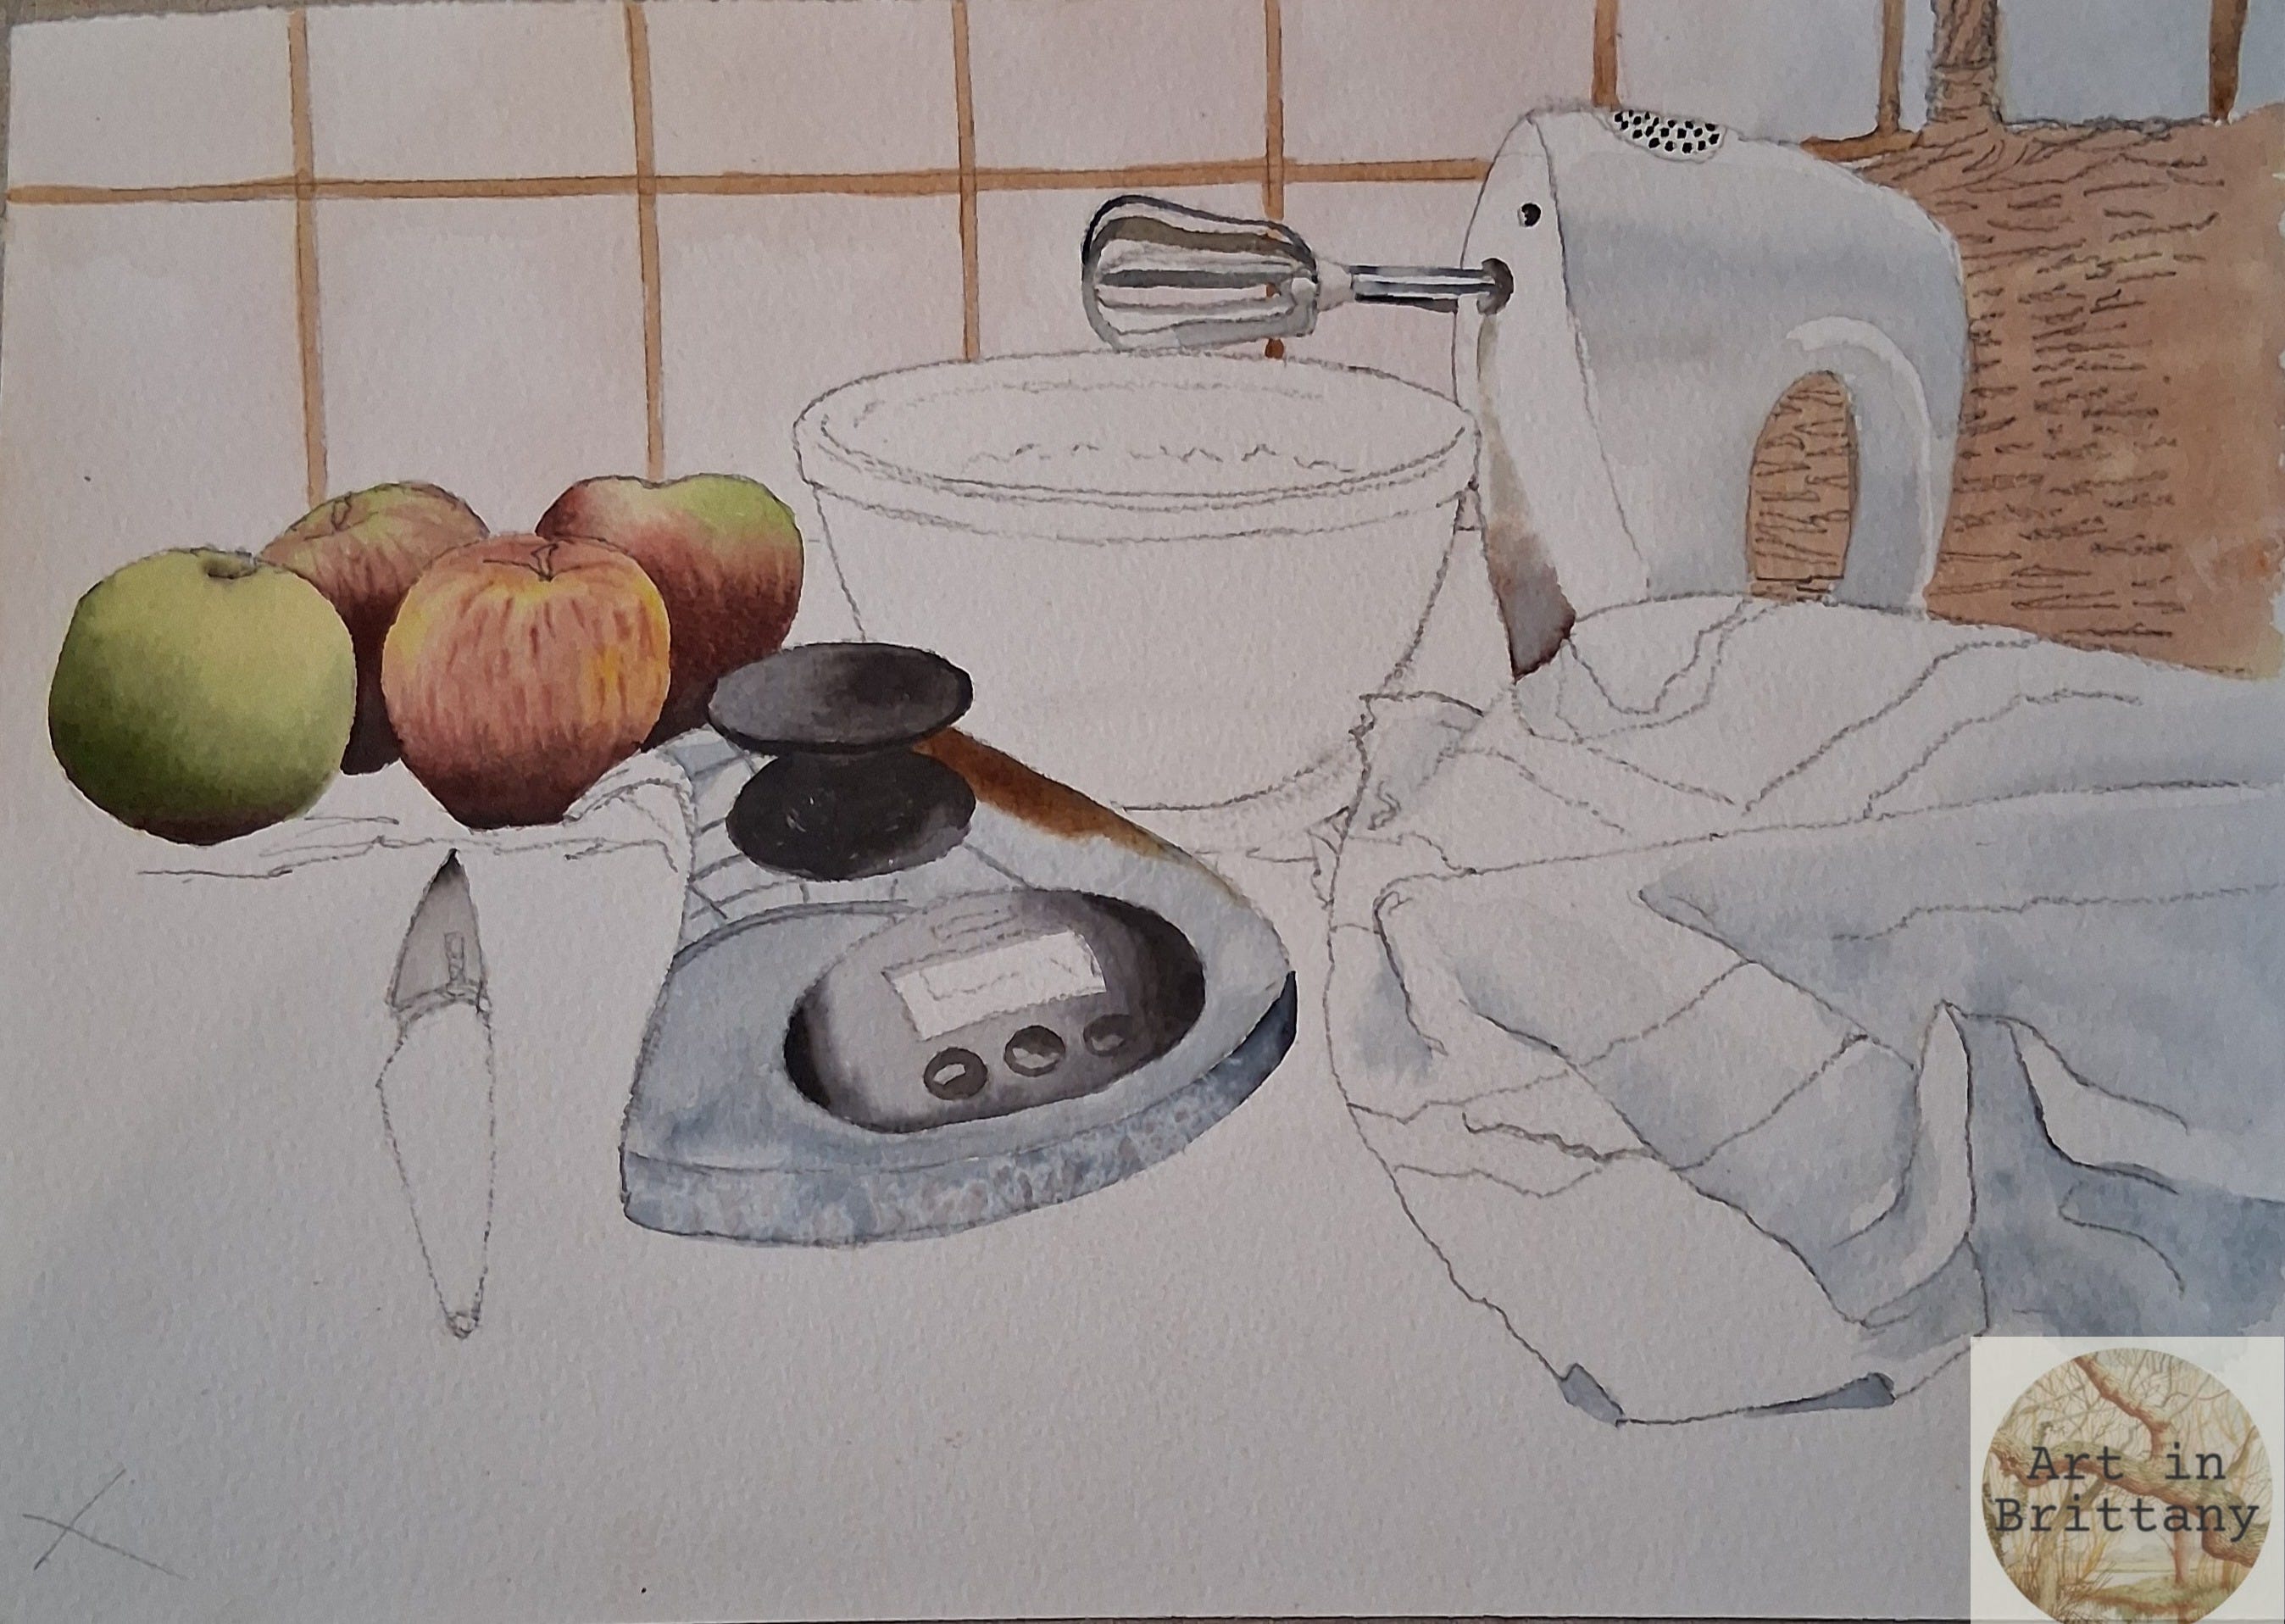
Step 4. The mixing bowl is next, built up with Yellow Ochre, Caput Mortem and Ostwald Grey. Pay attention to the shift in tonal values around the rim of the bowl. Apply colour to the stripes on the tea cloth, I’ve used French Ultramarine, notice how the colour changes in value following the fabric folds.
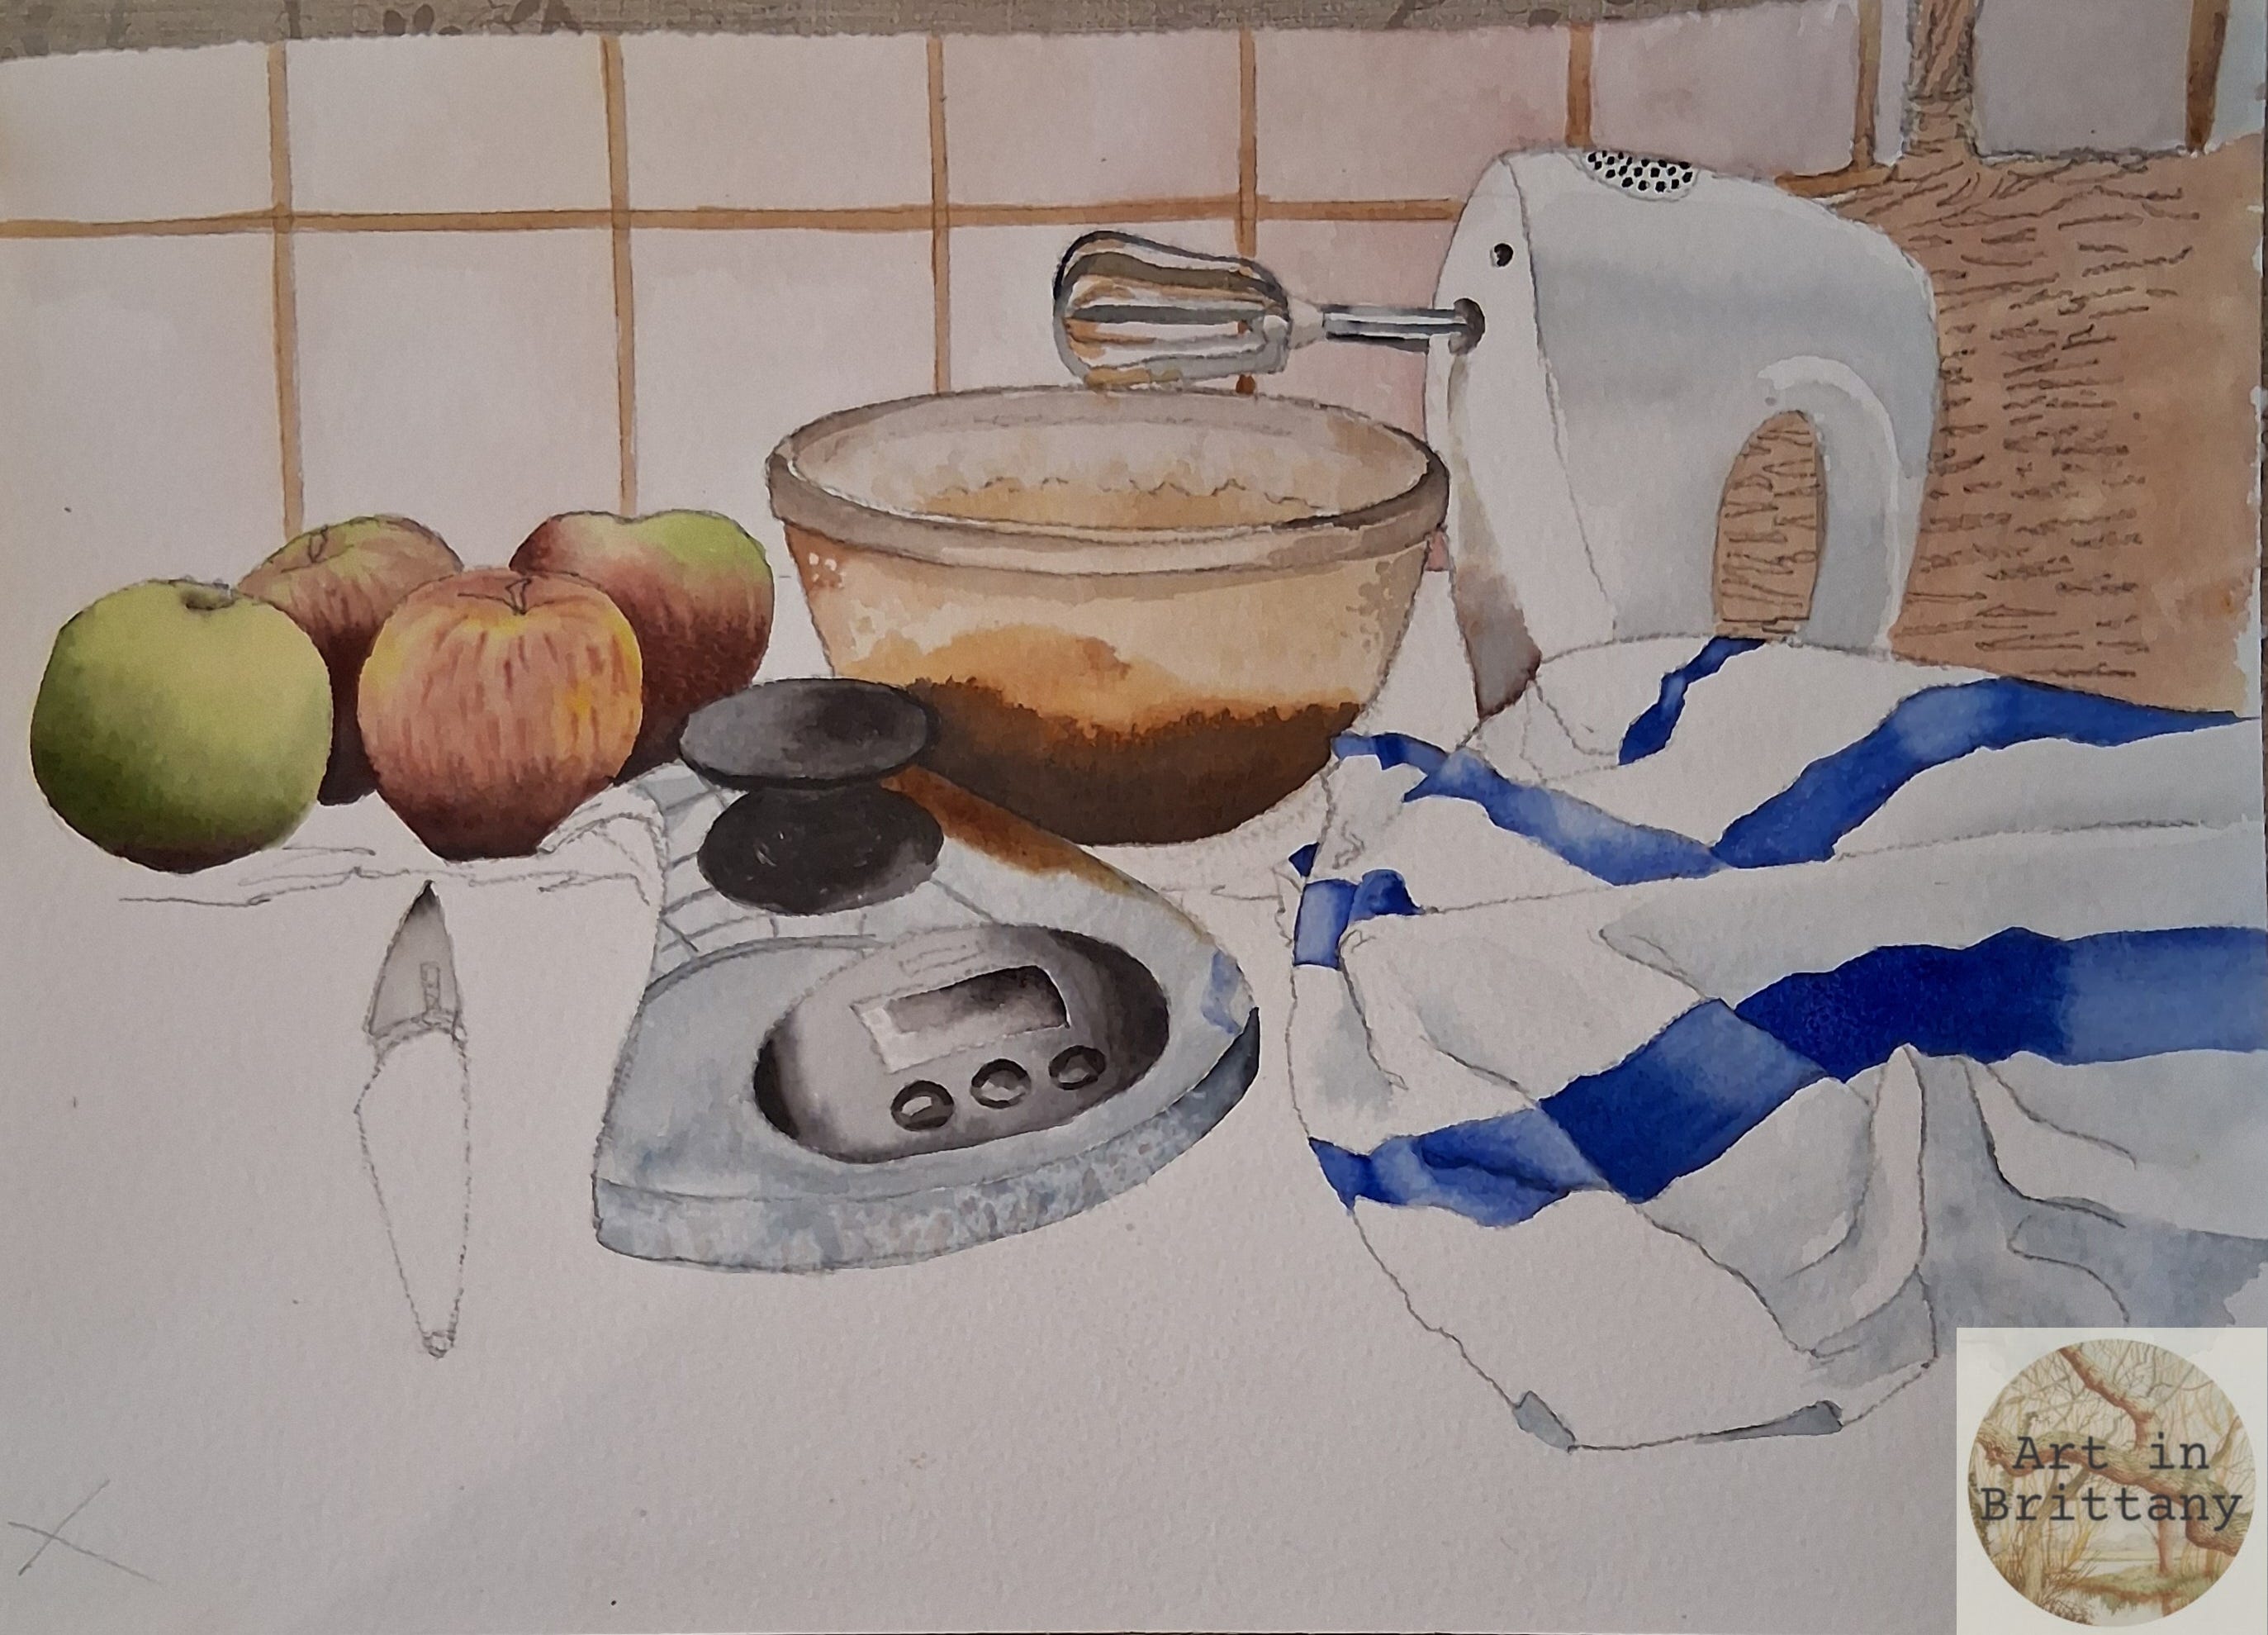
Step 5. The work surface! I have left this until almost last in order to achieve a soft edge to the strong shadows - this can only be achieved by adding the dark tones to a still damp surface. The process for the work surface is as follows -
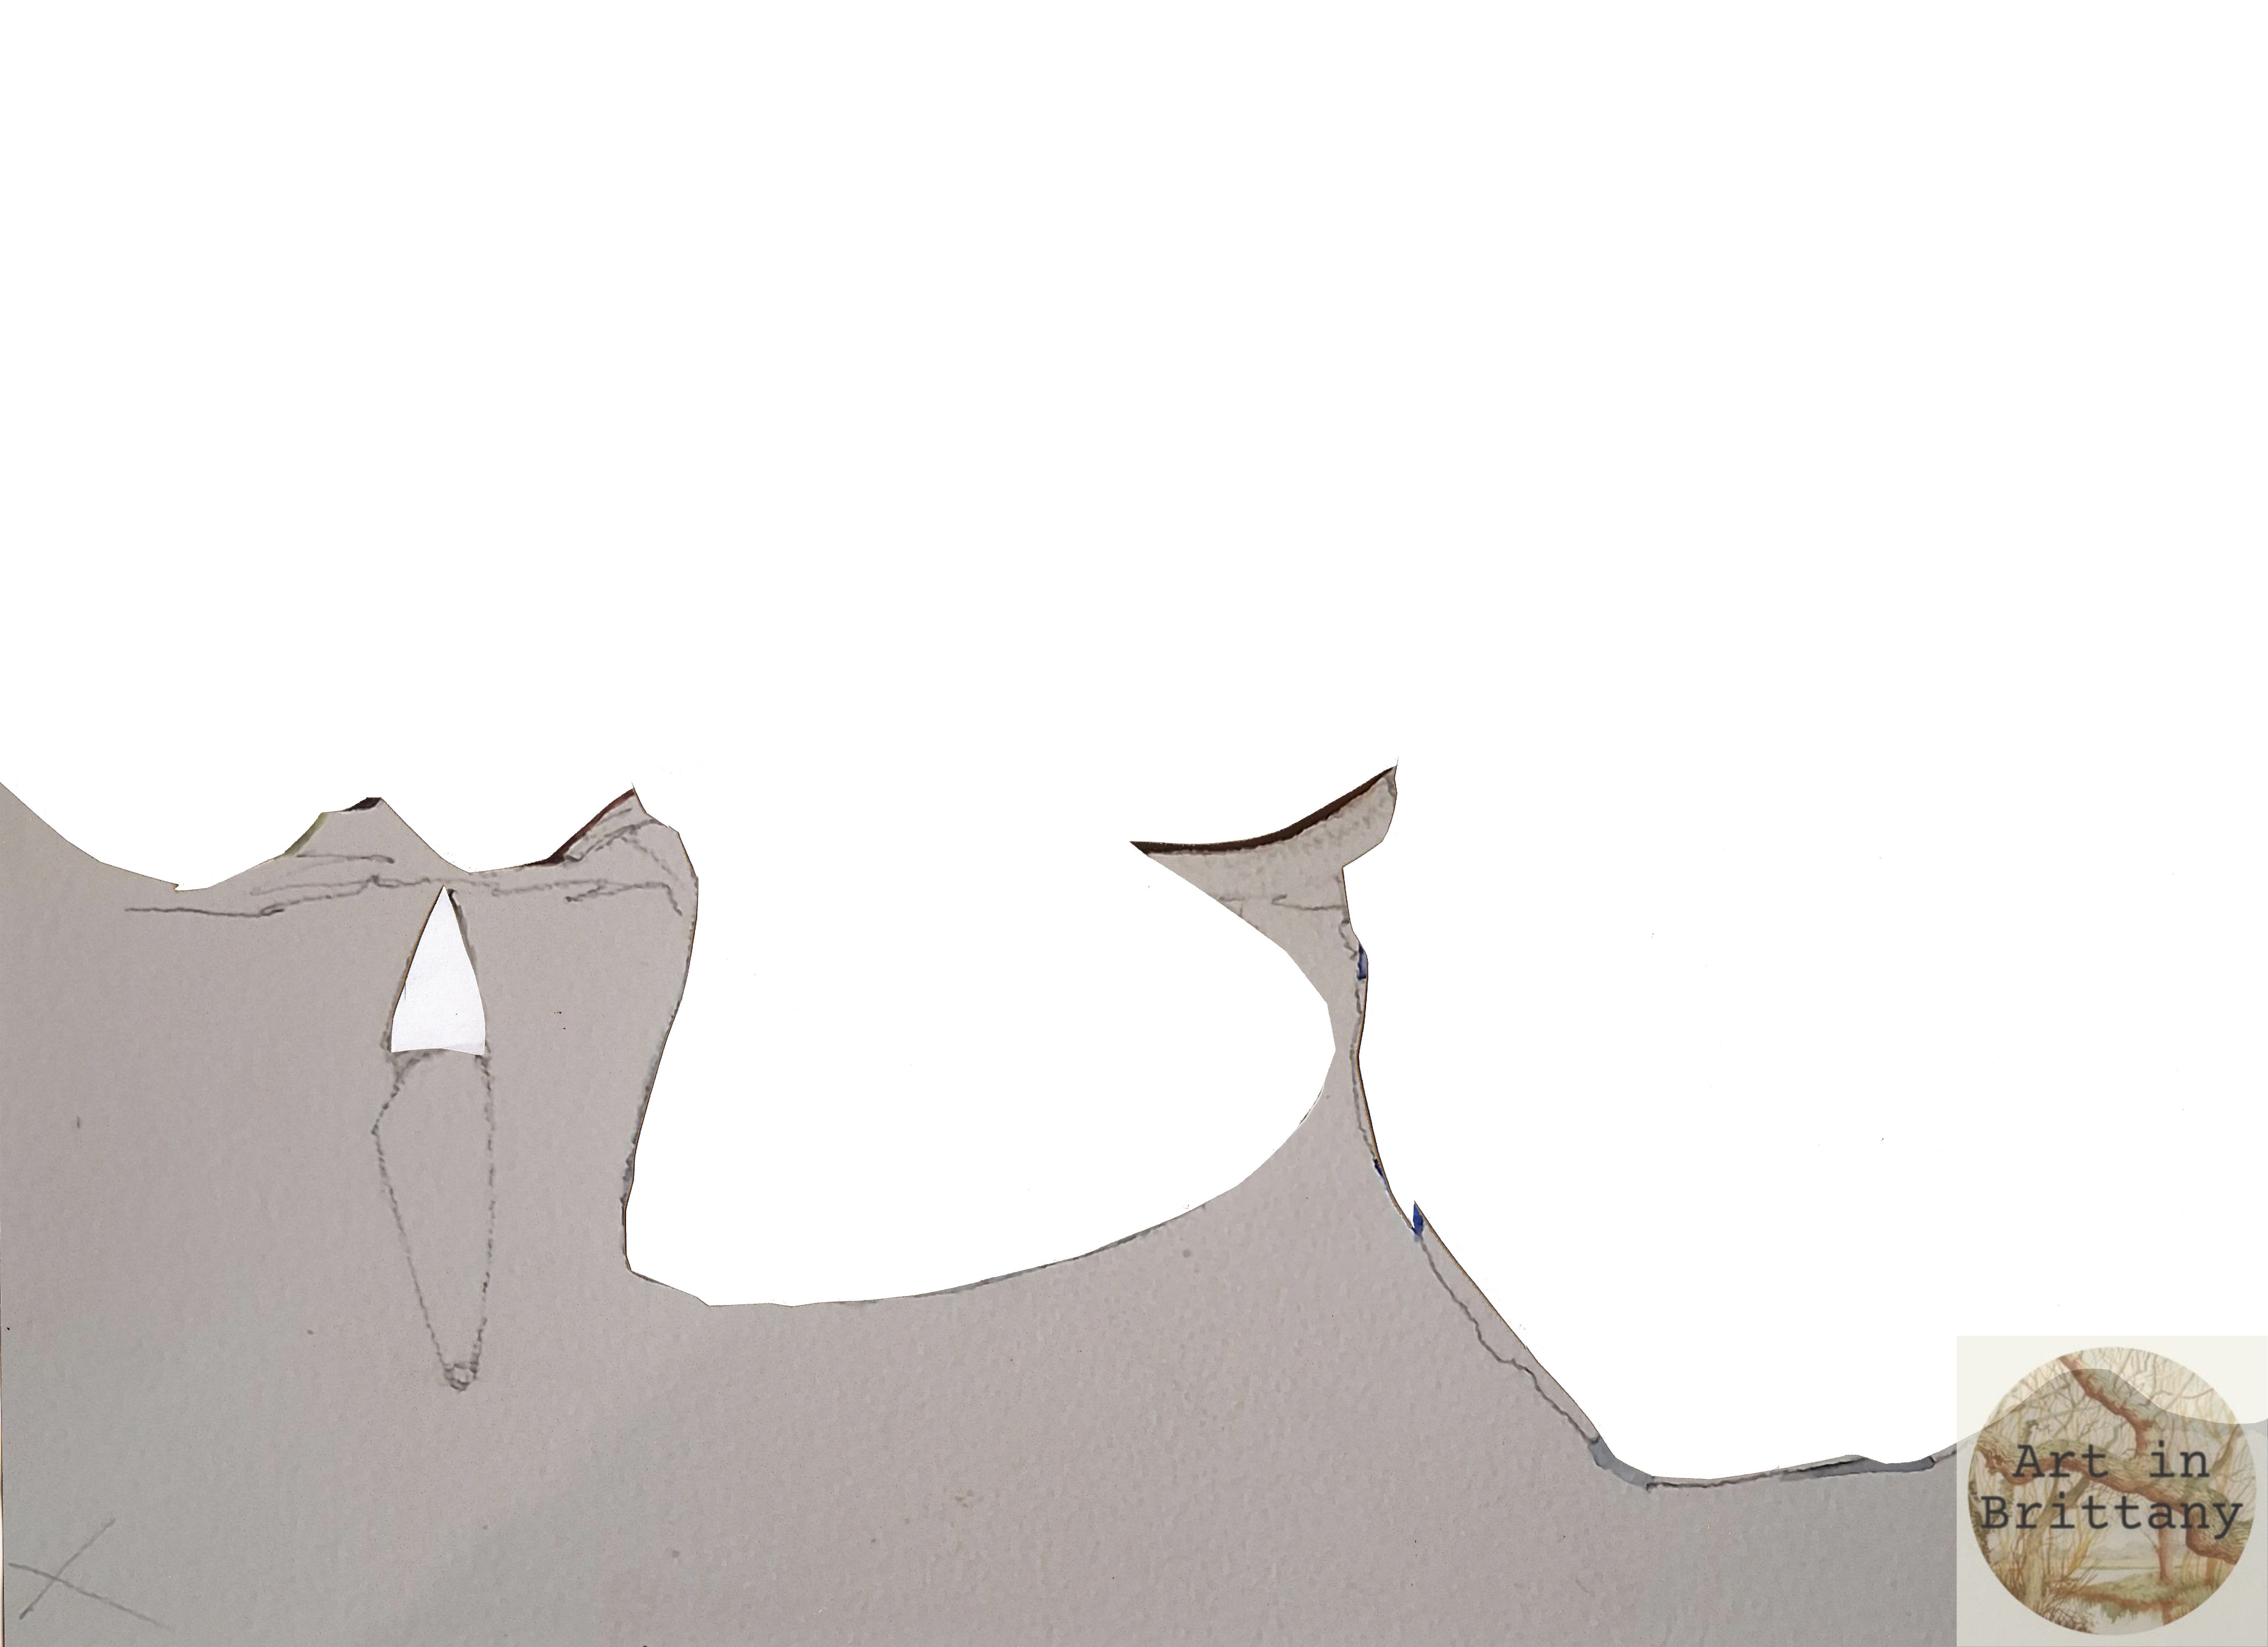
make a stencil. Use a light box or tape your work on a window so that you can trace around everything that is not work surface (it’s easier to omit the small areas at the back and paint them in later) - the knife handle is dark and will cover the painted work surface later.
Apply a wash of Raw Umber to the main work surface. Lay the stencil over the areas to be protected - including the knife blade. Use tiny pieces of Blu-tac to hold in place if necessary.
Working quickly, spatter several colours onto the still wet wash so that they soften into each other.
while the surface is still slightly damp, remove the stencil and add the deep shadows. Carefully paint around the objects, (the dry areas allow you to make a crisp edge), allow the shadow color , Caput Mortem and Payne’s Grey, to bleed into the wet work surface, guiding the colour to follow the shadow shapes - don’t forget the shadows around the knife. Fill in the small area of work surface at the back of the image and paint the knife handle.
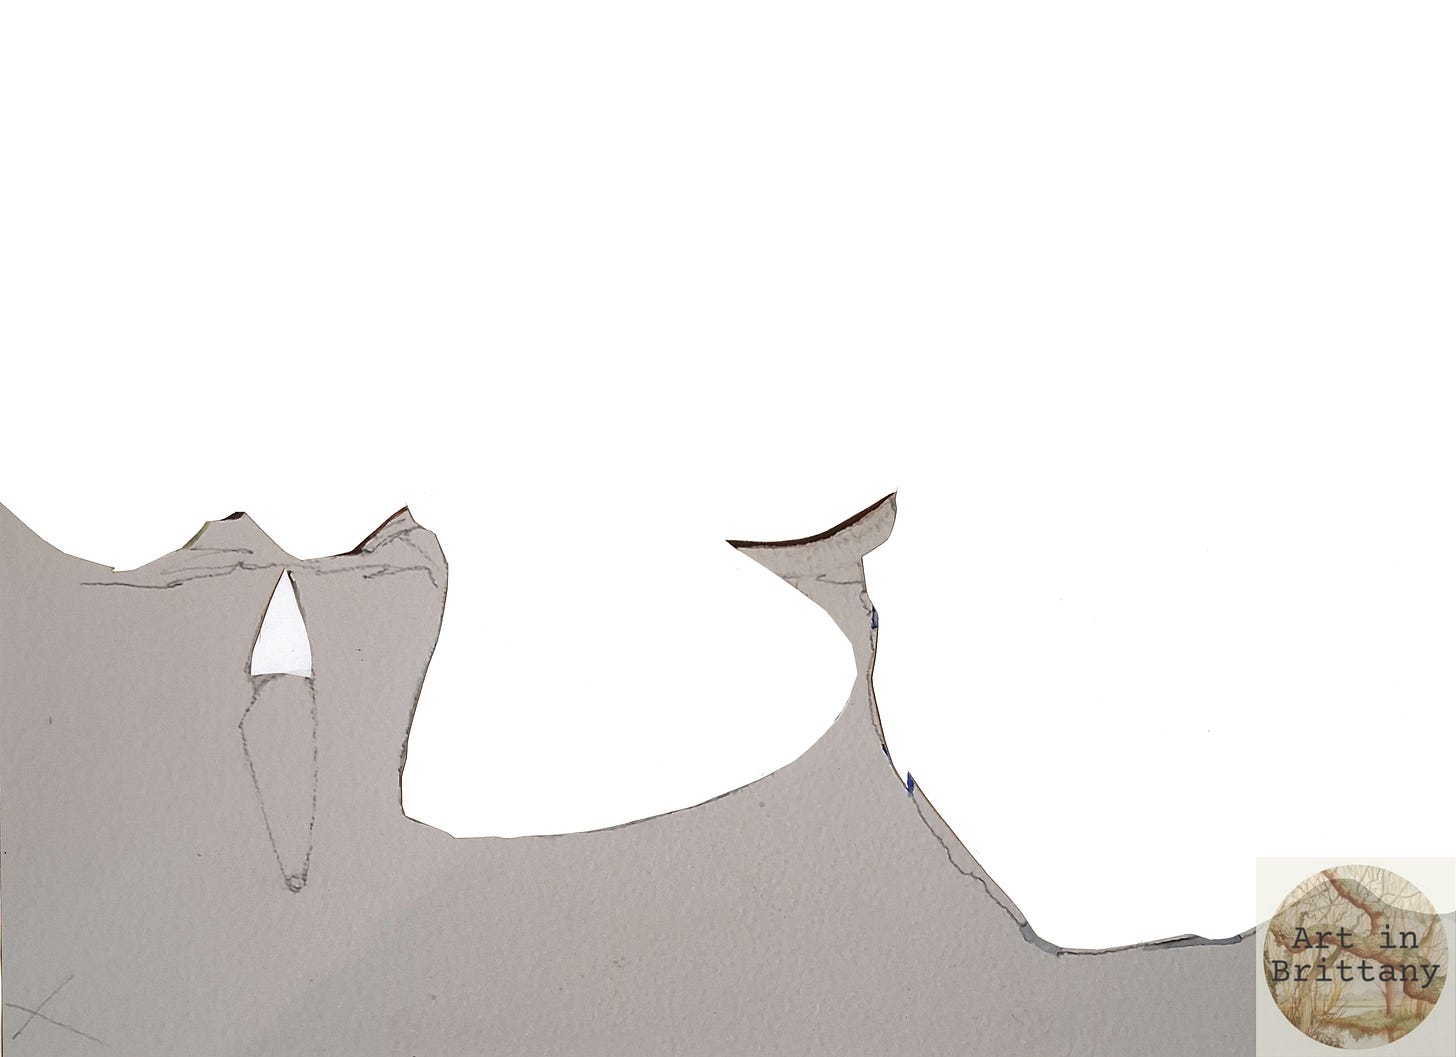
© Elizabeth Tomkins, Windfalls, 2025. Finally add apple stalks and fine details to the knife and scale. Use a little white gouache to add highlights. Allow to dry completely before erasing pencil marks.