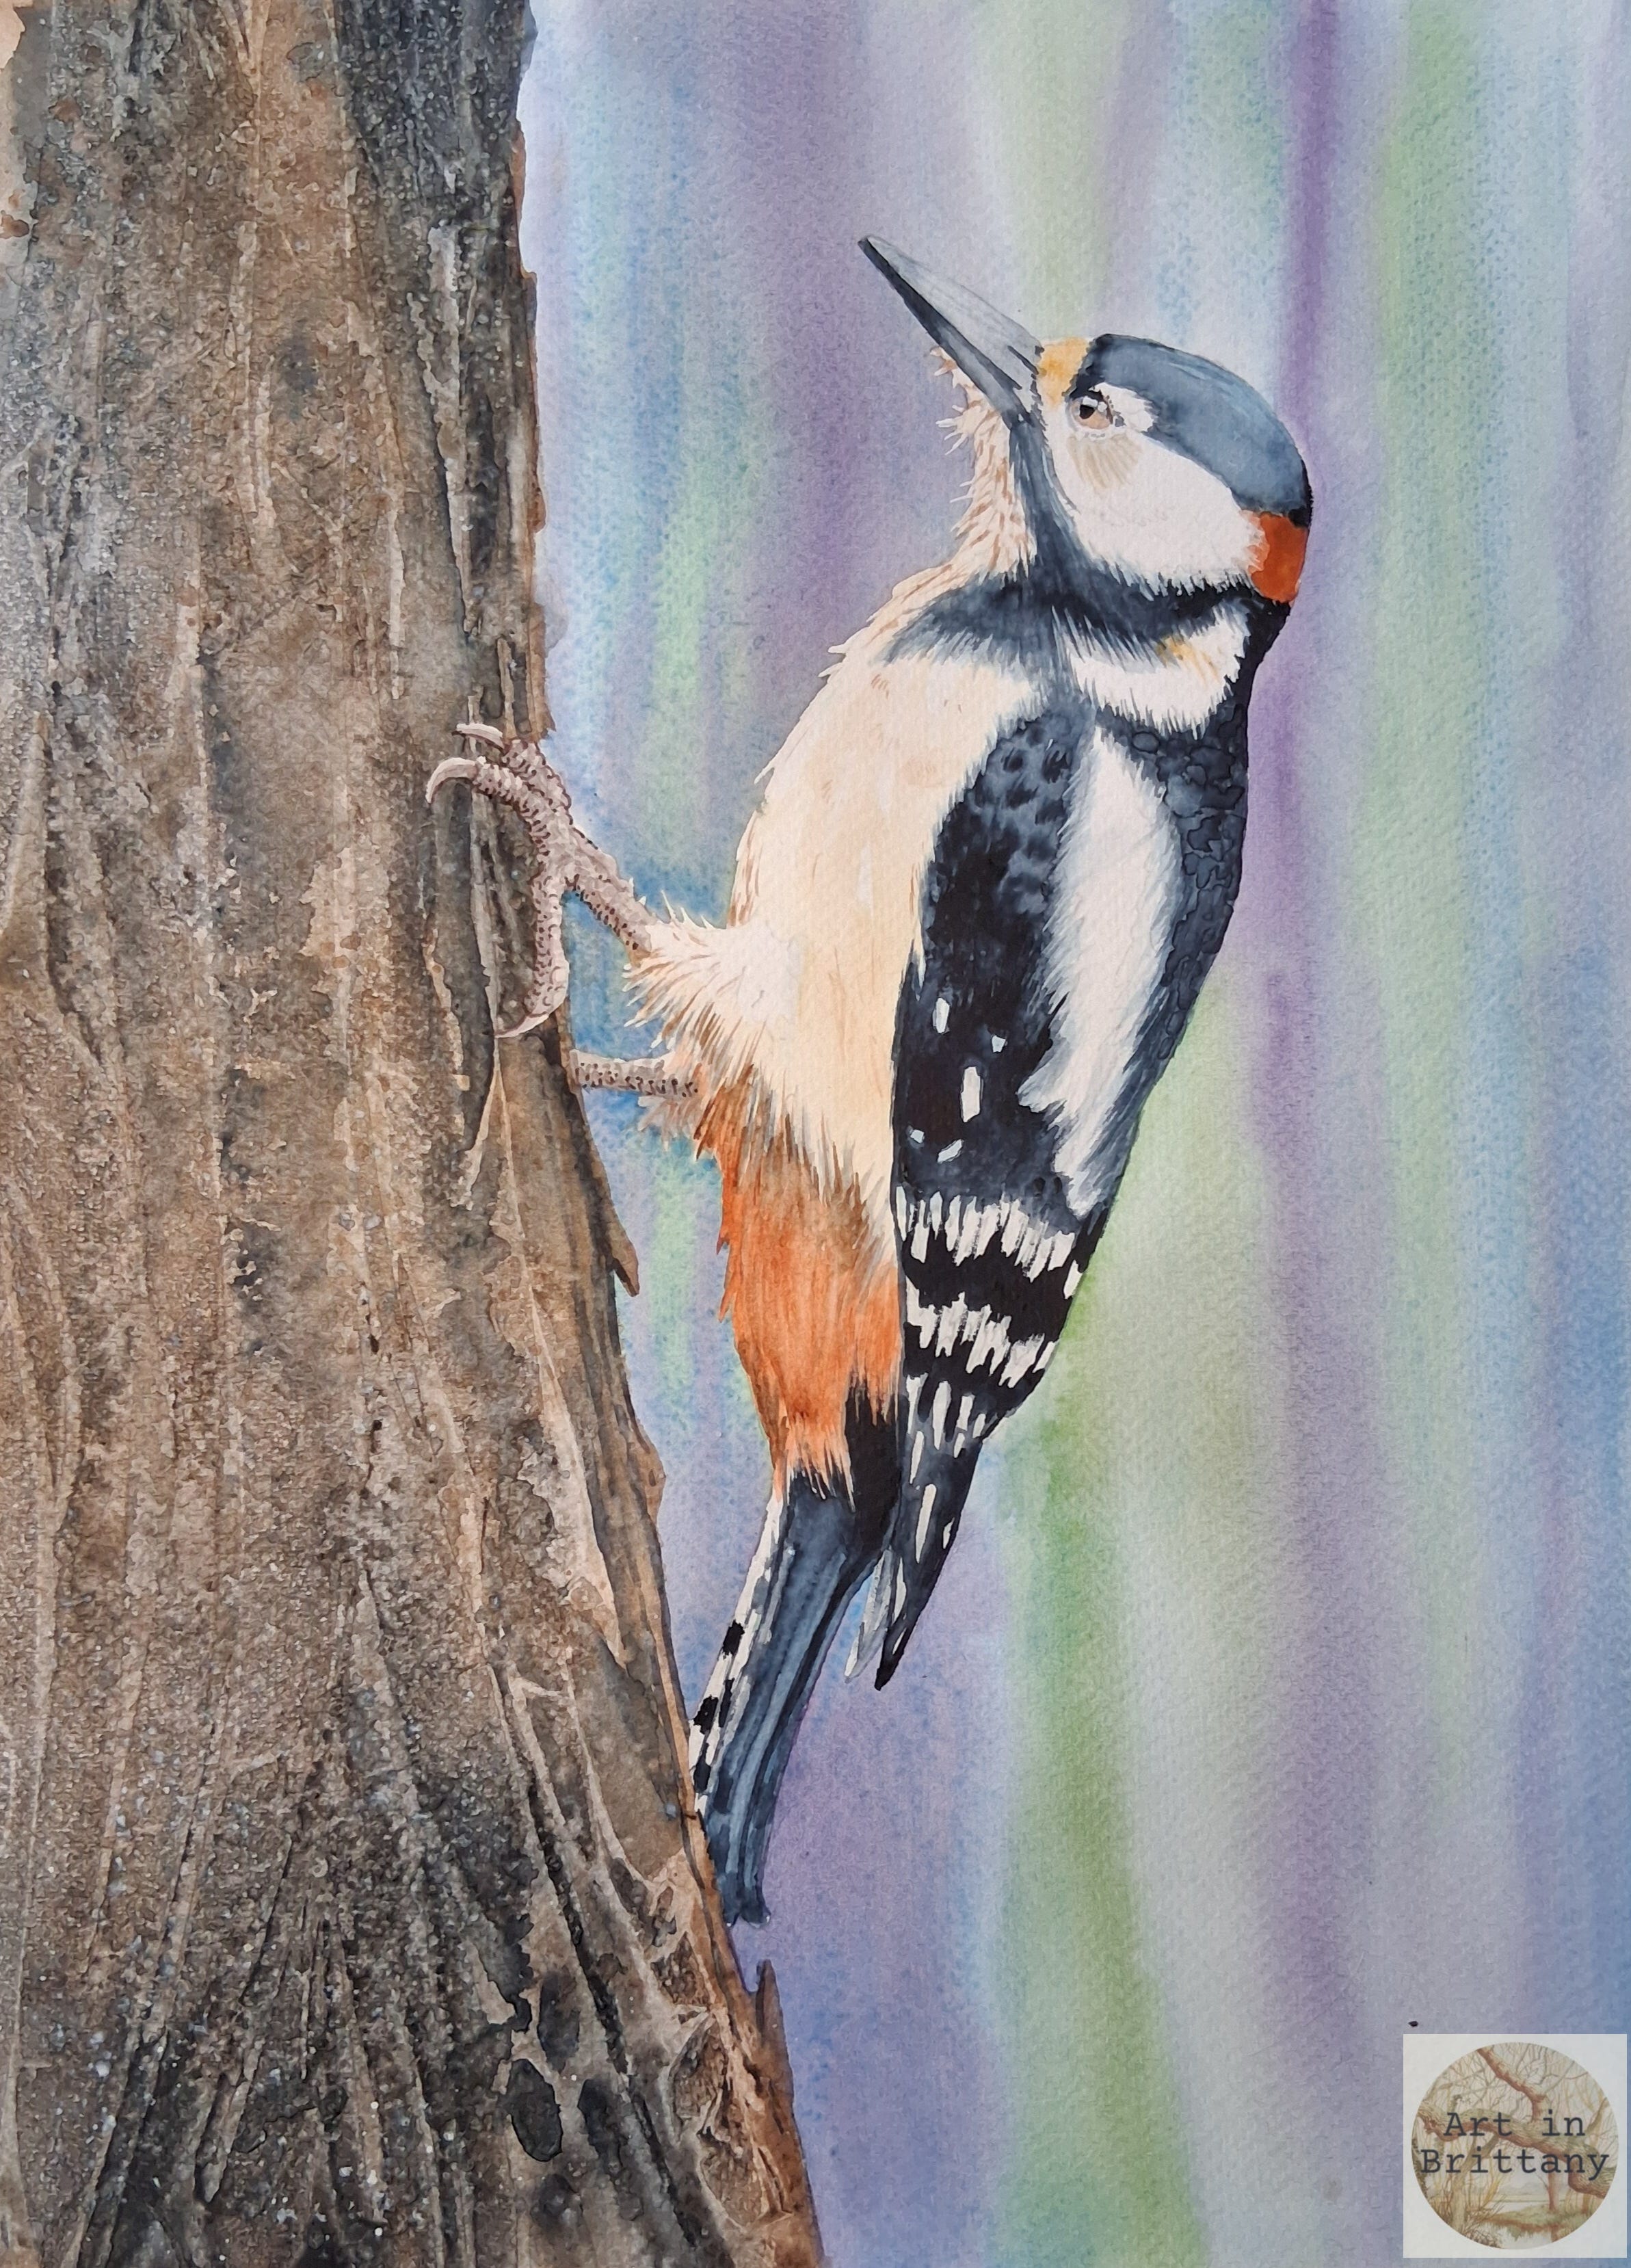

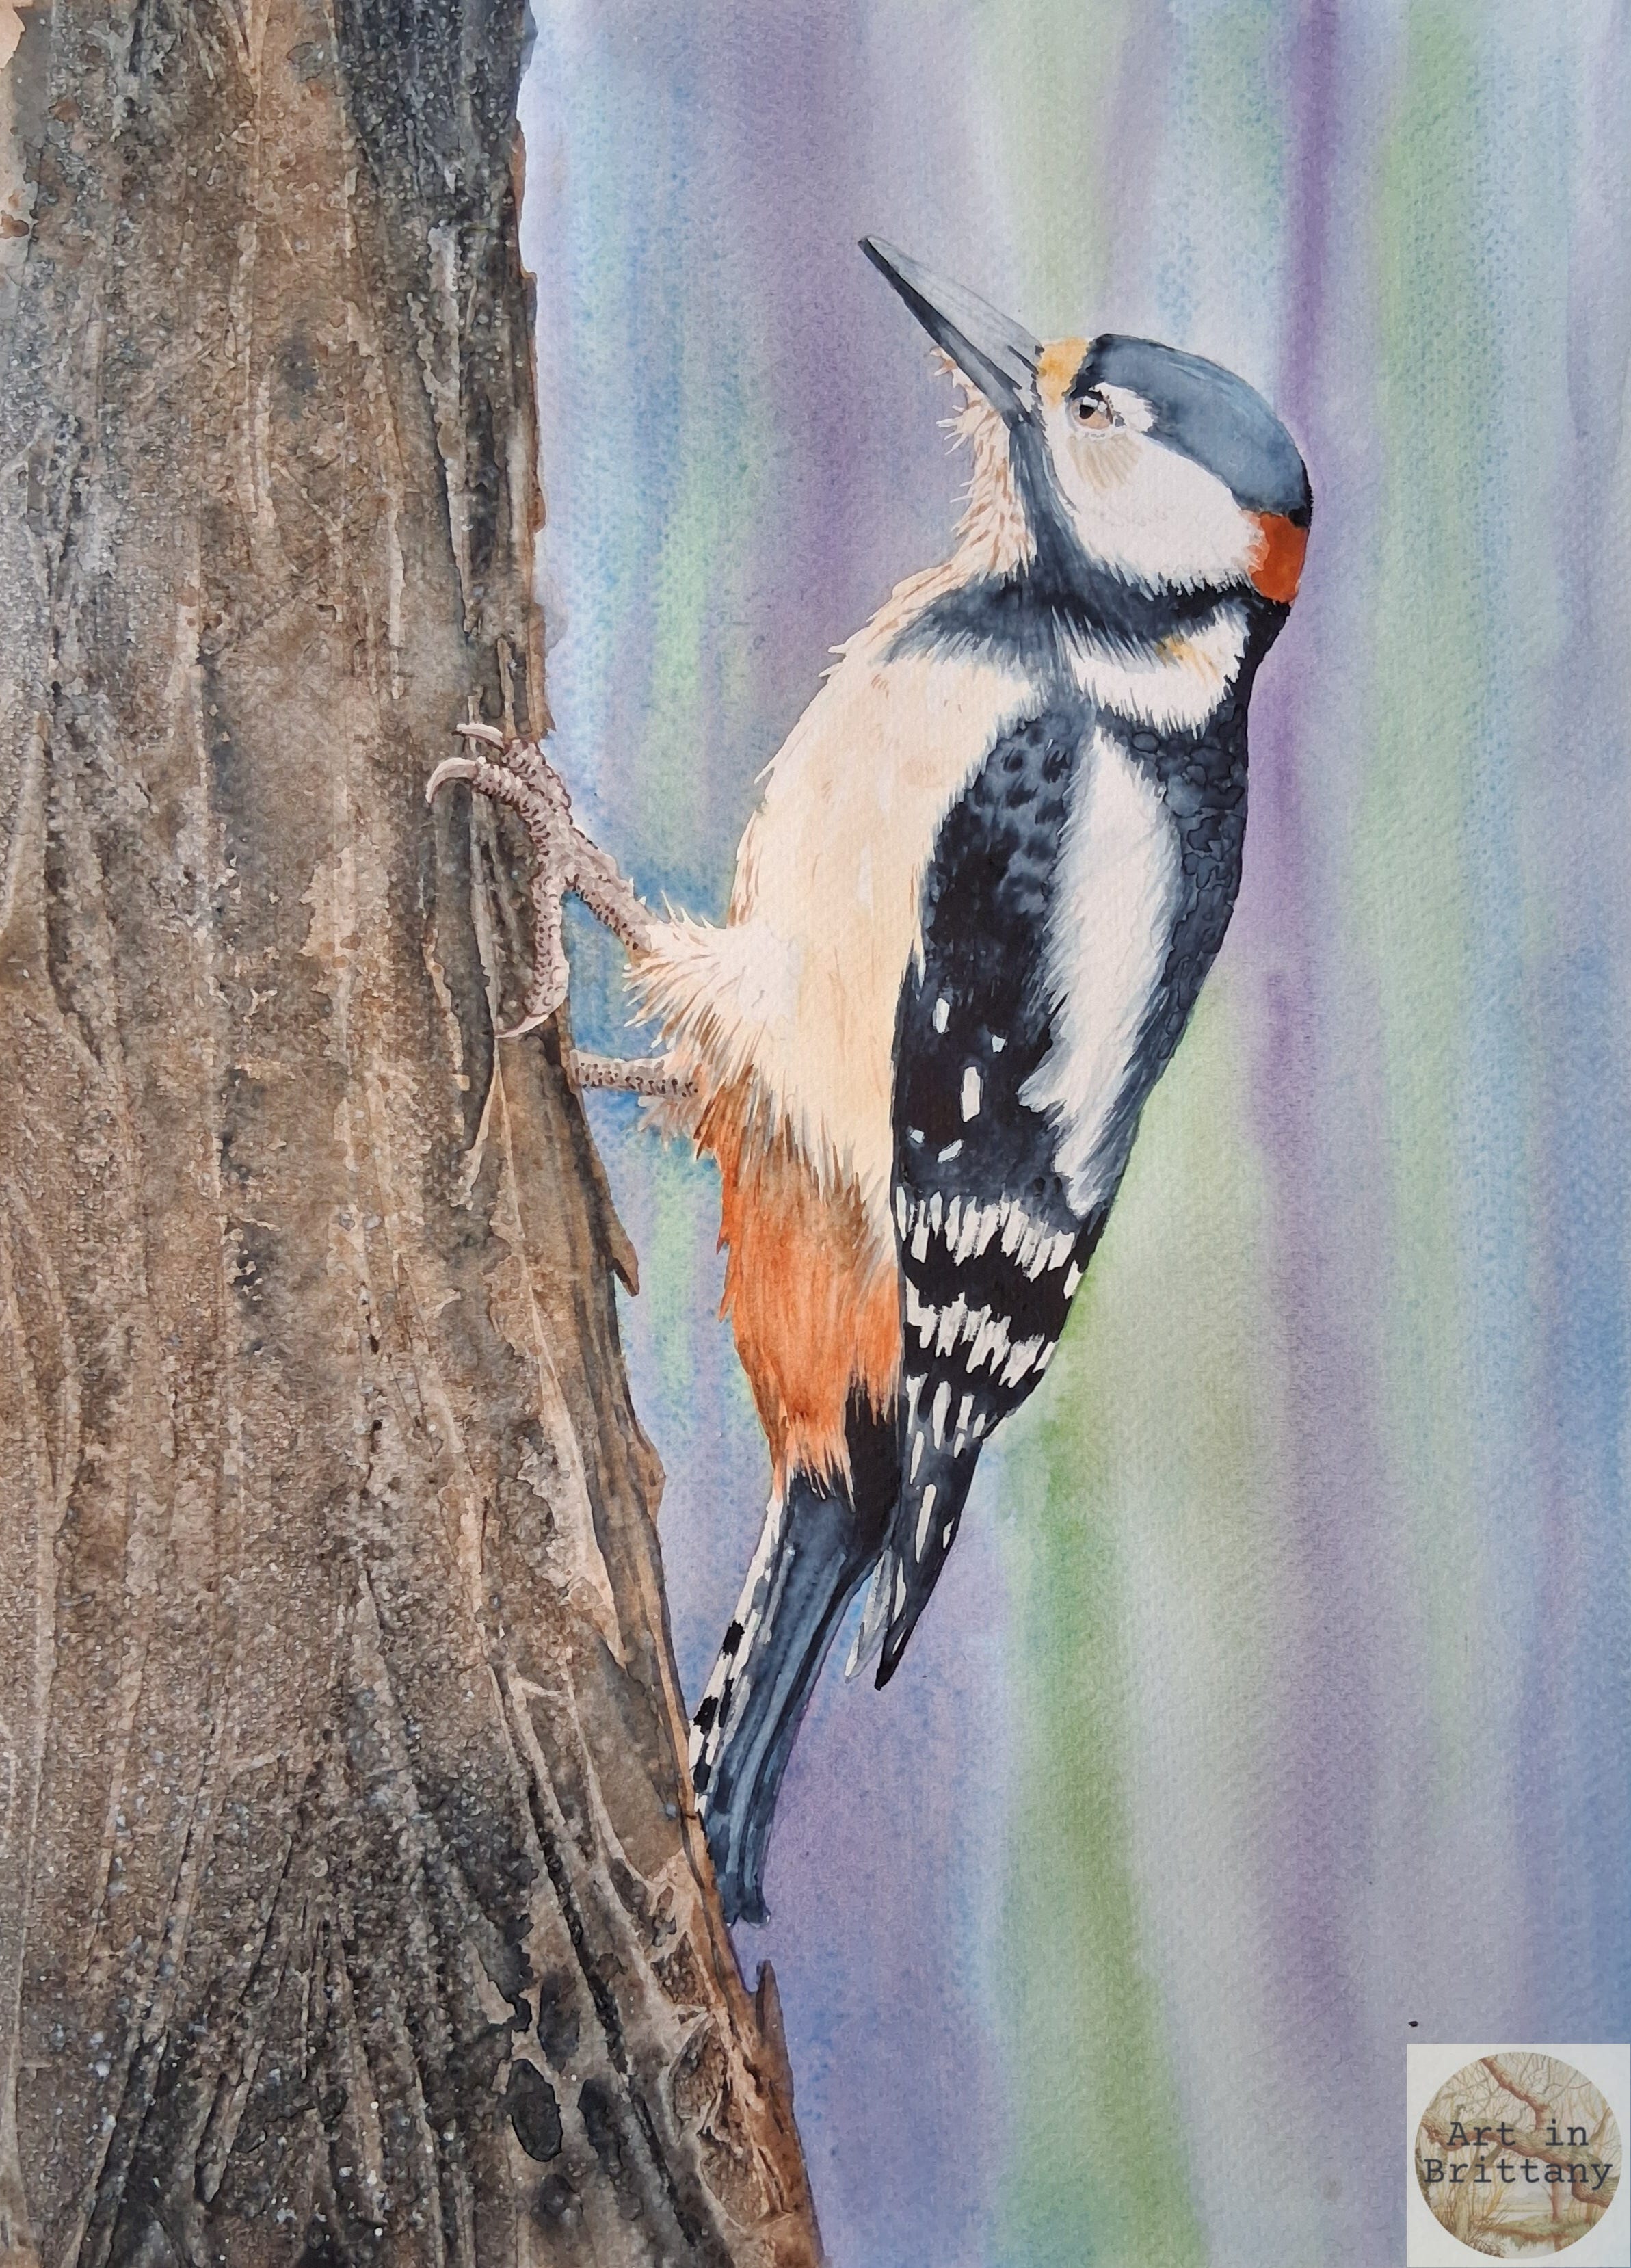
High in the tall trees around my vegetable garden a woodpecker can be heard, searching for grubs and drilling into the old wood with a sound like a ruler in a desk. Occasionally we see him flitting between trees, he is a fine fellow, definitely worthy of a painting. There’s something wonderfully rhythmic about his presence, as if he keeps time for the whole garden – and like Professor Yaffle from Bagpuss, he’s the MC presiding over it all. He brings a flash of movement and colour to the quiet green canopy, and it’s that lively contrast — stillness and sudden energy — that makes him such an inspiring subject for watercolour. Capturing his character is as much about atmosphere as anatomy, and that’s exactly what we’ll explore in this tutorial.
The Project
For this tutorial I’ve used masking fluid to protect edges so I can work more freely on the background. There is a little wet-in-wet, texture effects and a lot of fine detail.
Materials I used -
Fabriano Acid free NOT surface 280gsm (130lb) watercolour paper 25 x 35 cms
Winsor & Newton pigments - Cerulean Blue, Yellow Ochre, Light Red, Winsor Blue, Winsor Violet, Sap Green, Payne’s Grey, and Zinc White Gouache.
Winsor & Newton - Masking Fluid.
Rosemary’s Brushes - Golden Synthetic No 8 round, Short Flat Shader, fine liner/rigger.
Loxley – ruling pen.
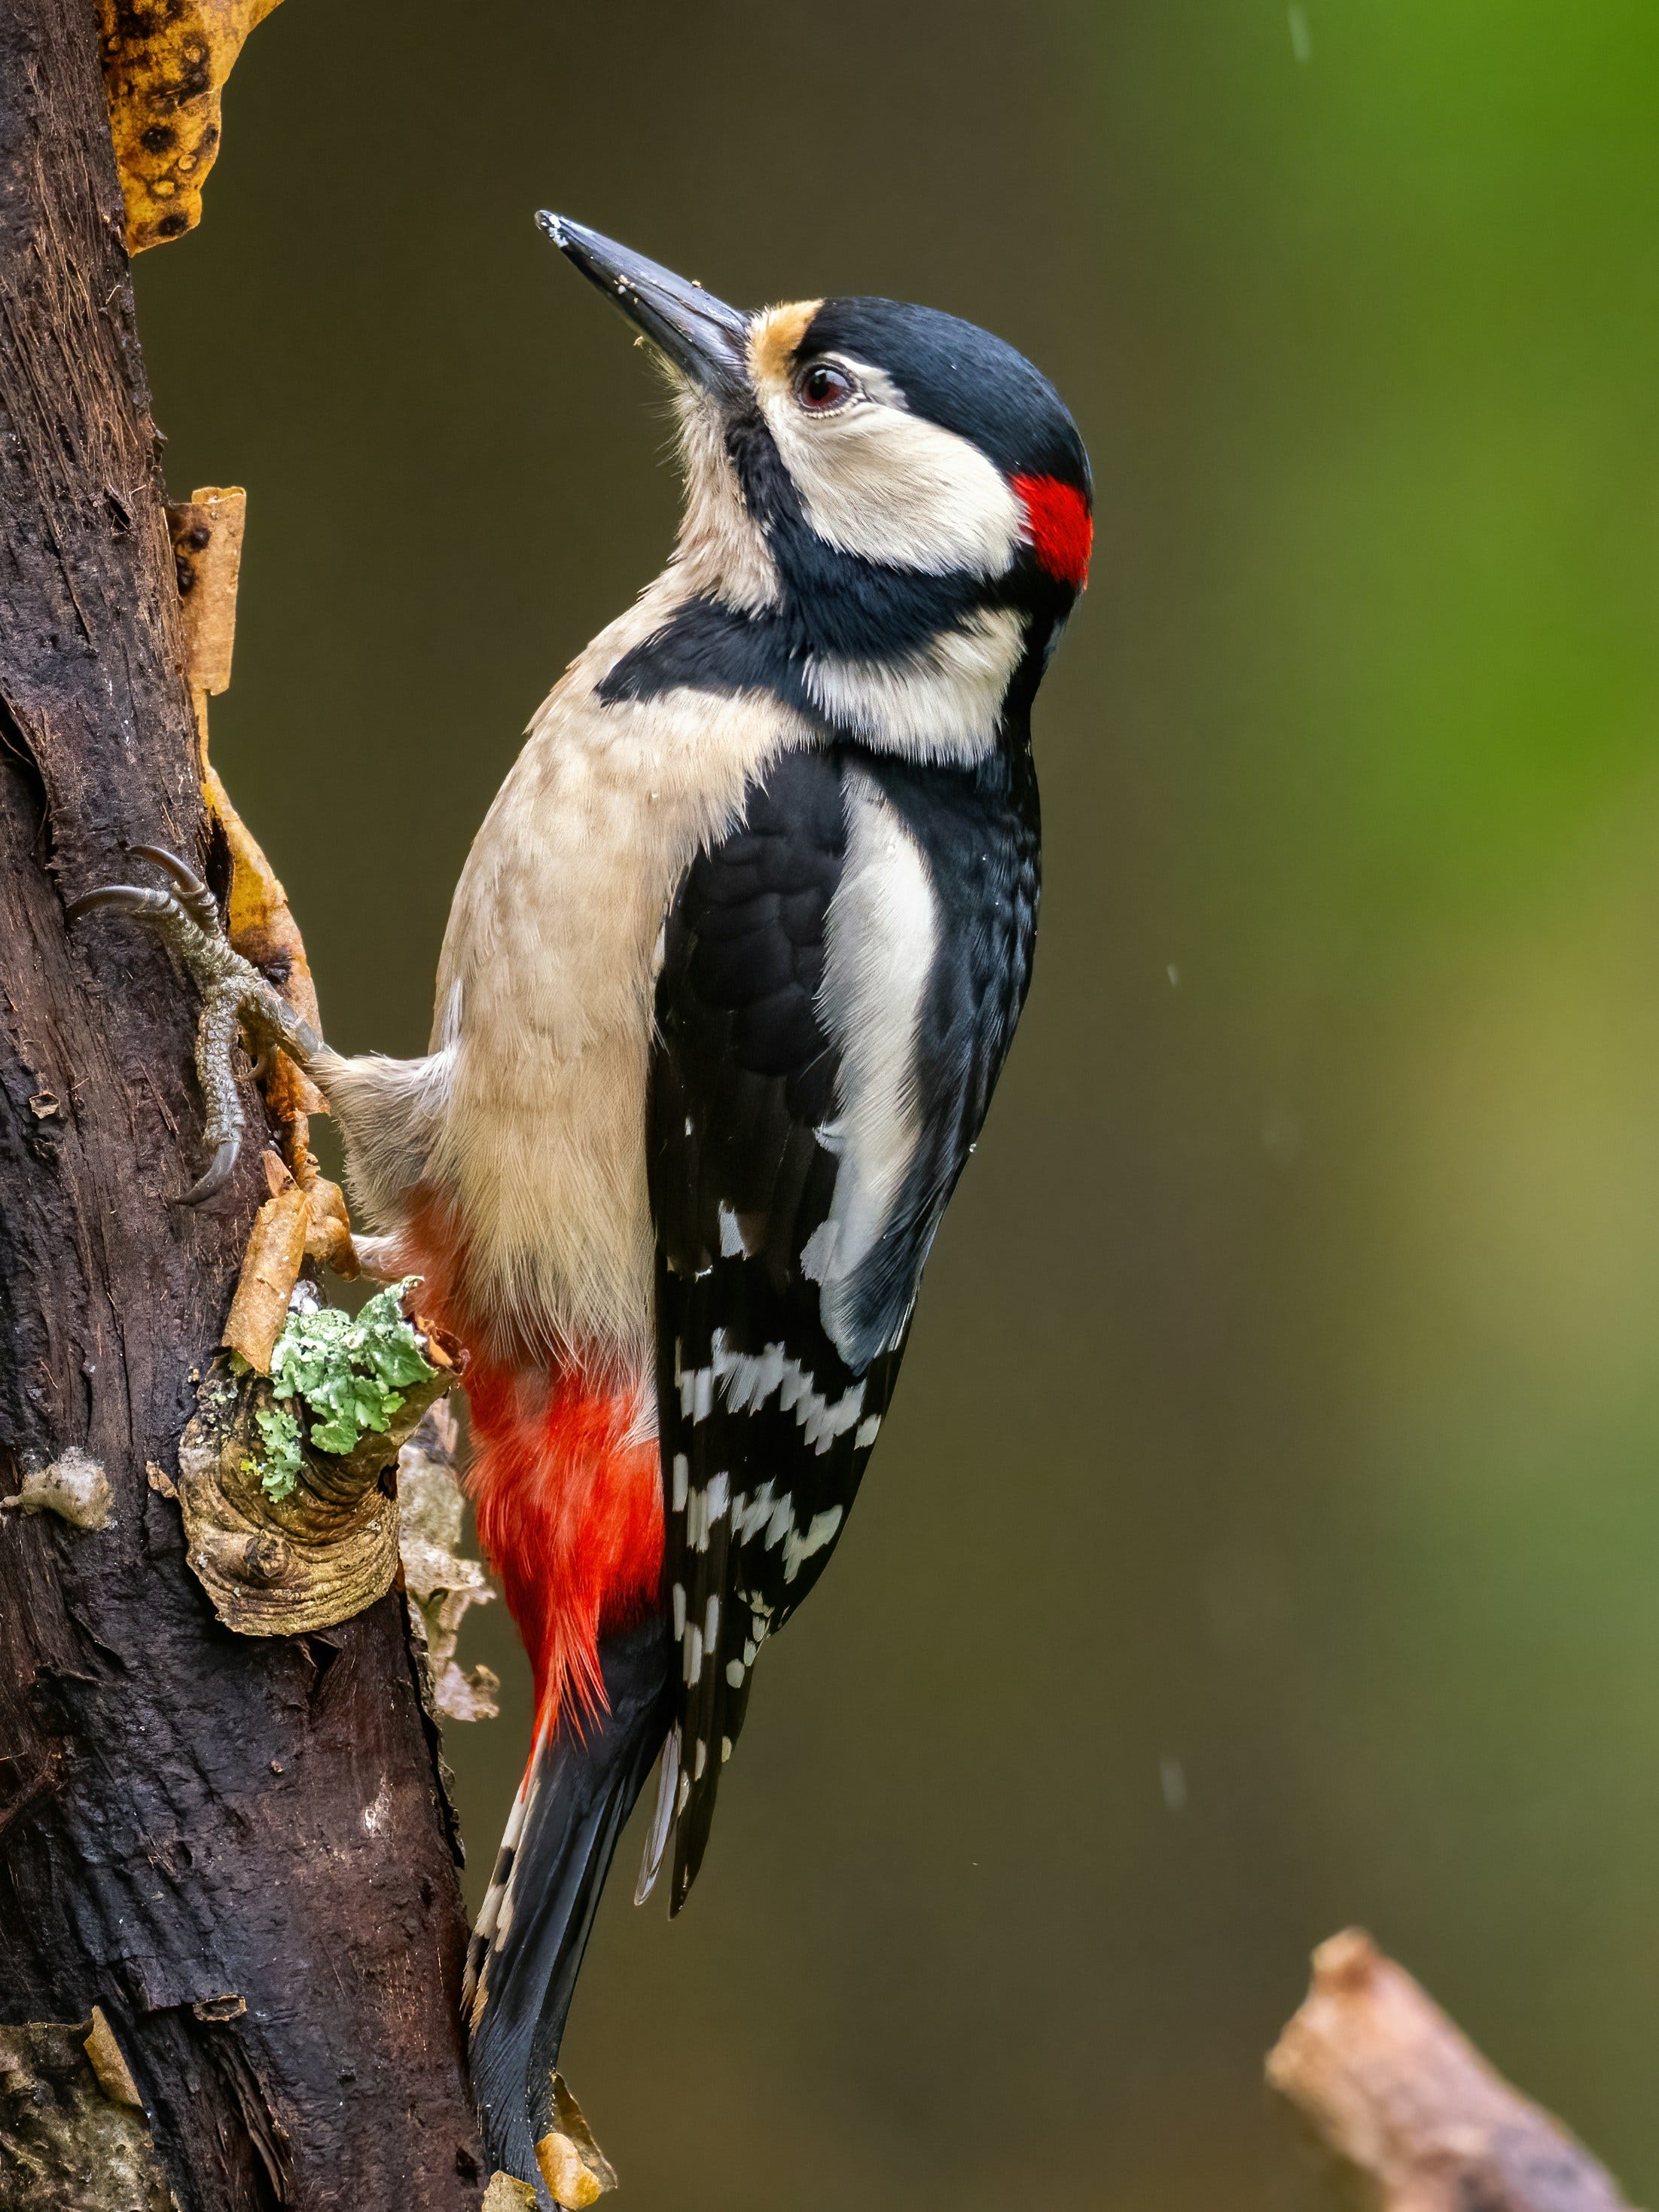
Step 1. Sketch out the image, editing out any unnecessary detail.
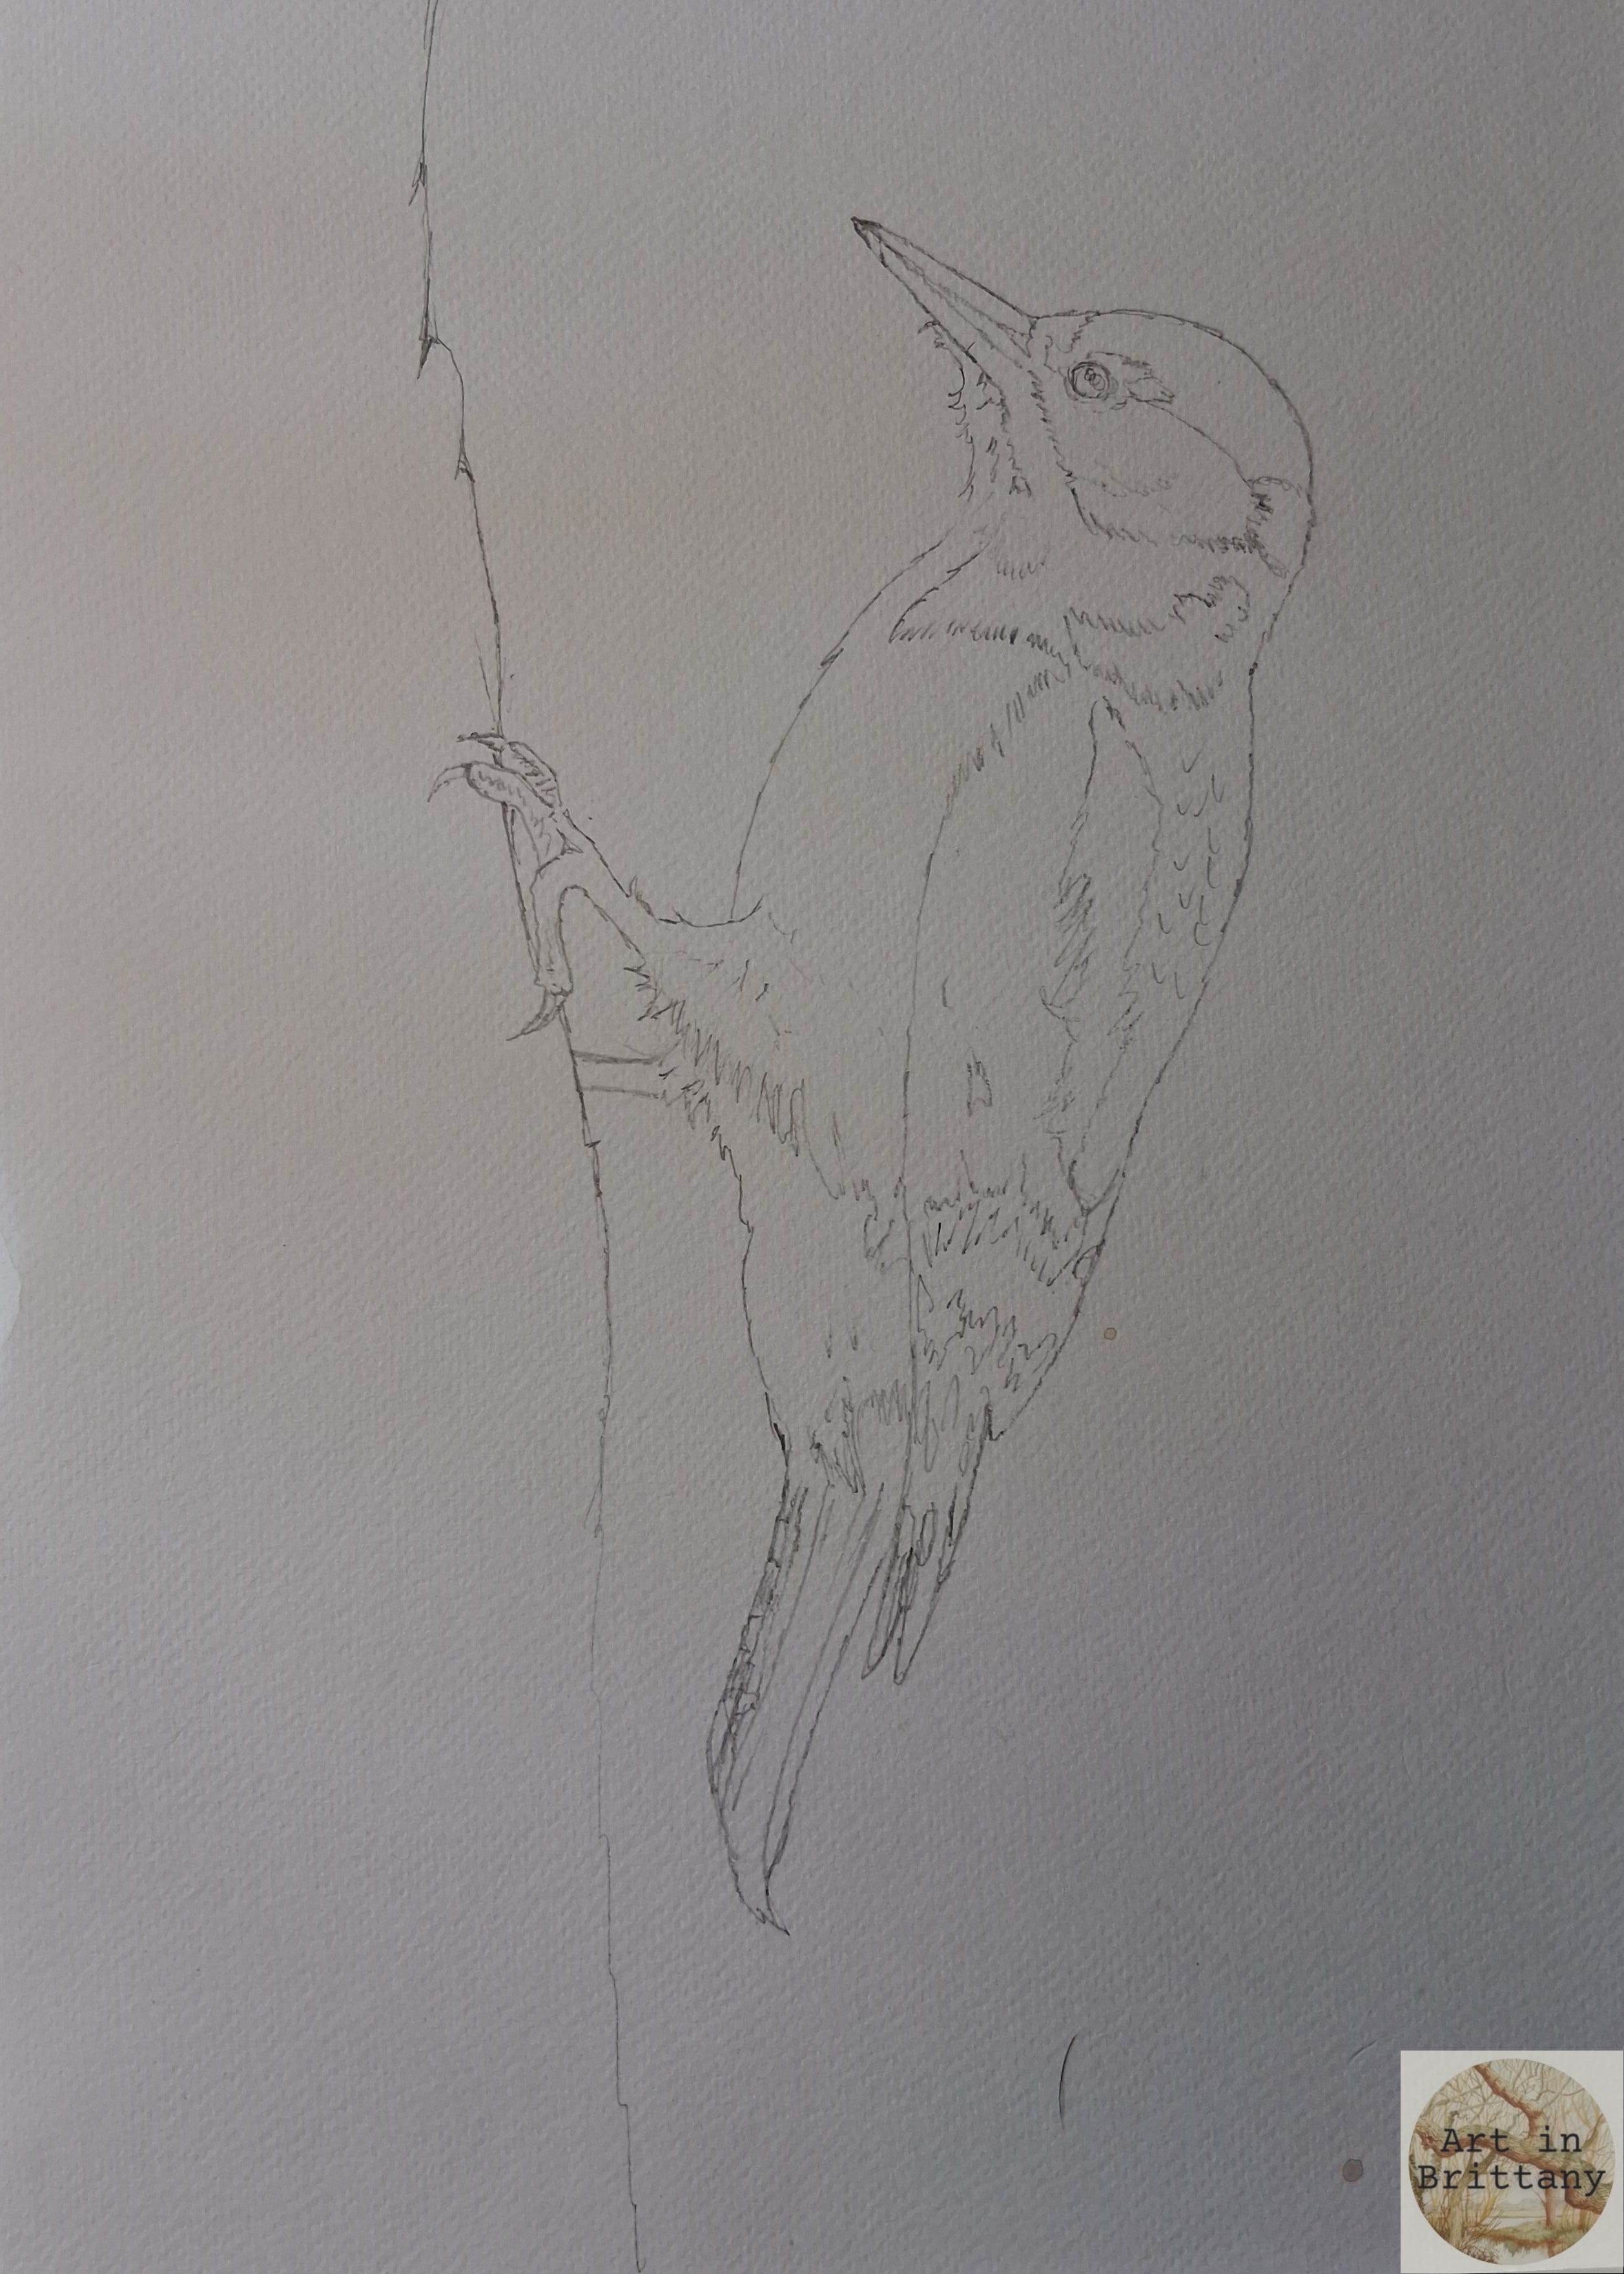
Step 2. Apply masking fluid to the entire edge of the bird including his feet – pay special attention to the white edges. This process is to protect the bird from background colour and preserve fine white areas like the feathers around the feet and on the breast. I’ve applied the masking fluid with a ruling pen but you could use a cocktail stick or similar. Make sure it is completely dry before proceeding – and always apply to a dry surface.
Top Tip – Decant a little masking fluid from the bottle into a small container (an old bottle top is ideal) and replace the lid – you can then use the small reservoir without drying out the whole bottle.
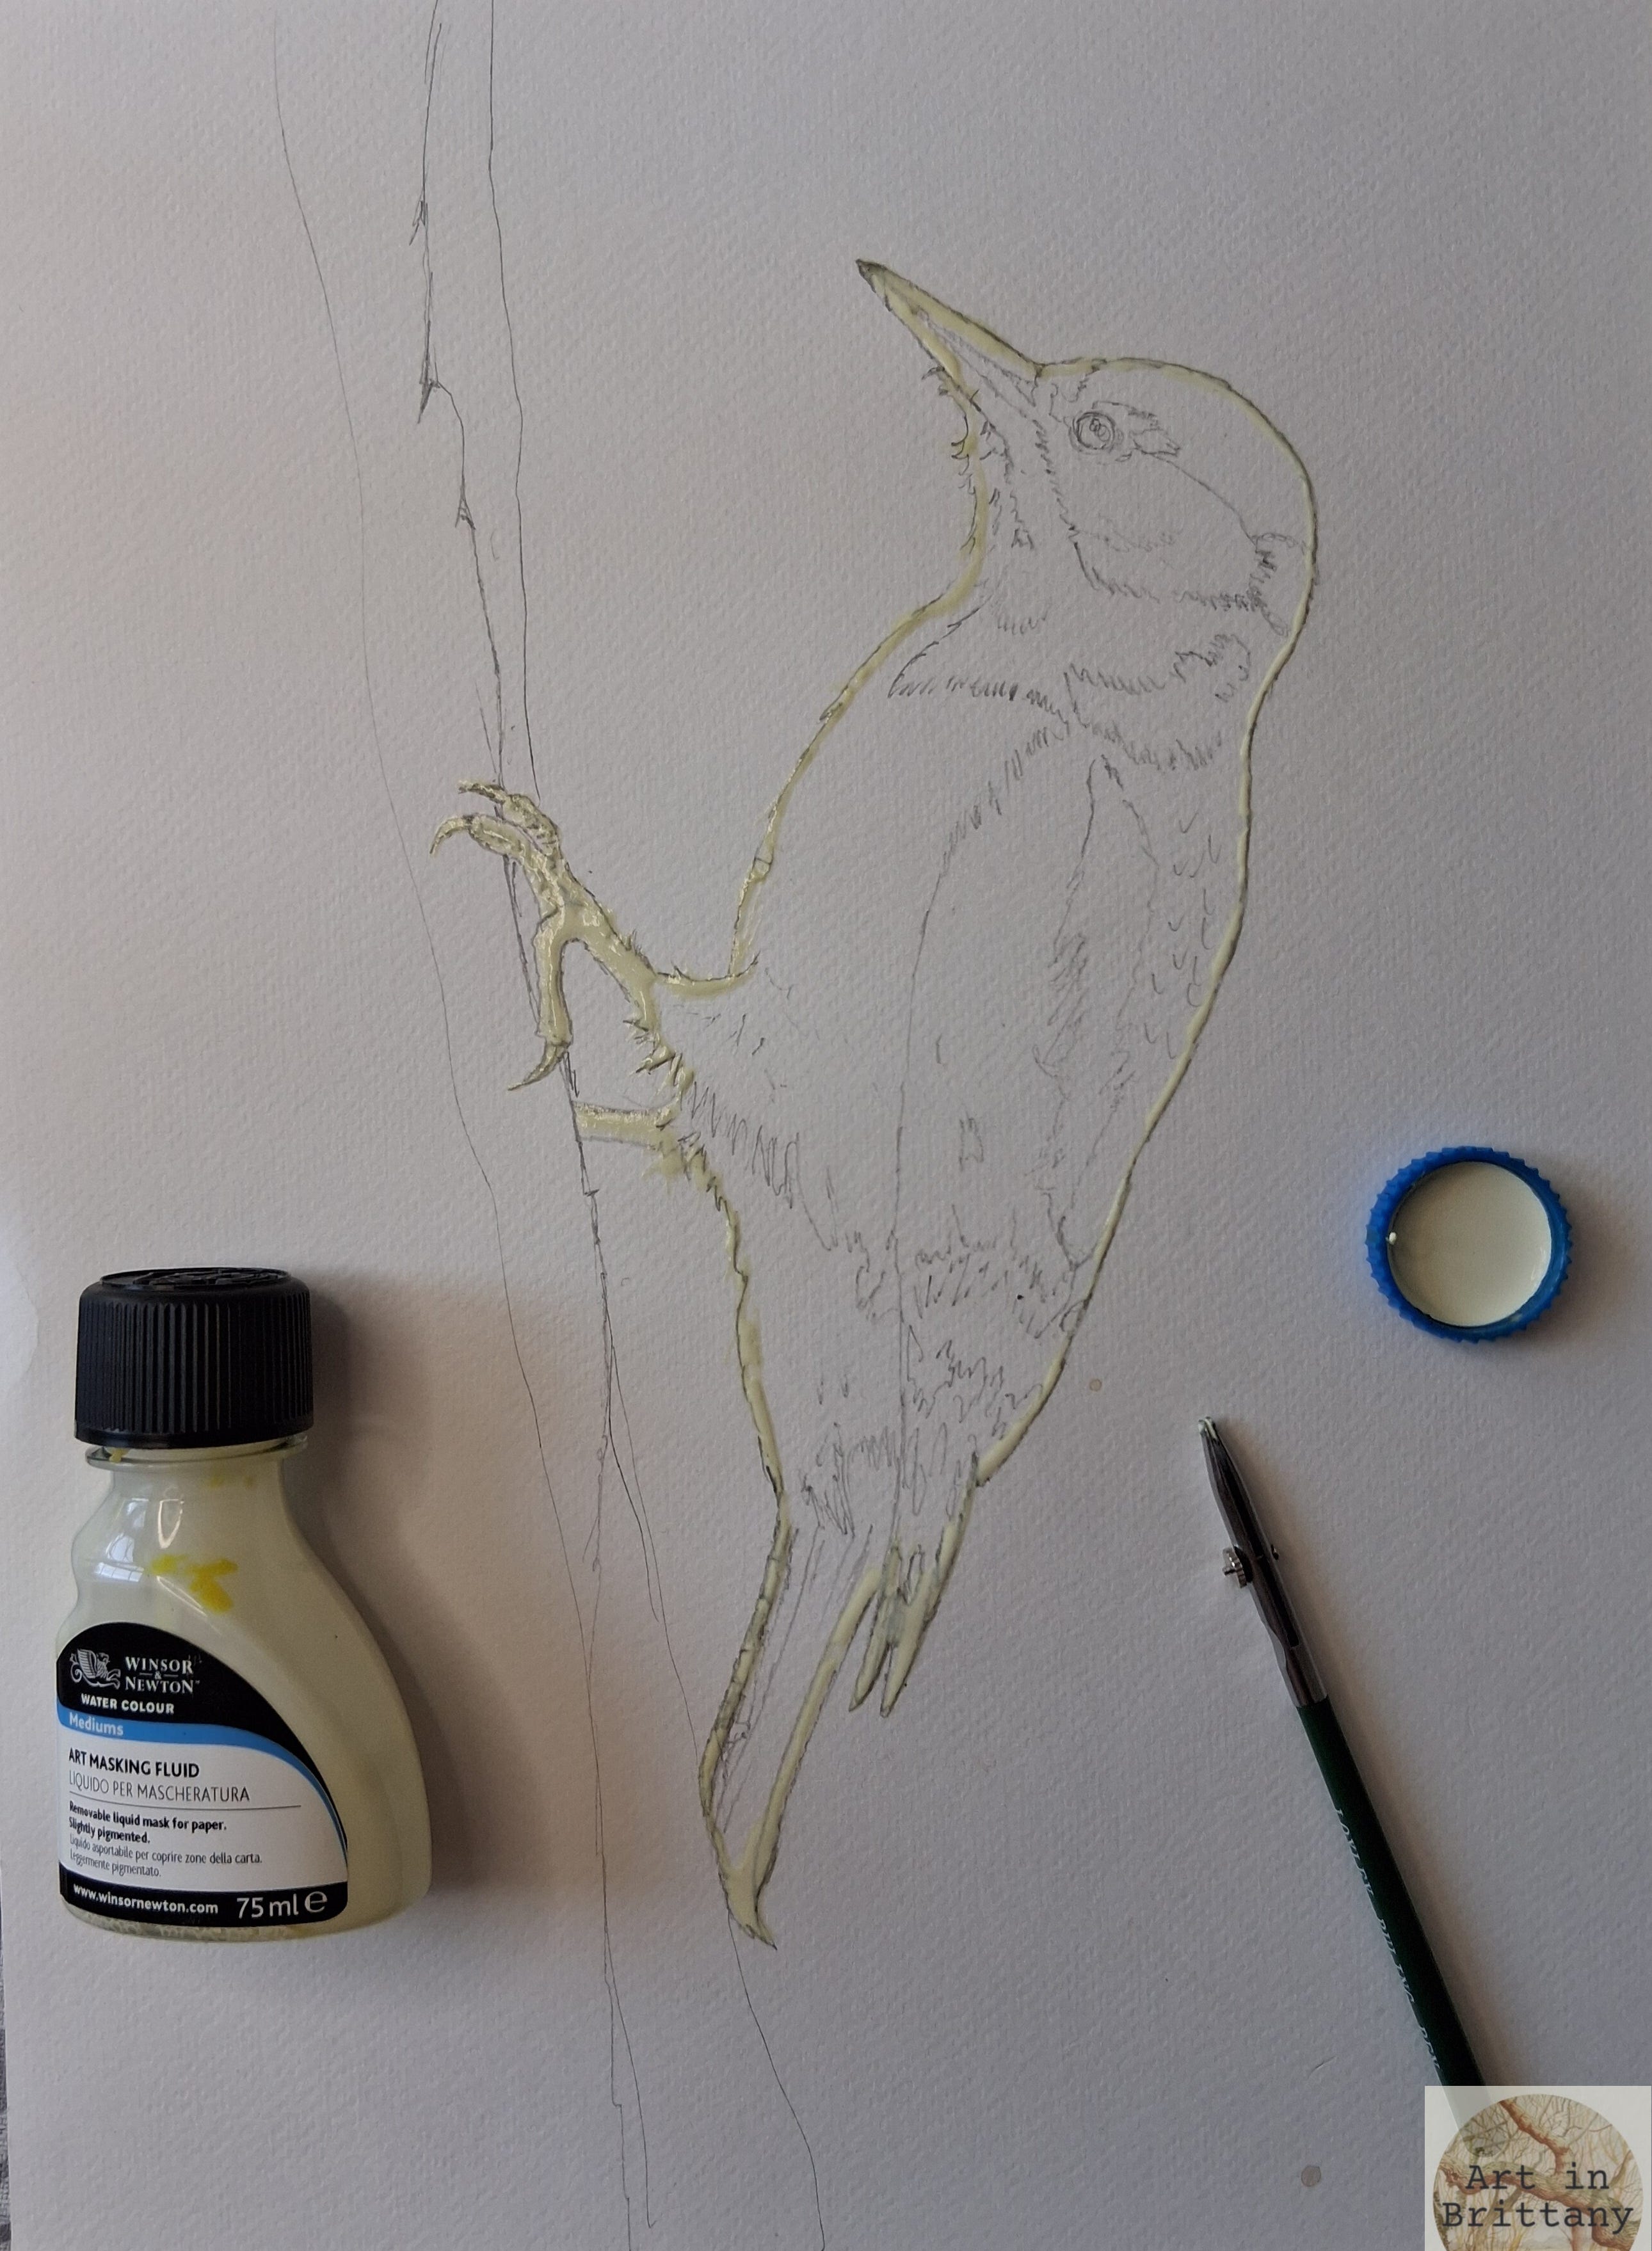
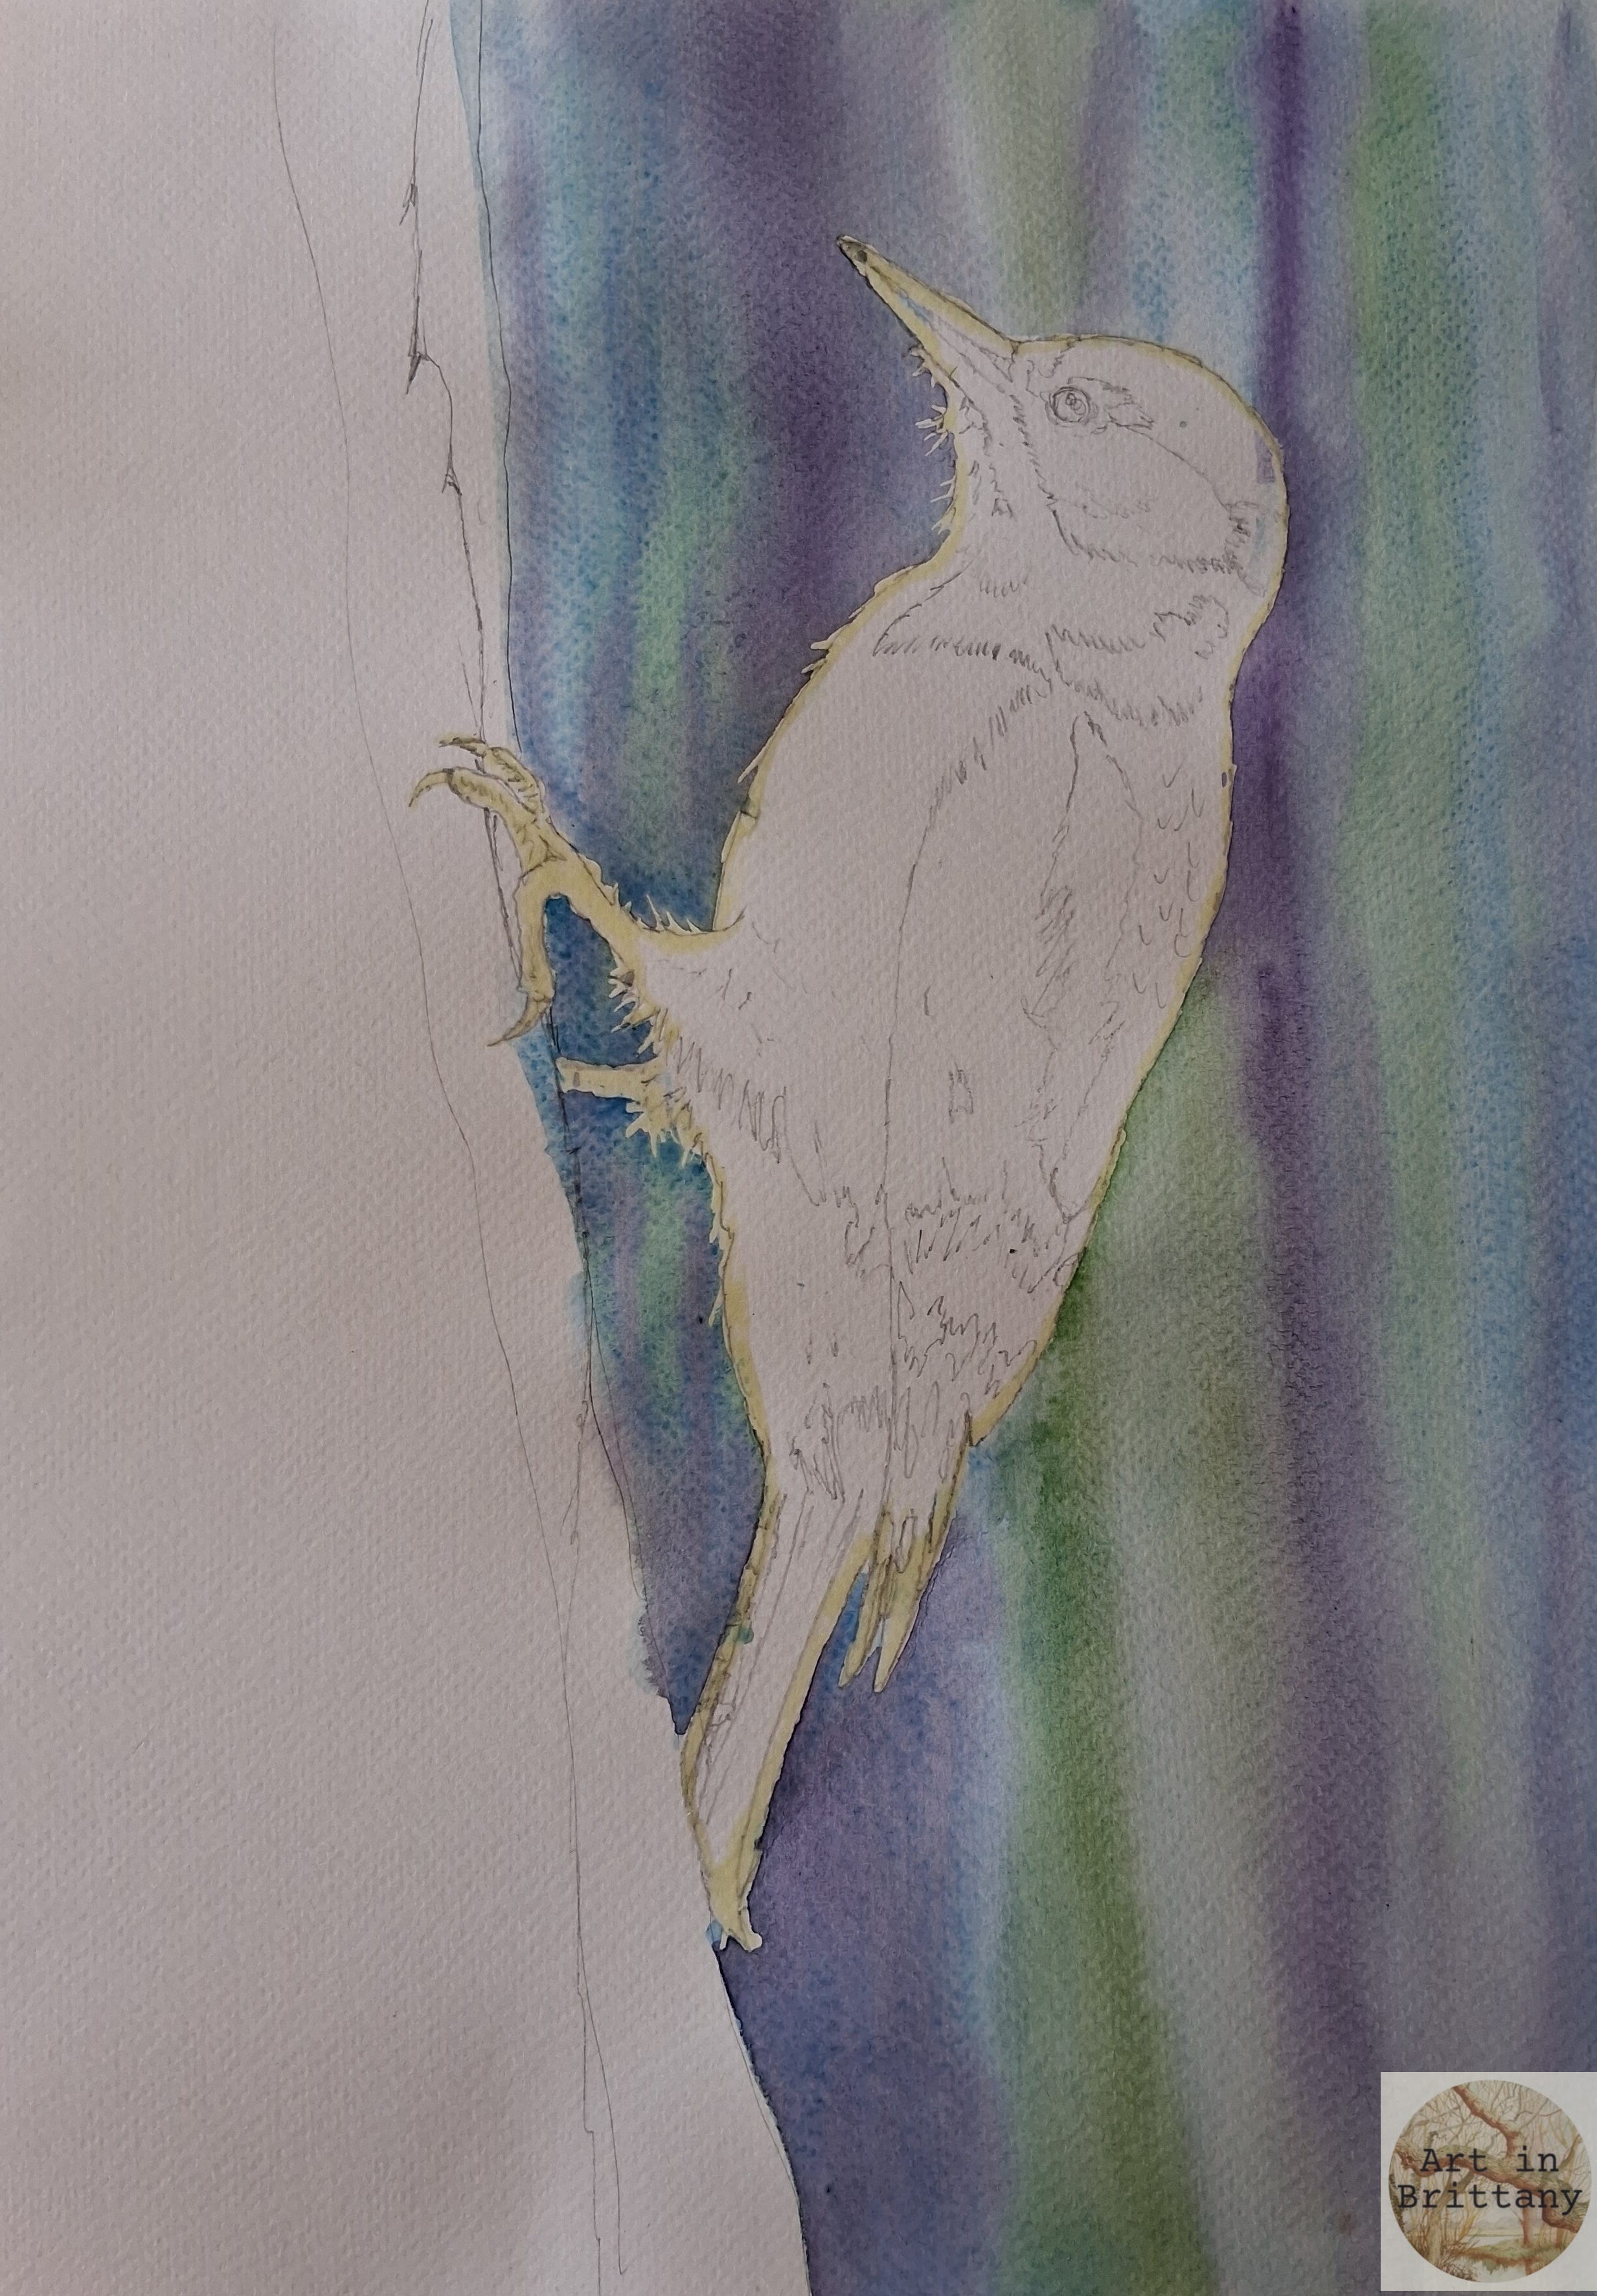
Step 3. Using my large flat shader I wet the whole background area. Working quickly, drop cerulean blue onto the wet surface, while still wet drop in some Sap Green and Winsor Violet (or colours of your choice) allowing them to run vertically to suggest trees and shadows in the back ground. Make sure your background makes a neat edge around the bird and that it is consistent between it’s legs etc. I have aimed for strong colour next to the paler edges of the bird to maximise the contrast.
Step 4. When the background area is dry we will move on to the tree. For this we want lots of texture which can be achieved using salt and cling film. Flood the bark area with a wash of Sepia – plenty of colour and water, drop in some Payne’s Grey in vertical streaks breaking up the edge of the bark against the sky so it is not too tidy. While still wet take a piece of cling-film big enough to cover the bark area and carefully lay it over the wet area – pull the cling film and manipulate with your fingers to give a ‘bark’ like texture. Be careful not to splatter colour over your background – it can be messy! Wait a few minutes and carefully lift the film – your surface should still be wet but will have dried enough to hold the texture. Quickly add a sprinkling of salt to the wet area – salt will not work on dry paint. Leave it to completely dry before brushing off as much salt as possible.


Step 5. Remove the masking fluid by gently rubbing with a flat finger.
Begin adding colour and form to the bird starting with the paler colours; use a light wash of Yellow Ochre to the shadow areas of the bird’s white breast, there is a little on the head too. Use a light wash of Winsor Blue to the white markings that are in shadow on the wing tips. I used Light Red for the red areas of the bird and with a little Sepia to darken it for shadow areas. Build layers of detail using Payne’s Grey for the darkest tones. Use a dry brush to describe soft feather edges and a liner brush for more refined detail - pay attention to the direction of the feathers.


Use Zinc White Gouache for the highlight in the bird’s eye.